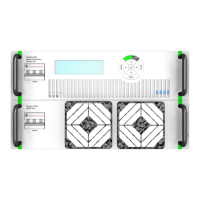
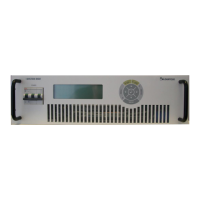
System 9700 User Manual
Page 23 of 56
3.3. Operating by RS 232-C, RS422 or RS 485 I/O.
The Power Supply uses standard serial interfaces compatible with many computers, PCs and
terminals.
Two data communication lines are available:
A REMOTE LINE, with either RS232, RS422 or RS485 communication.
A LOCAL LINE, with either RS422 or RS 485 communication.
The two channels are galvanic isolated from all other internal voltages through optocouplers but
are supplied from the same voltage source.
3.3.1. Setting up the MPS.
The setup of the MPS is done by two dip switches SW3 and SW4 together with the push-button
S4 (SETUP), or through SW commands. Please refer to the “ESC” commands in the SW
appendix chapter for further information. The dip switches are located on top of the supply
under the small plate next to the front panel.
The two dip switches are configured as a multi-function port that is validated by the CPU upon
pressing the button S4.
The 4 levers on SW3 instruct which parameters to set up; the 8 levers on SW4 provide the
actual parameters for this setup.
The parameters are acknowledged when pressing the SETUP switch S4.
The SW3 switch position can also be seen as a binary number. The table below shows the SW3
number position and which parameters it controls.
SW3 position Number
Parameter
0 {0000} Interlock Status Mode
1 {0001} REM_UART_SETUP
2 {0010} REM_LINE_SETUP
3 {0011} REM_ADR_SETUP
4 {0100} LOC_UART_SETUP
5 {0101} LOC_LINE_SETUP
6 {0110} LOC_ADR_SETUP
7 {0111} COLDBOOT_SETUP
9 {1001} NOT USED
11 {1011} NOT USED
12 {1100} POLARITY_DELAY_PULSE
13 {1101} NOT USED
15 {1111} DA_AUTO_SCALE
Leaving all levers in the OFF position will disable the SETUP switch and enable interlock status
mode. 8 LEDs will illuminate and indicate which interlocks have occurred. Therefore, please
leave all dip switches in the OFF position as default.