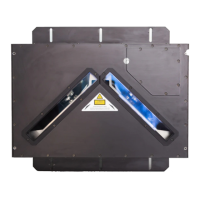
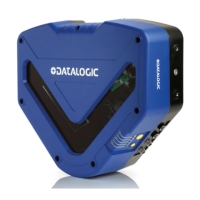
DX8200A
2
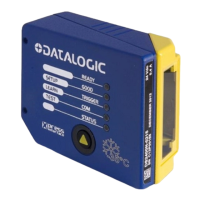
2.6 KEYPAD AND DISPLAY
The DX8200A keypad allows entering a menu for selection of one of the following functions:
• Welcome: shows the current software release and operating mode;
• Autolearn: starts the procedure making it possible to obtain an automatic, accurate
and fast configuration of DX8200A without the necessity of directly
checking/modifying the relevant parameters;
• Internal Net: defines scanner function within the network (see below);
• Ethernet Mode: allows setting the scanner IP address to be used within the network;
• LCD Contrast: sets the LCD contrast;
• Bus: allows setting the scanner address (value range 0-125) to be used in a
Profibus network;
• Test Mode: allows verifying the scanner reading position and features (see below).
The same settings may be performed by using the Genius™ program (see chapter 3 for
details).
2.6.1 Internal Net
This submenu can be used as an alternative to configuration through Genius™, to assign the
DX8200A scanner within a master/slave network.
It allows defining the scanner function (slave/master) within the network and, if configured as
Slave, its address.
To enter the Internal Net submenu and configure the scanner follow the given procedure:
1) Press and hold both the ▲ (up arrow) and ▼ (down arrow) keys for about 2 seconds to
enter the Main menu;
2) Use the ▲ (up arrow) or ▼ (down arrow) key to select the “Internal Net” item, then press
the ENT (enter) key to confirm;
3) Use the ▲ (up arrow) or ▼ (down arrow) key to select the “LonWAddrSel”” item, then
press the ENT (enter) key to confirm;
4) Use the ▲ (up arrow) or ▼ (down arrow) key to select your scanner function among
“Master”, “Slave n”, “Slave jolly”, “Disabled”; then, press the ENT (enter) key to confirm;
5) Use the ▲ (up arrow) or ▼ (down arrow) key to select the “Exit” item, then press the ENT
(enter) key to confirm. Repeat this step again to exit the Main Menu and return to the
scanner current operating mode.
2.6.2 Test Mode
Test Mode is particularly advised during the installation phase, since it causes the reader to
be continuously activated allowing to verify its reading features and its reading position with
respect to the barcode.
To enter the Test Mode submenu and configure the scanner follow the given procedure:
1) Press and hold both the ▲ (up arrow) and ▼ (down arrow) keys for about 2 seconds to
enter the Main menu.
2) Use the ▲ (up arrow) or ▼ (down arrow) key to select the “Test Mode” item, then press
the ENT (enter) key to confirm. The reader enters Test Mode.
3) Press the ▲ (up arrow) key to exit the Test Mode.
4) Use the ▲ (up arrow) and ▼ (down arrow) key to select the “Exit” item, then press the
ENT (enter) key to confirm. The scanner exits the Main Menu and returns to its current
operating mode.
40
 Loading...