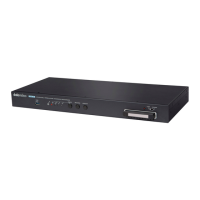
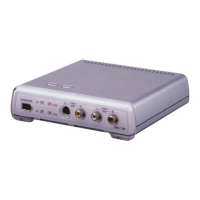
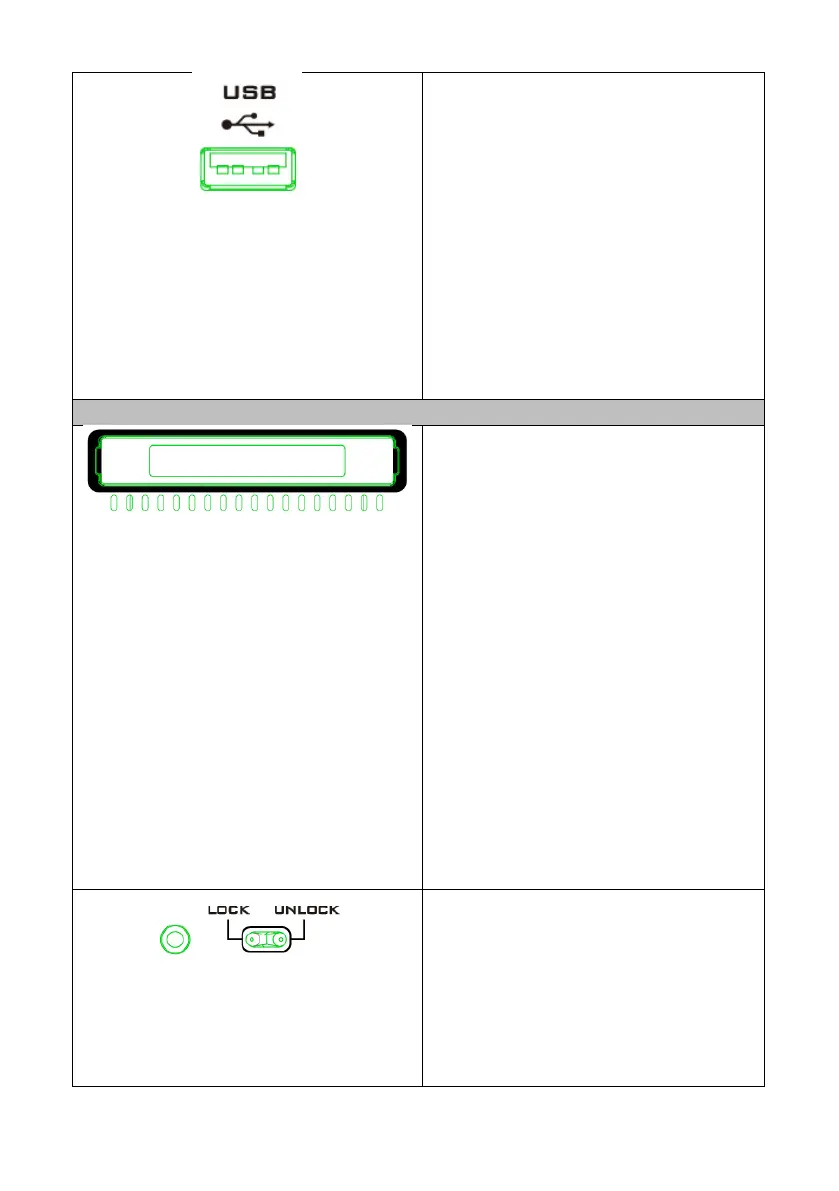
USB Port
The USB port on the front panel of the
NVS-40 is used for firmware update.
Note: The USB port on the front panel
of the NVS-40 is used for firmware
update. The backup recording of the
NVS-40 will be saved in the HDD or SSD
inserted into the right side of the front
panel.
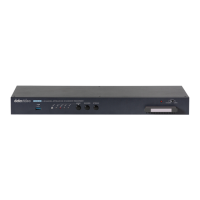
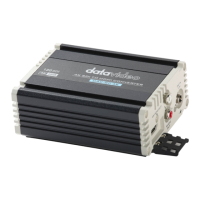
2.5” SSD/HDD Enclosure and 2.5”
SSD/HDD Tray
This 2.5” SSD/HDD enclosure is used for
users to install the 2.5” SSD or HDD.
The Steps for installing the SSD/HDD
1. Remove the top cover of the
SSD/HDD enclosure.
2. Please place your SSD or HDD into the
enclosure. Please pay attention that the
side with the SATA connector should be
placed toward the direction of the rear
panel of the SSD/HDD enclosure.
3. Please cover the top lid of the
SSD/HDD enclosure.
4. Please screw the 4 screws into both
sides of the SSD/HDD enclosure again.
5. Please insert the SSD/HDD enclosure
into the SSD/HDD tray again to finish
the SSD/HDD installation procedure.
Lock/Unlock Switch and the LED
Indicator
When the enclosure is inserted, slides
the switch to the Lock side will lock the
enclosure. The enclosure can be pulled
out when the switch slides to the side of
Unlock.
 Loading...