d. When the desired baud rate appears, press ENTER to return to the "BAUD"
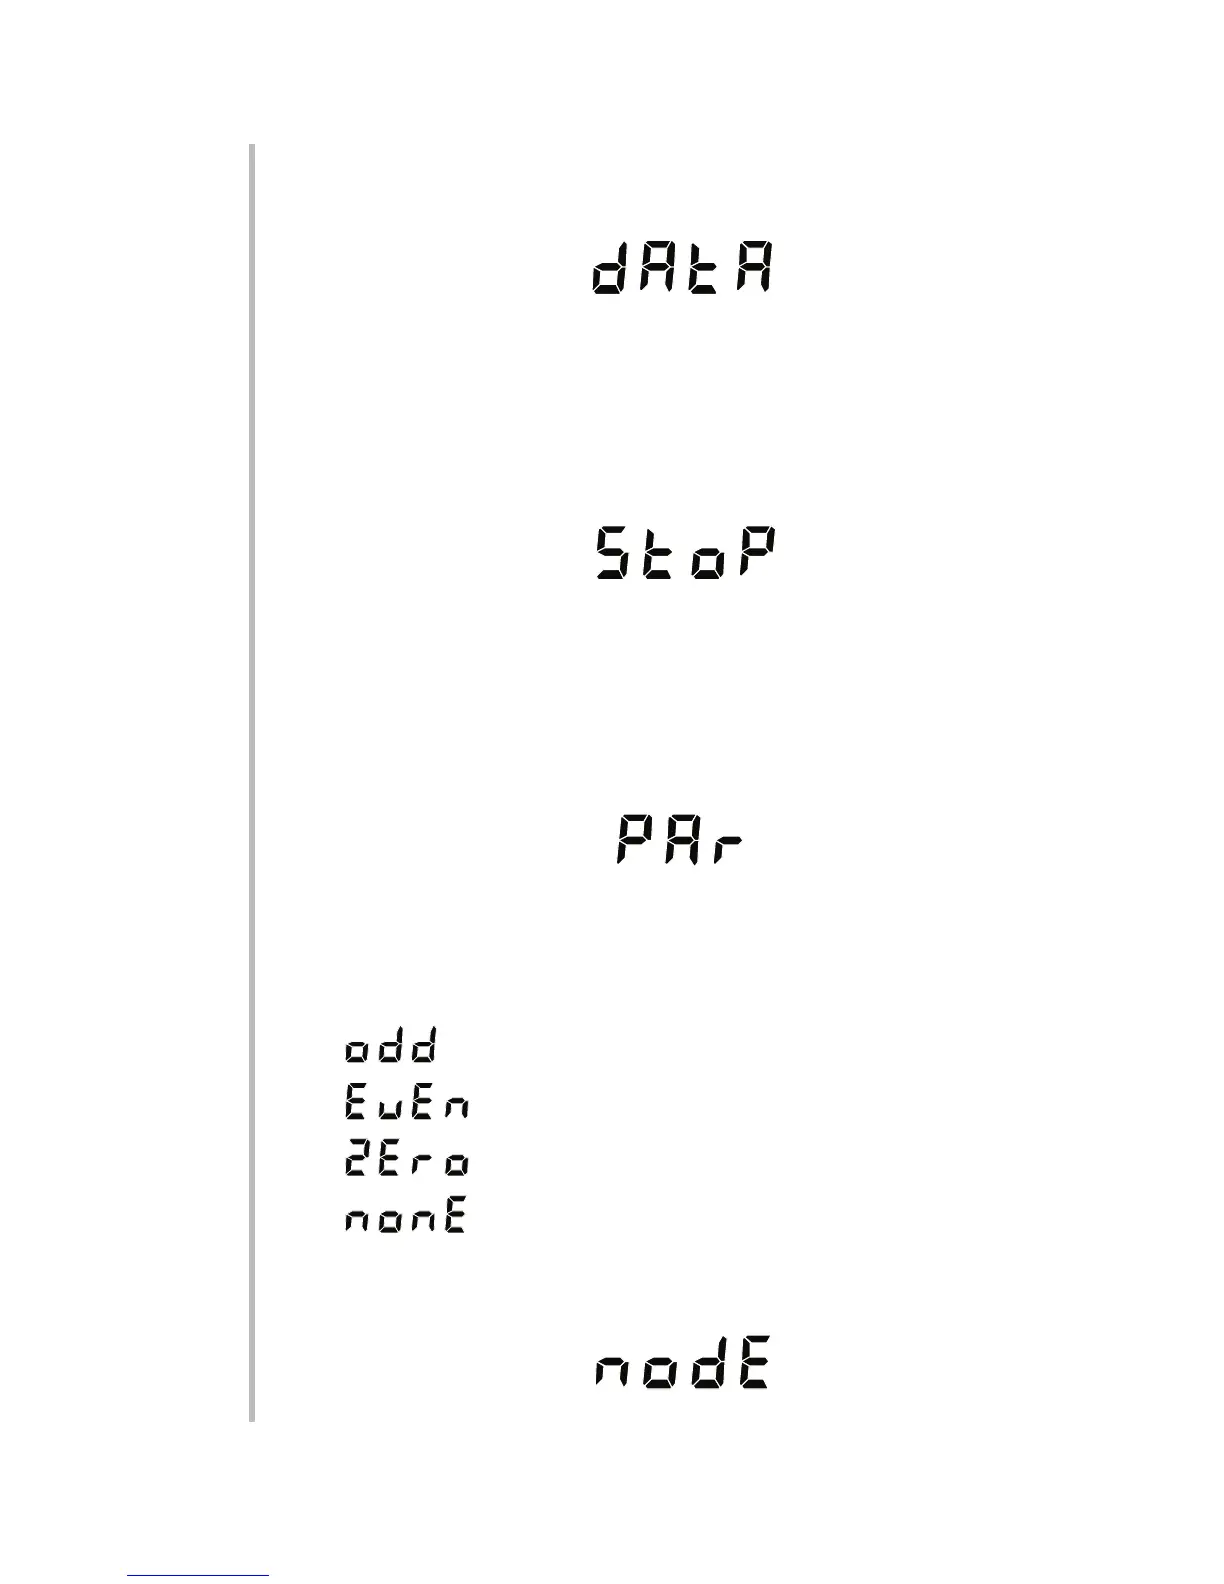
display. Then press COM. The unit will display "DATA" (for "NUMBER OF
DATA BITS"):
e. To display the current data-bits setting, press ENTER. If you don't want to dis-
play the number of data bits, press COM again and proceed to Step h.
f. To change the data-bits setting, you can toggle between "7" and "8"—the only
allowable values—by pressing the top or bottom segment of the displayed
digit.
g. When the desired number of data bits appears, press ENTER and then COM.
The unit will display "STOP" (for "NUMBER OF STOP BITS"):
h. To display the current stop-bits setting, press ENTER. If you don't want to dis-
play the number of stop bits, press COM again and proceed to Step k.
i. To change the stop-bits setting, you can toggle between "1" and "2"—the only
allowable values—by pressing the top or bottom segment of the displayed
digit.
j. When the desired number of stop bits appears, press ENTER and then COM.
The unit will display "PAR" (for PARITY):
k. To display the current parity setting, press ENTER. If you don't want to display
the parity, press the COM button again and proceed to Step n.
l. To change the parity setting, you can cycle forwards or backwards through
the allowed settings by pressing the top or bottom segment, respectively, of
any digit display (even if it is blank). The four parity settings are
— where the total number of "1's" in each transmitted charac-
ter is ODD
— where the total number of "1's" in each transmitted charac-
ter is EVEN
— where the parity bit is always present, but always ZERO
— for NO parity bit
m. When the desired parity setting appears, press ENTER to return to the "PAR"
display. Then press COM. The unit will display "NODE" (for "NODE NUM-
BER"):
3.4
3
SETUP: INSTRUMENT CONFIGURATION
3.a CONFIGURING THROUGH THE FRONT PANEL
 Loading...
