28
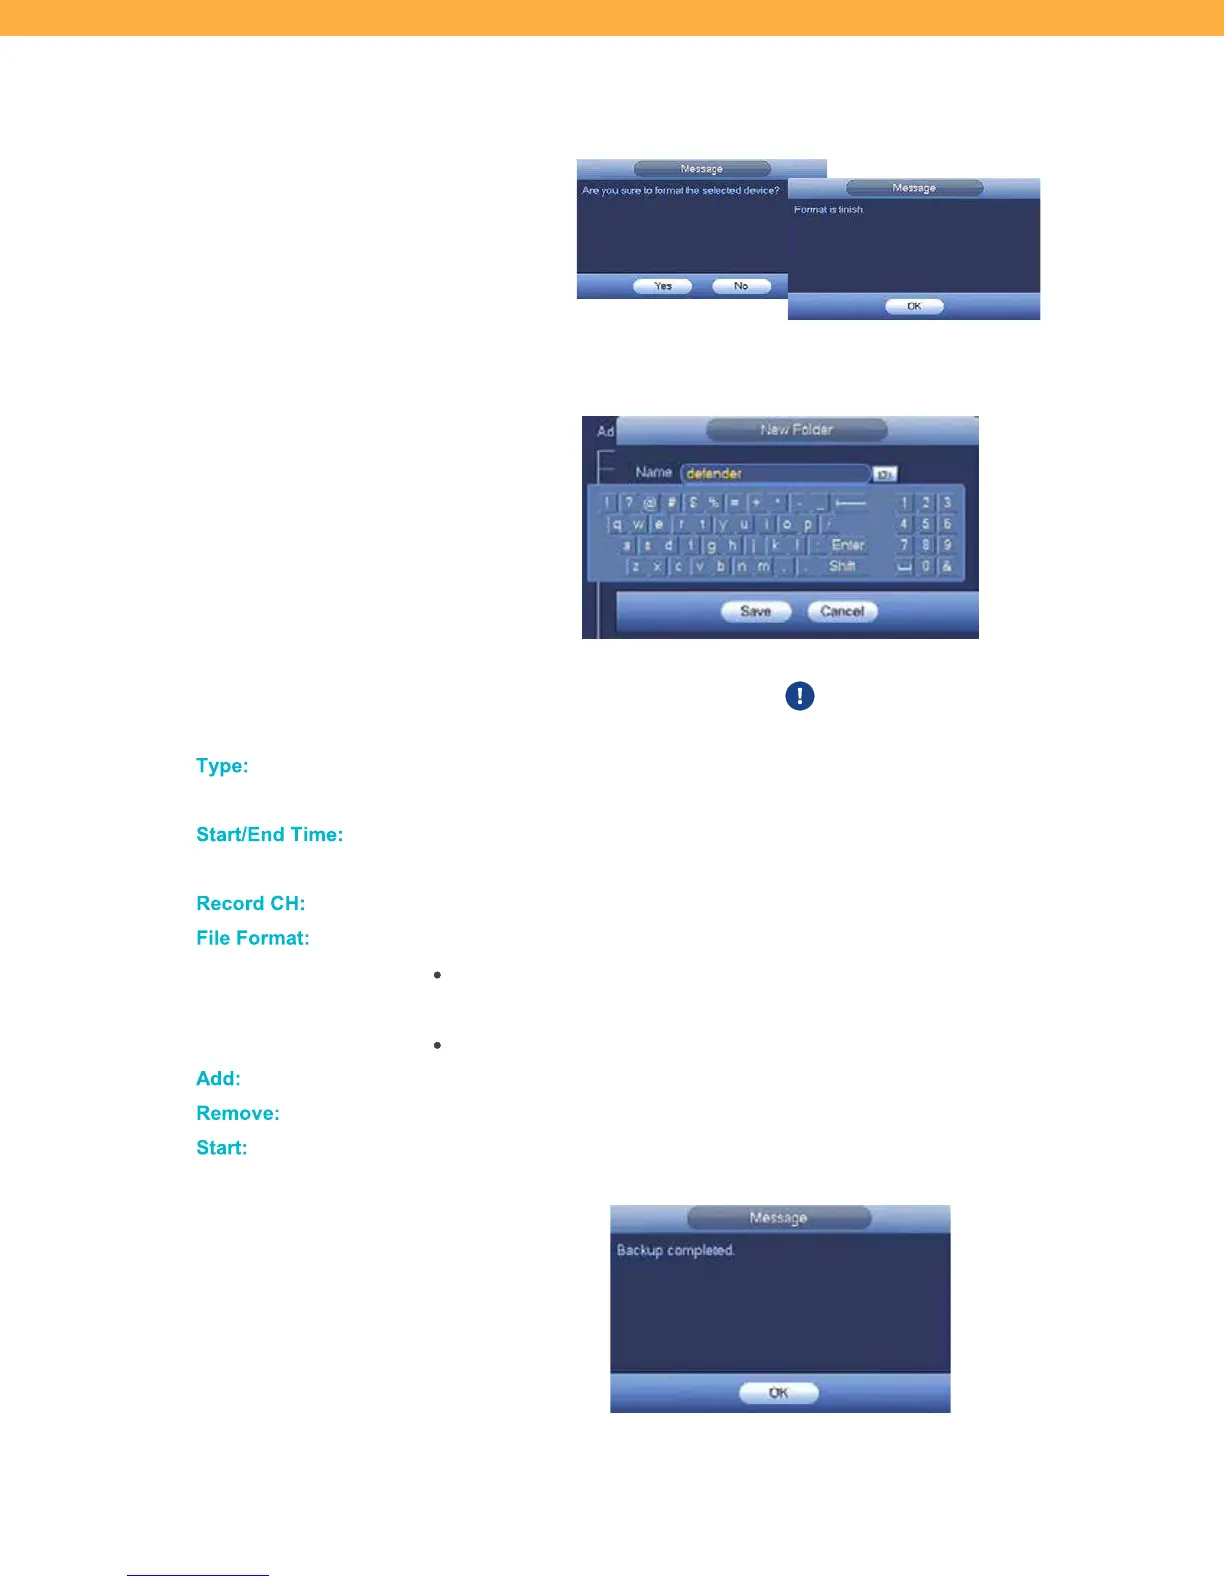
confirm you want to format the storage device and to information when
formatting is completed.
NEW FOLDER: Click to create a folder for the backup. Click the Name field to
enter a folder name and select Save to create the folder or Cancel to discard.
SAVE: Click to keep the changes.
CANCEL: Click to discard the changes.
This will not undo Formatting the
HDD or USD drives.
Type:
Select the type of recording to be backed up (All, Alarm, MD (Motion),
Alarm/MD, Regular, PIC).
Start/End T im e:
Select the timeframe to include in the backup. Click the fields to select the dates
and times.
Reco rd C H:
Select the Channel (Camera) to be included in the backup (1, 2, 3, 4, All).
File For mat:
Select the output file type:
DAV (Default): Incorporates modified MPEG compression commonly used
for footage recorded from CCTV cameras (requires file conversion to play)
ASF: Format can be viewed on Windows Media Player
Add:
Click to include the footage in the backup file.
Re move:
Click to remove selected footage from the backup file.
Start:
Click to begin the backup process. Once complete a Message window will
appear confirming that the backup has finished.