EasyManuals Logo

Dell EMC Unity Series Field Upgrade Procedure

Dell EMC Unity Series
40 pages
To Next Page IconTo Next Page
To Previous Page IconTo Previous Page
Page #15 background imageLoading...
Page #15 background image
Figure 6 Adjusting the arm for a low rail position
CL5441
2. Remove the rotating handle by loosening the set screw and pulling the handle
from the hex fitting.
3. Using the cordless drill that comes with the Voyager conversion kit, place the
cordless drill over the hex fitting and use the drill to raise or lower the arm to
the required height.
4. Adjust the arm of the portable lift to the approximate height of the enclosure
you intend to move.
5. Attach the tray to the lift arm.
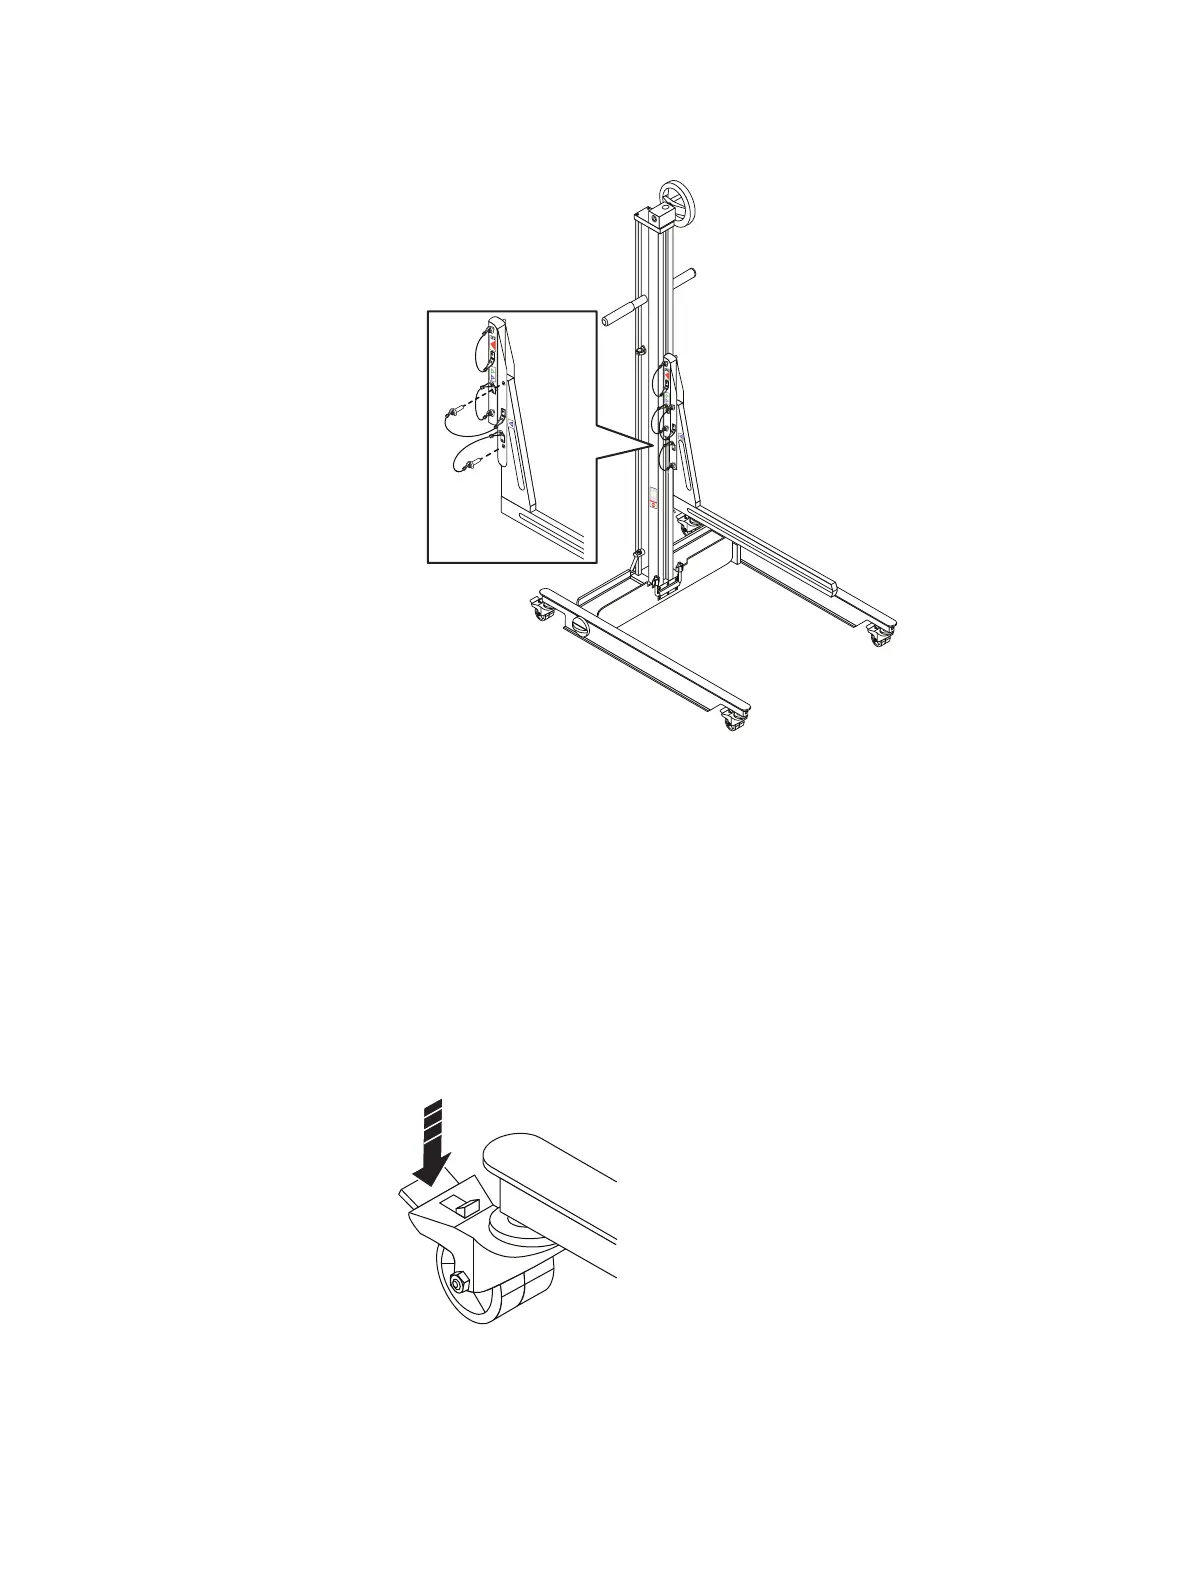
6. Lock all four casters by pressing down on the locking tab so the lift will not roll
as the instrument is placed onto it. Refer to Locking the Casters
Figure 7
Locking the Casters
CL5423
7. Pull the enclosure onto the lift (Refer to Removing an enclosure from rails 49"
or less above the floor , and then secure the enclosure to the portable lift using
the securing straps as follows:
Adding an optional 80-drive DAE
Working with the portable lift 15

Other manuals for Dell EMC Unity Series

Questions and Answers:

Question and Answer IconNeed help?

Do you have a question about the Dell EMC Unity Series and is the answer not in the manual?

Dell EMC Unity Series Specifications

General IconGeneral
Snapshot SupportYes
Storage TypeHybrid Flash, All-Flash
Drive SupportSAS, SSD
ProtocolsiSCSI, NFS, SMB
Data ServicesSnapshots, Replication, Thin Provisioning, Deduplication, Compression
ManagementUnisphere, REST API, CLI
Data Reduction FeaturesDeduplication, Compression
High AvailabilityRedundant components
Redundancypower supplies, fans
RAID Levels SupportedRAID 5, RAID 6, RAID 10
Replication SupportYes
Cloud TieringYes
Security FeaturesEncryption at rest, secure erase, role-based access control
ModelDell EMC Unity Series

Related product manuals