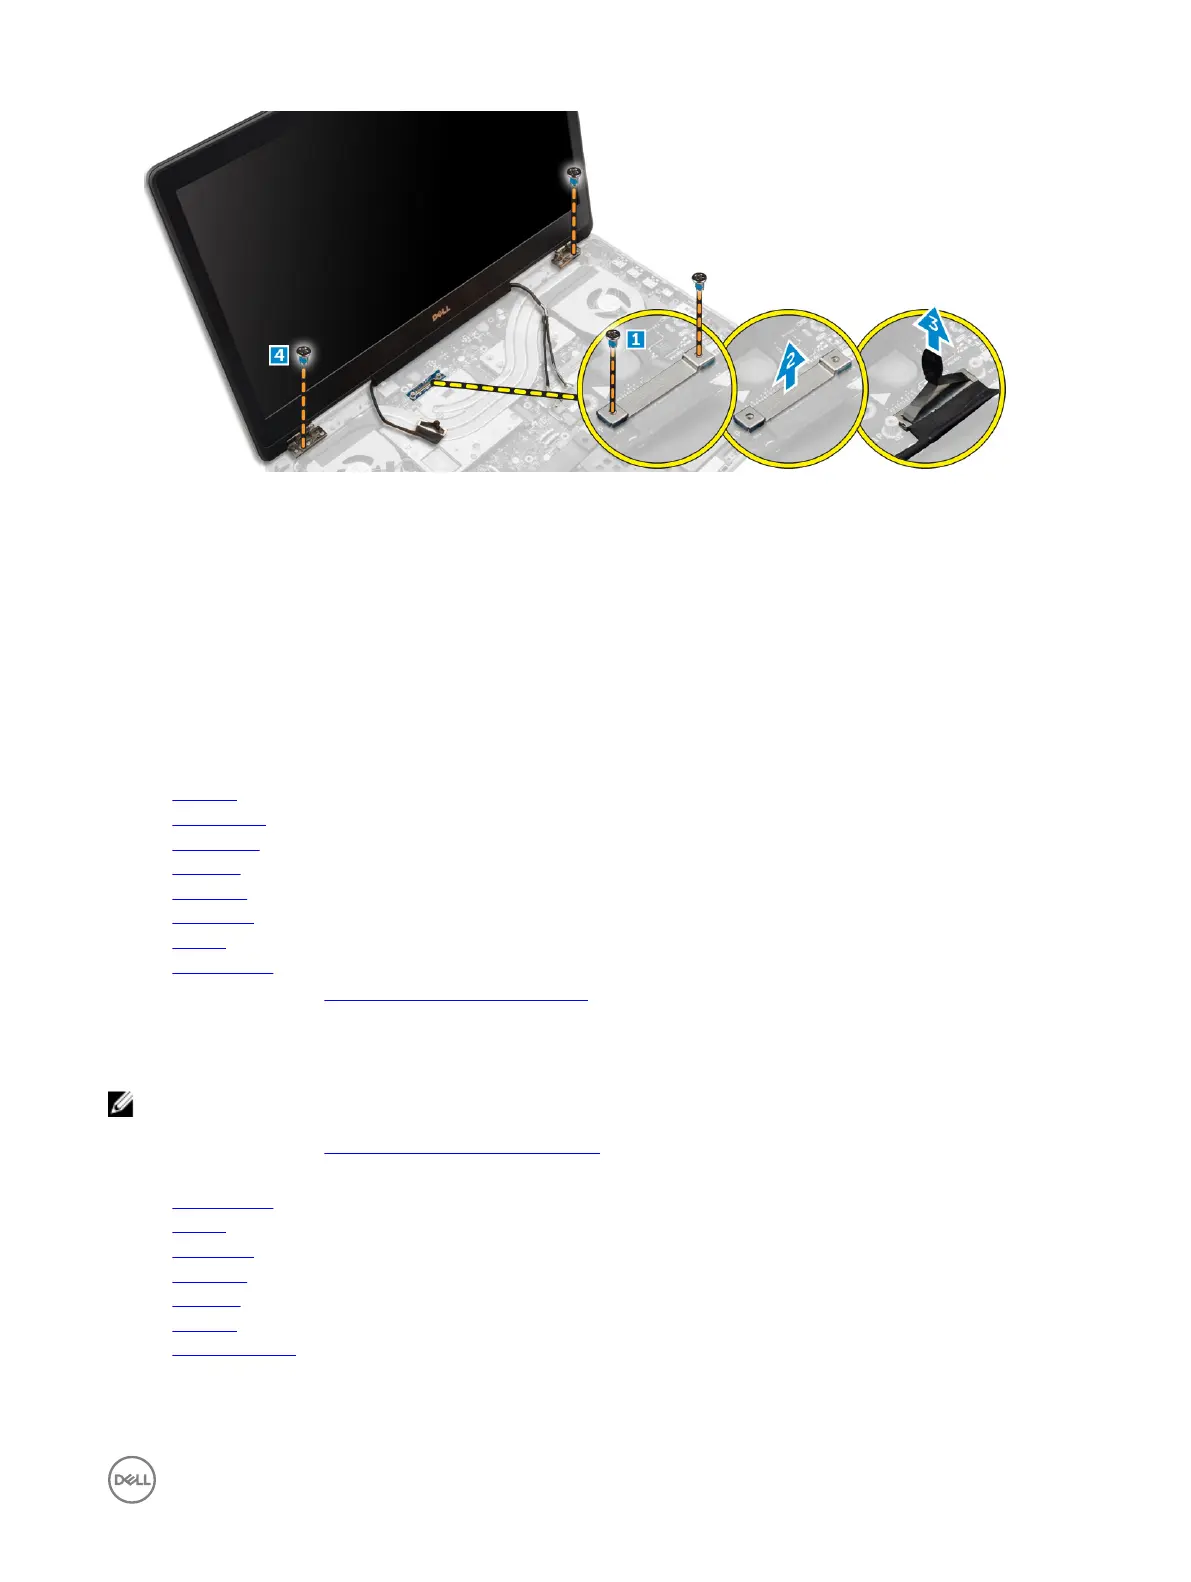
Installing the display assembly
1. Tighten the screws to secure the display assembly in place.
2. Ax the tape on the heat pipe.
3. Connect the eDP cable to the correct connectors on the system board.
4. Insert the wireless antenna cables through the routing hole on the chassis.
5. Tighten the screws at the bottom and back of the computer.
6. Align the display hinge cap and tighten the screws to secure it to the computer.
7. Route and connect the antenna cables to their connectors.
8. Install the:
a. palmrest
b. WWAN card
c. WLAN card
d. keyboard
e. hard drive
f. base cover
g. battery
h. battery cover
9. Follow the procedure in After working inside your computer
Removing the display bezel
NOTE: The display bezel is available only for non touch systems.
1. Follow the procedure in Before working inside your computer.
2. Remove the:
a. battery cover
b. battery
c. base cover
d. hard drive
e. keyboard
f. palmrest
g. display assembly
3. Perform the following as shown in the illustration:
a. Pry up all the edges of the display bezel [1, 2]
29