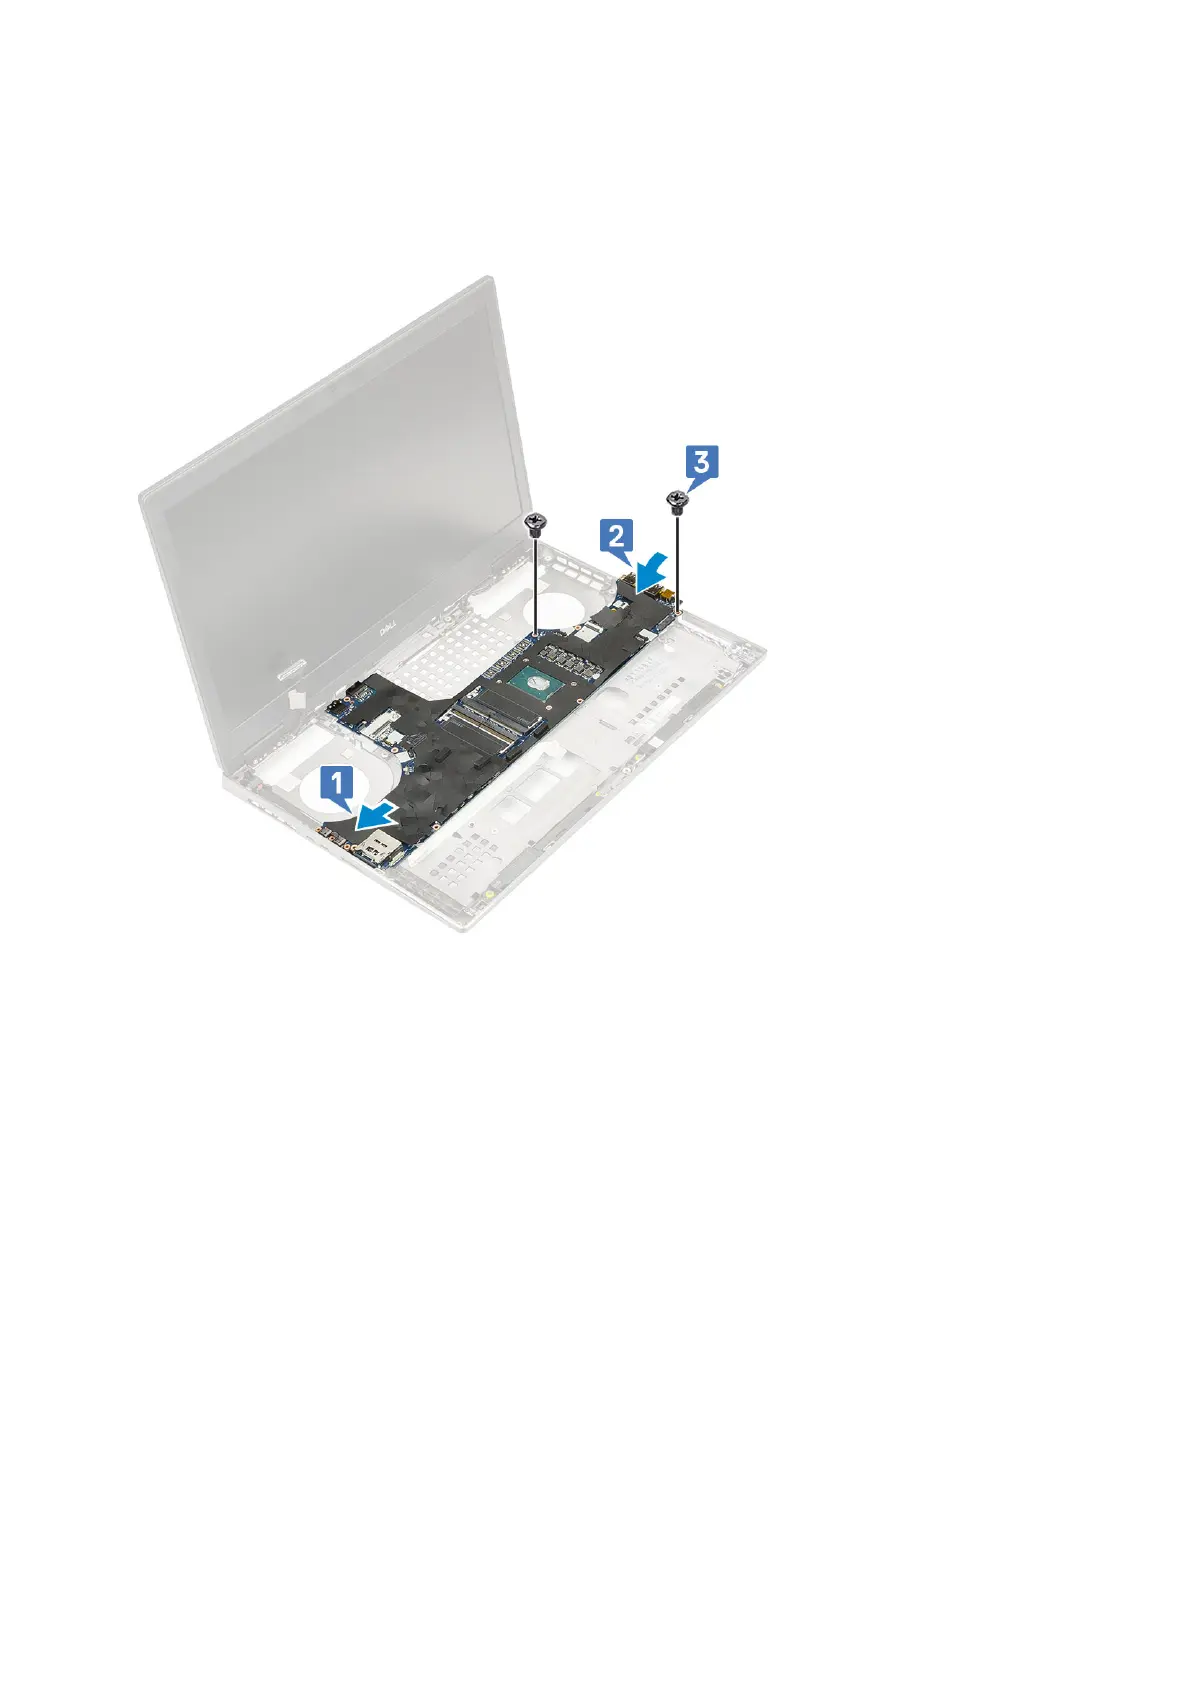
Installing the system board
1. To install the system board:
a. Align the system board into its original position on the system [1, 2].
b. Replace the 2 (M2.5x5.0) screws to secure the system board in place [3].
c. Connect the LED board cable [1], speaker cable [2] and touchpad cable [3] to the connectors on the system board.
d. Place the Type-C USB bracket onto its slot on the system [4].
e. Replace the 3 (M2.0x5.0) screws to secure the Type-C USB bracket to the system [5].
82
Removing and installing components