NOTE: If applicable, close the expansion card latch on the cooling shroud to release the full length card.
4 If applicable, disconnect the power or data cables from expansion card (s).
5 If applicable, remove the expansion-card riser
Steps
1 Disconnect the power cable from the power source.
2 Disconnect the power cable from the power supply unit (PSU) and remove the power cables from the cable strap.
3 Disconnect all the power cables from the PSU to the system board and hard drive backplane.
4 Remove the screw securing the PSU to the chassis and slide the PSU out of the PSU cage.
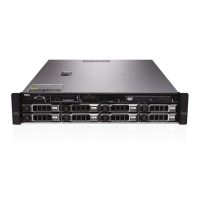
Figure 66. Removing a non-redundant AC PSU (cabled)
1
stando on the chassis 2 screw
3 non-redundant PSU 4 PSU cage
5 P1 cable connector 6 P2 cable connector
7 P3 cable connector 8 backplane connector
Next steps
1 If applicable, install the PCIe expansion card riser.
2 If applicable, connect the required power or data cables to the expansion card(s).
Installing and removing system components
133

 Loading...