PRECAUTIONS DURING SERVICE
Initializing This Unit
Initialize this unit if you have replaced the microcomputer, one of the parts around the microcomputer, or the digital PCB.
1. Press the power button to turn off the power.
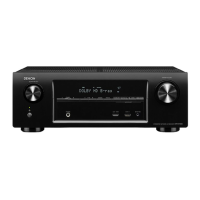
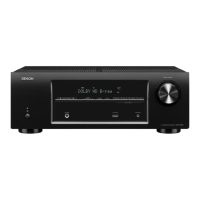
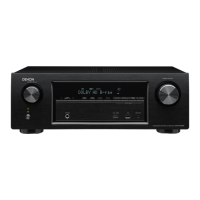
2. AVR-X1100W
Hold down buttons "
ZONE2 SOURCE
" and "
DIMMER
" at the same time and press the power button to turn on the
power.
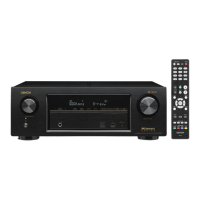
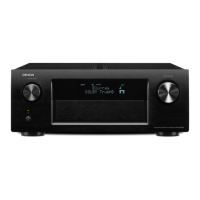
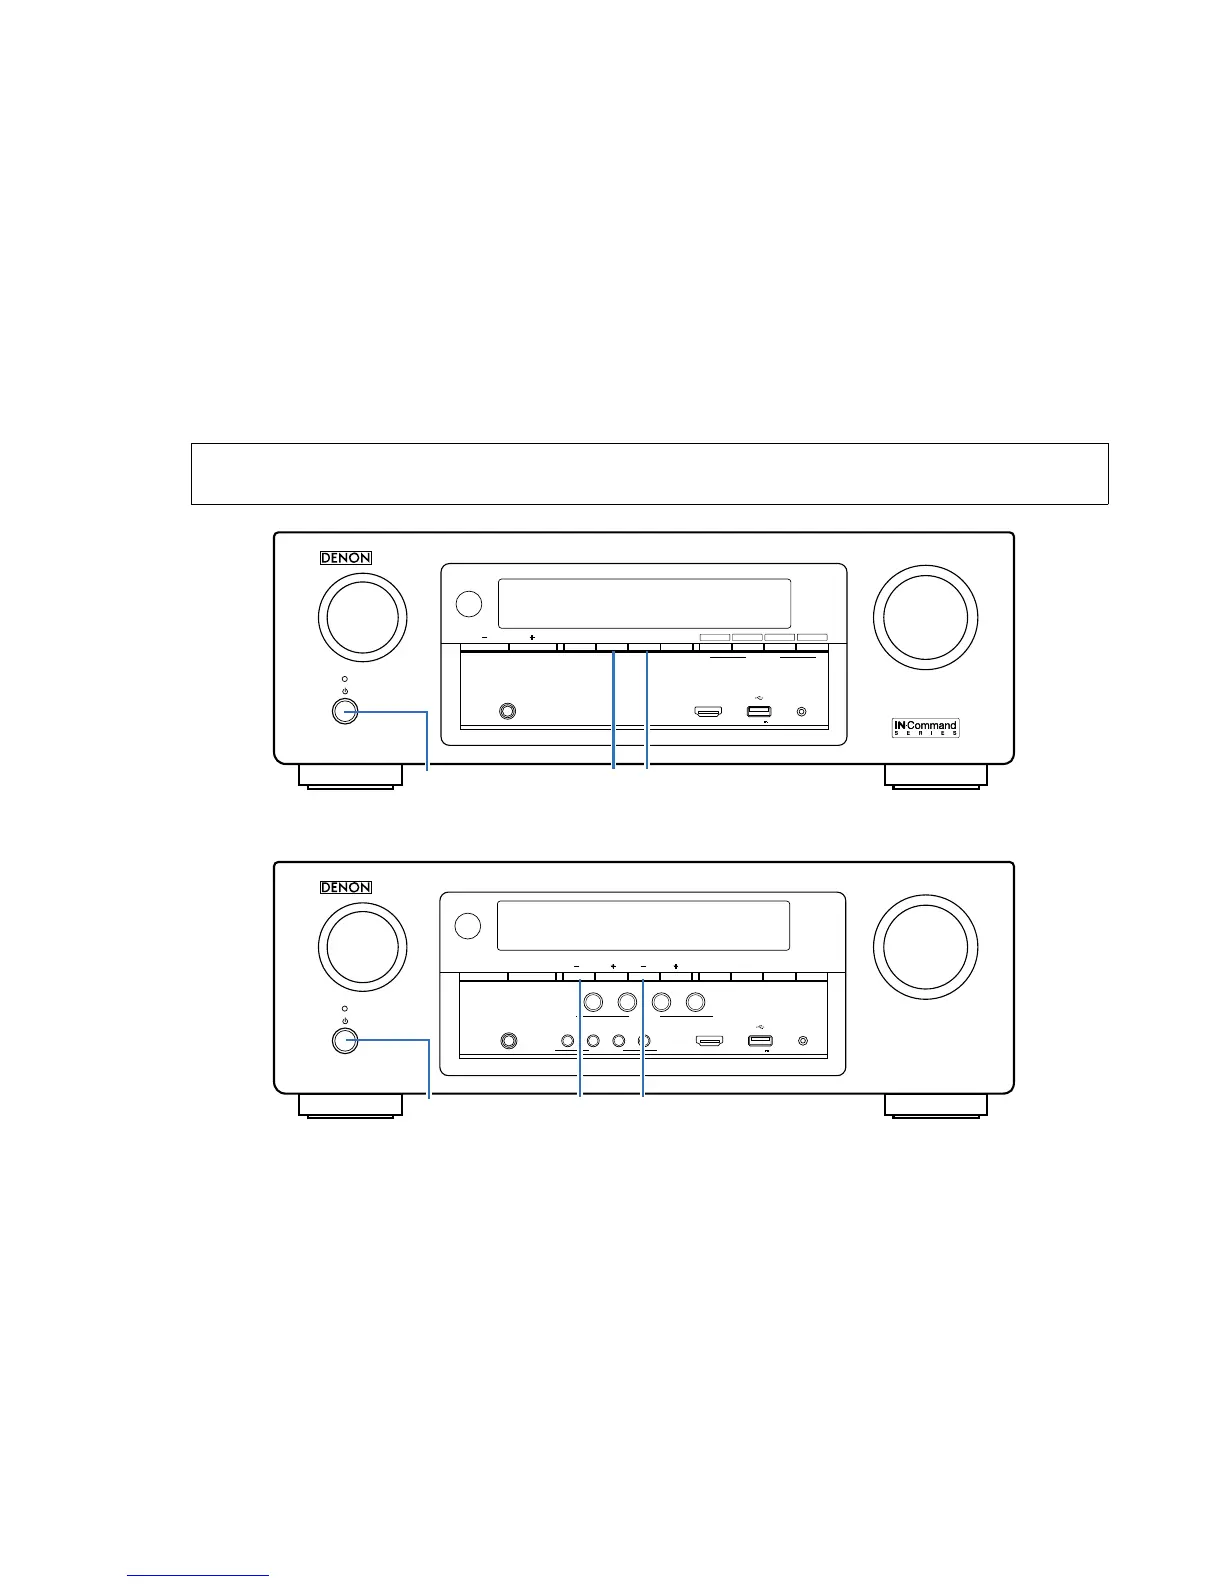
AVR-S700W
Hold down buttons
TUNER PRESET CH +
and "
TUNE -
" at the same time and press the power button to turn on the
power.
3. Release the buttons after conrming that the display ashes in intervals of approximately 1 second.
*
The unit is initialized.
NOTE:
• If the status in step 3 does not occur, start again from step 1.
• Initializing the device restores settings congured by the user to the factory settings. Take note of your settings beforehand
and recongure them after initialization.
AVR-X1100W
AVR-S700W
Service Jigs
The following jigs (extension cable kit) are used when repairing the PCB.
Order the jigs from your dealer if necessary.
8U- 110084S : EXTENSION UNIT KIT : 1 Set
(See 52 page)
QUICK SELECT
MASTER VOLUME
SOURCE SELECT
ZONE2
ON/OFF
ZONE2
SOURCE
DIMMER STATUS
TUNER
PRESET CH
DVD/Blu-ray
ONLINE
MEDIA
PLAYER
CBL/SAT
321 4
PHONES
SETUP MICAUX - HDMI
5V / 1A
DIMMERX ZONE2 SOURCE
MASTER VOLUM E
SOURCE SELEC T
BAND MODE DIMMER STATUS
TUNEZONE2 ON/OFF ZONE2 SOURCE
TUNER
PRESET CH
CB L/S A T
3
4
ONLINE
1
GAME
2
DVD/Blu-ray
QUICK SELECT
SETUP MICAUX - HDMI
5V / 1A
PHONES
MOVIE MUSIC GAME PURE
SOUND MODE
TUNING
-
X TUNER PRESET CH +
11
 Loading...