Get started
This section explains what comes with each AnywhereUSB® Plus model, how to install the necessary
software, and how to connect the hardware. After you have verified the AnywhereUSB® Plus Hub
components, the software installation, hardware connection, and initial connection process must be
done individually for each computer.
Note The steps in this process can only be done by an administrator. Once the setup is complete, any
user can connect to a group, as described in step 6 below, Connect to groups.
1. Verify product components.
2. Install the AnywhereUSB Manager.
3. Connect the hardware.
4. Verify initial connection.
5. Change the Hub password.
6. You should update the firmware on the Hub to ensure you have the latest version. See Update
the firmware.
7. After you have completed your initial connection, you can create groups and assign ports to
each group. Once this step is complete, you can specify the groups that a client ID is allowed to
access. See Create groups and assign to client IDs.
8. Connect to groups. Any user (Administrator or non-Administrator) can open the AnywhereUSB
Manager and connect to the Hubs and groups to which access is allowed.
Note If you installed the AnywhereUSB Manager as a service in step 2, above, only
Administrators can open the AnywhereUSB Manager.
9. The Hub administrator can use the Configuration and Management web user interface
(webUI) to configure networks parameters, services, and other Hub features. You can update
the firmware, back up the configuration, view system information and logs, and reboot the
Hub. See Administrators: Configure the AnywhereUSB® Plus in the web user interface.
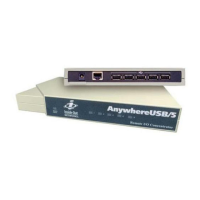
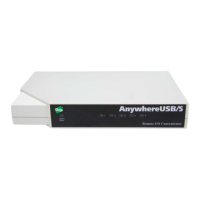
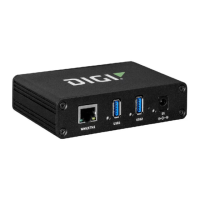
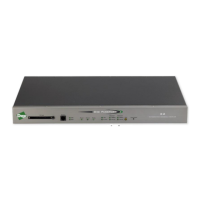
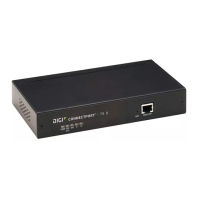
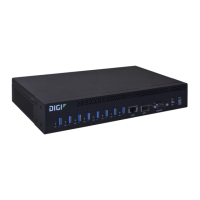
Verify product components
All AnywhereUSB® Plus models include the AnywhereUSB® Plus device in the box. Additional
equipment may be required or may be optional.
AnywhereUSB® Plus User Guide
10
 Loading...