D-Control Guide18
Placement of D-Control
In planning the placement of your D-Control, make sure to
account for the dimensions of the assembled system, allowing
for at least 1 inch (2.5 cm) of open space behind the finished
unit. This meets the ventilation requirements for the D-Con-
trol units.
For detailed dimensional information, see “Mechanical Speci-
fications” on page 5.
When assembling the unit, you will need additional clearance
on either side of the unit to push the sides of the stand to-
gether in the final steps of assembly. You will also need access
to the rear of the unit to make cable connections.
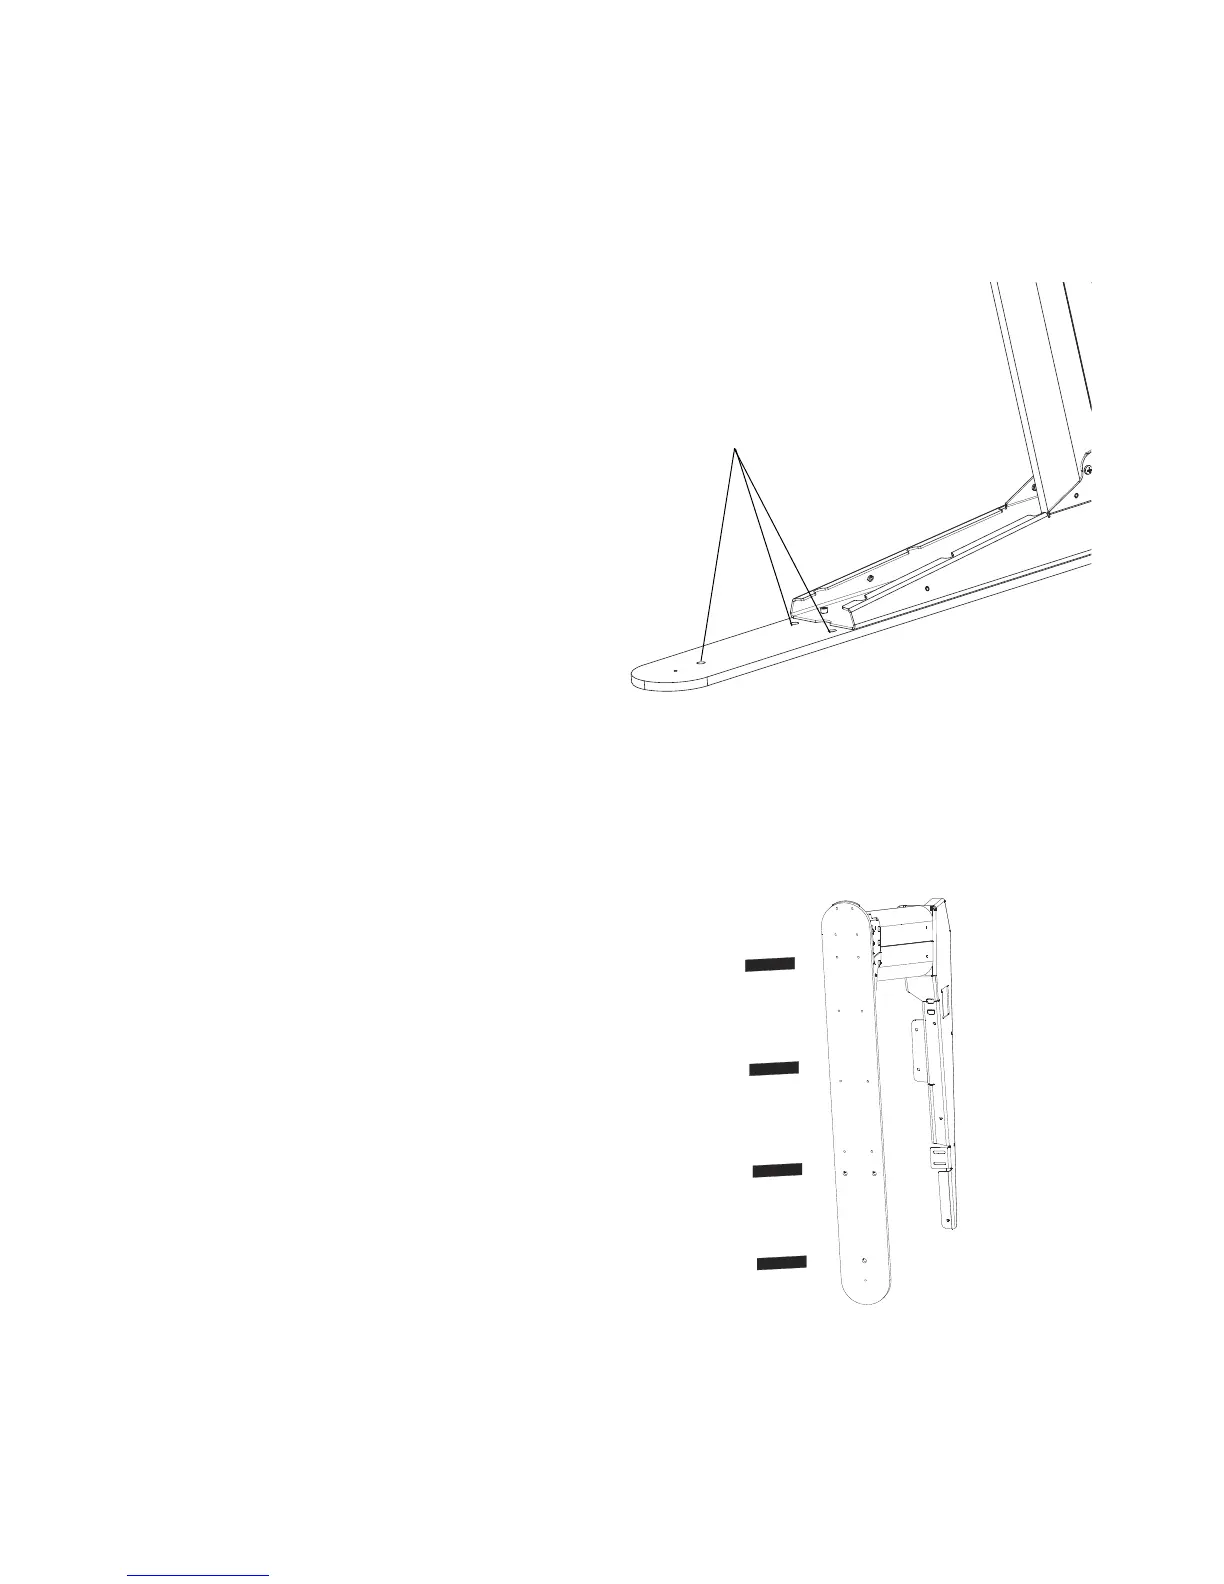
Preparing the Stand Legs
Before assembling the D-Control stand, make sure the floor in
the installation space is level and the areas directly under the
legs are flat.
Each stand leg has three holes for leveling screws in its base,
which can be used to fine-tune the leveling of the unit.
If you are placing the unit on a cement or hardwood floor, you
can apply adhesive-backed rubber pads (included) to the bot-
toms of the legs to protect the floor and help level the stand.
If you are using the leveling screws, you can place rubber pads
directly under the screws to further protect the floor.
Figure 5. Location of leveling screws
Figure 6. Applying rubber pads to bottom of D-Control leg
(3) 1/2-inch–20 x 1-inch socket head cap screws