Chapter 3: Setting Up D-Control 23
Moving the Spacer Plate
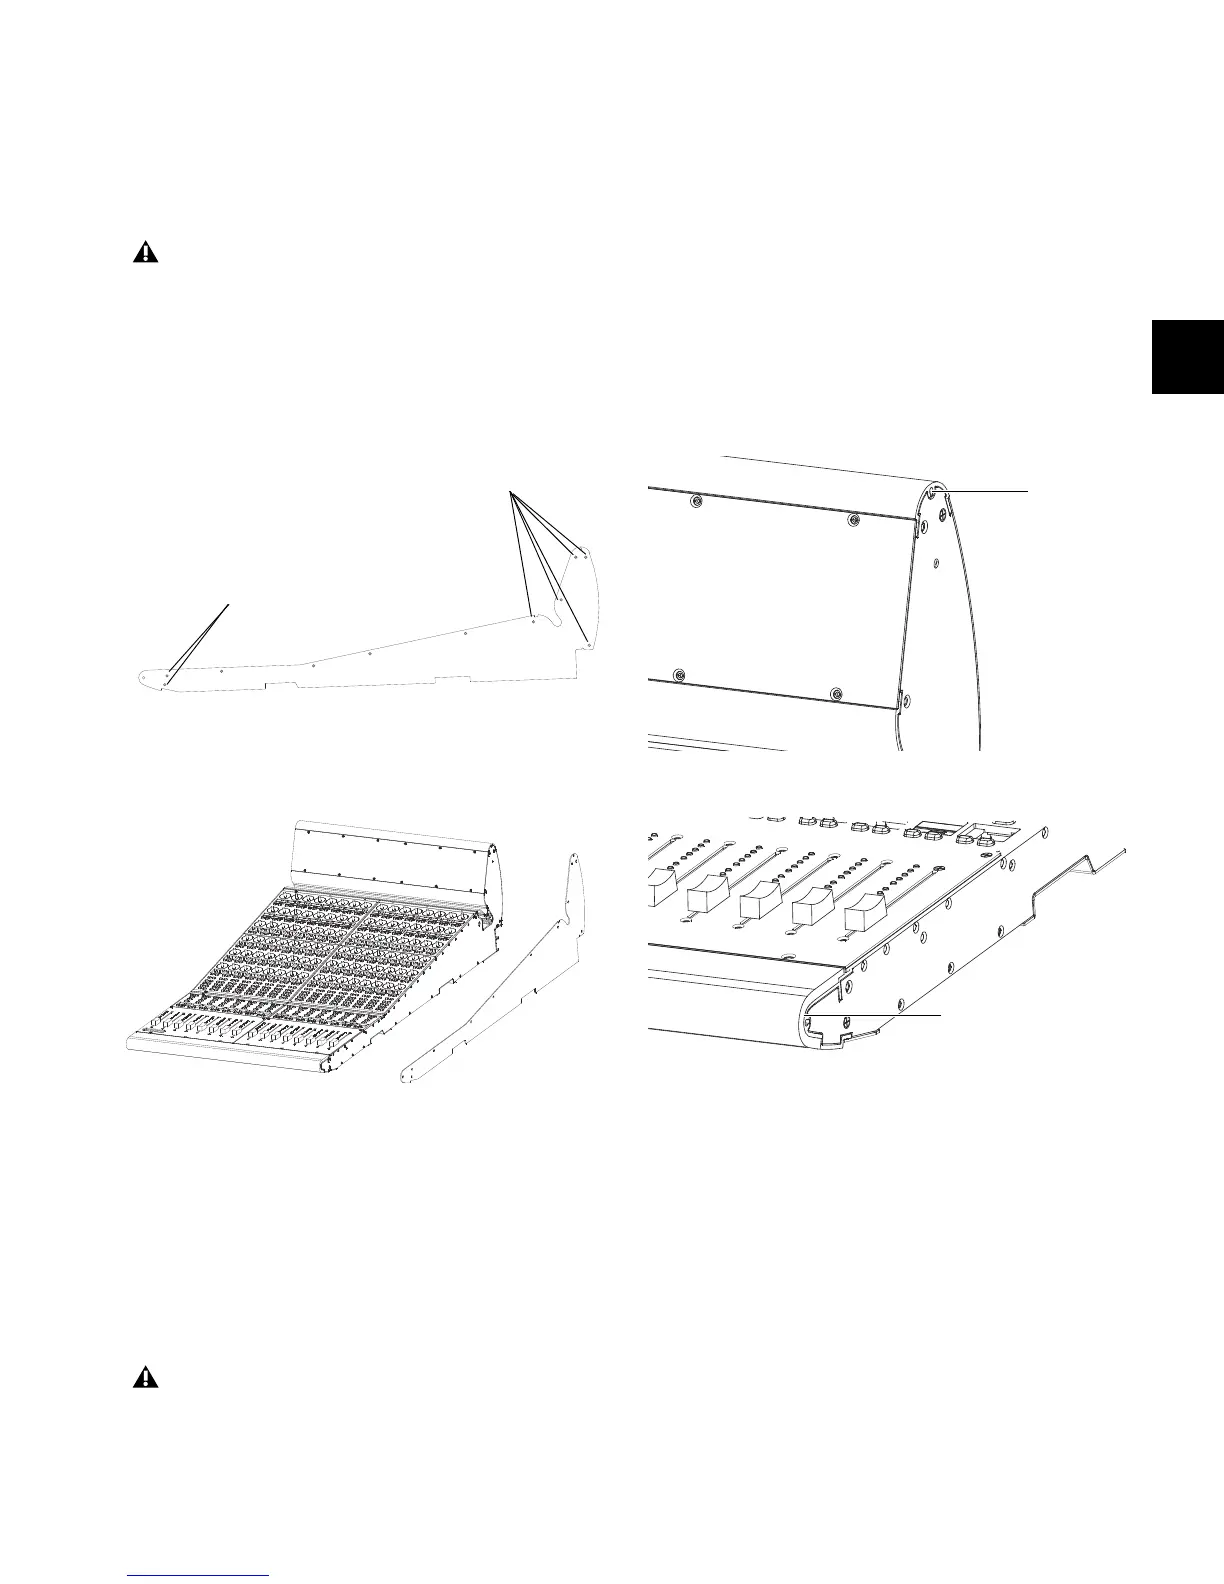
When installing any Fader Modules on the right of the Main
Unit, you will need to remove the spacer plate and its screws
from the far right Fader Module and place them on the right
side of the Main Unit.
To move the spacer plate:
1 Remove the screws holding the spacer plate in place. Make
sure to note the location of the longer screws (2 in the front
and 5 in the back) as you remove them.
2 Remove the spacer plate from the right side of the Fader
Module.
3 Remove the corresponding screws from the right side of the
Main Unit, and save them for the Fader Module.
4 Position the spacer plate on the right side of the Main Unit,
and attach it in place with the screws that originally held it on
the Fader Module. Make sure to note the location of the longer
screws.
5 Place the remaining screws in the side of the Fader Module.
Make sure to note the location of the longer screws.
Leveling the Pins on the Rightmost Unit
Fader Modules and Producer’s Desks ship with two pins in
their right side to help anchor the units together on the stand.
(These pins are not needed on the rightmost unit in your con-
figuration, and can be removed.)
To level the roll pins on the rightmost unit:
1 Identify the unit that will occupy the rightmost position in
your configuration.
2 Use a small hammer to tap in the two pins the right side of
until they are flush with the side of the unit. (There is no stop
inside the pin rails, so you will be able to install new pins if
you expand your system later.)
Do not use a power screwdriver or similar high-torque
device to remove and replace the screws for the spacer
plate, as it might strip the threads in the screw housing.
Figure 19. D-Control spacer plate (removed from a Fader Module)
Figure 20. Removing the spacer plate from a Fader Module
The holes on the spacer plate are countersunk for instal-
lation on the right side of a unit. Do not attach the spacer
plate to the left side of any D-Control unit.
long screws (5)
long screws (2)
Figure 21. Installing the roll pin in the top of a D-Control unit
Figure 22. Installing the roll pin in the front of a D-Control unit