3 - 63DigiGate-700
™
for Windows
®
- User’s Guide
DigiGate-700
for Windows
™ ®
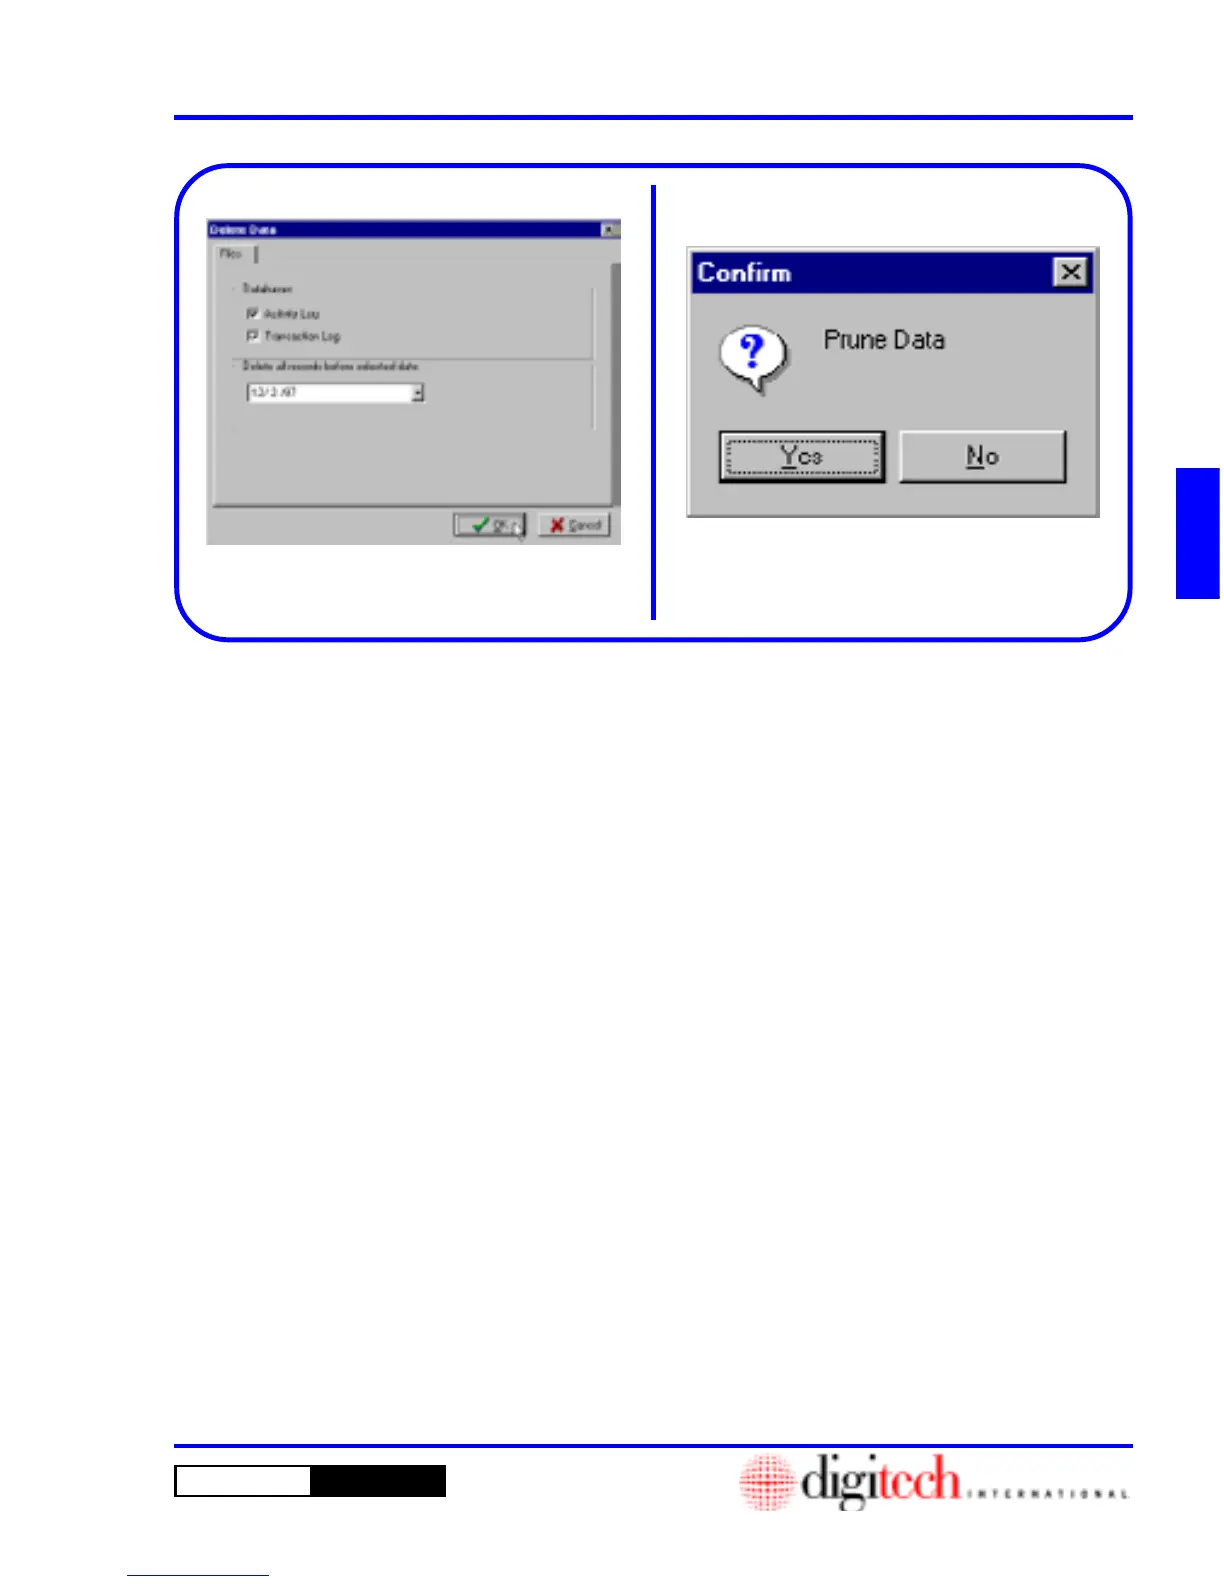
Figure 3-132
9. When all selections have been made, Click on
the
OK
button to delete the records or on the
Cancel
button to abandon the operation and
return to the
Utility Menu
. Figure 3-132.
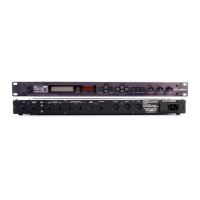
10. This will open the
Confirm
window with a
prompt of “Prune Data.” Figure 3-133
11. Click on the
Yes
button to delete the records or
on the
No
button to abandon the operation and
return to the
Utility Menu
.
WARNING: This operation is removing data
from your computer permanently!
Figure 3-133