3 - 73DigiGate-700
™
for Windows
®
- User’s Guide
DigiGate-700
for Windows
™ ®
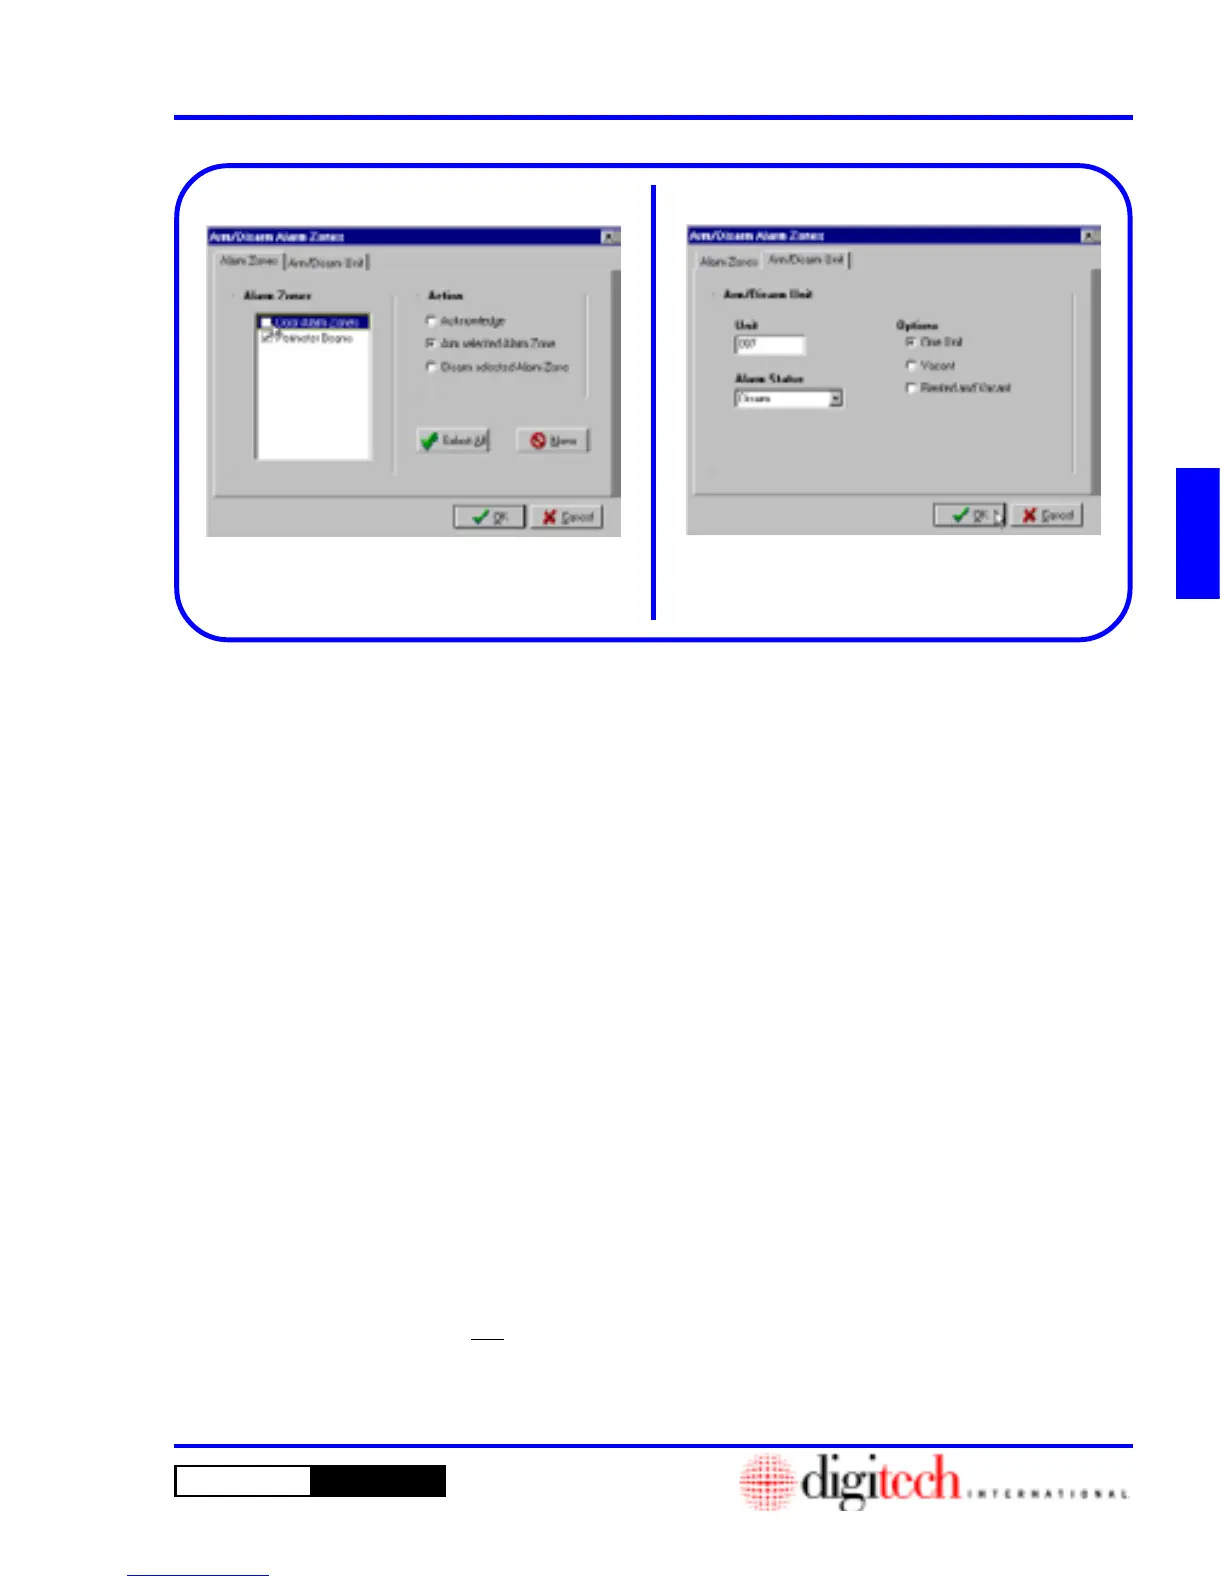
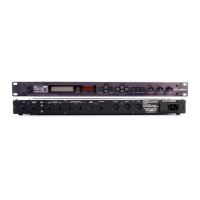
Figure 3-154
Figure 3-153
1. Click on the
Arm/Disarm Unit
tab to work
with individual or groups of units.
Figure 3-154.
2. In the
Options
area, Select
One Unit
and type
a unit number in the
Unit
field to arm or disarm
a single unit.
OR
Select the
Vacant
option under
Options
to
specify all vacant units or
Rented and Vacant
to specify ALL units.
3. Select
Arm
or
Disarm
from the
Alarm Status
list box.
4. When all selections have been made, Click on
the
OK
button to perform the action or on the
Cancel
button to abandon the operation and
return to the
Main Menu
.
5. The
Confirm
window will open asking you to
verify your decision. The prompt will pertain to
the action you are performing.
6. Click on the
OK
button to perform the action or
on the
Cancel
button to abandon the operation
and return to the
Main Menu
.
NOTE: If an alarm is sounding, Selecting
Acknowledge
and Clicking on
OK
will turn
the siren off and reset the alarm zone. Selecting
the
Arm
or
Disarm selected Alarm Zone
will perform the stated function when OK is
Clicked.
4. Select (check) or Deselect (uncheck) the
Alarm
Zones
check boxes you want.
Figure 3-153.
5. The
All
and
None
buttons will Select or Clear
all the check boxes respectively.
6. When all selections have been made, Click on
the
OK
button to perform the action or on the
Cancel
button to abandon the operation and
return to the
Main Menu
.
The two tabs,
Alarm Zones
and
Arm/Disarm
Unit
are independent windows.
OK
must be
clicked when the selected windows is active to
perform the desired action. Clicking
OK
on the
Alarm Zones
windows has NO effect on the
Arm/Disarm Unit
windows and vice versa.
Arm/Disarm Unit