3 - 82 Operating Instructions
DigiGate-700
for Windows
™ ®
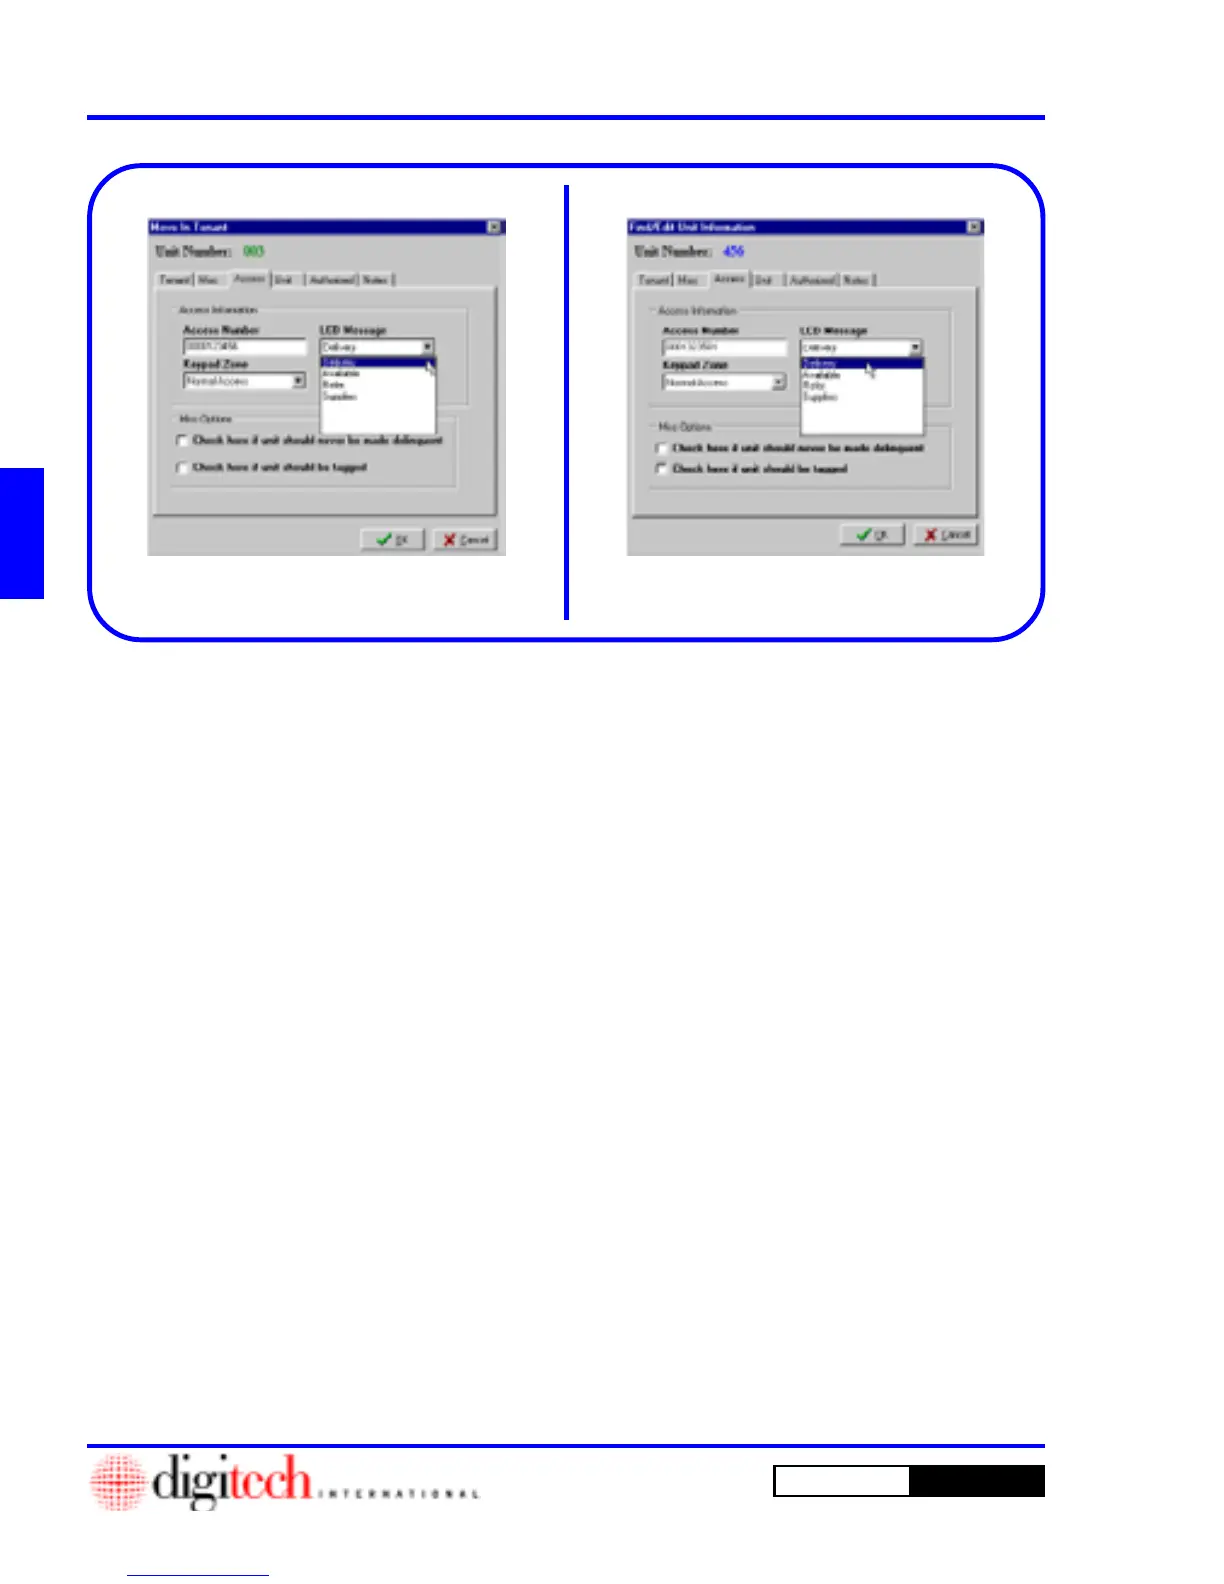
1. Click the
Move In
button on the
Main Menu
screen.
2. Select a unit and Click on the OK button.
3. This will open the
Move In Tenant
window.
Figure 3-172.
4. Click on the
Access
tab.
5. Open the
LCD Message
list box to the right of
the
Access Number
list box.
6. Select one of the messages.
7. When you have completed the move in, Click
on the
OK
button. The message will display
when the tenant uses the selected keypads for
the number of times set in
Count
in the
Create
new message
window, Figure 2-99, Page 2-
50.
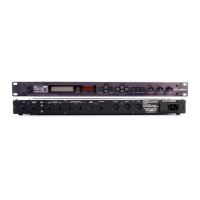
1. Click the
Find
button on the
Main Menu
screen.
2. Select a unit and Click on the
OK
button.
3. This will open the
Find/Edit Unit
Information
window. Figure 3-173.
4. Click on the
Access
tab.
5. Open the
LCD Message
list box to the right of
the
Access Number
list box.
6. Select one of the messages.
7. When you have completed your changes, Click
on the
OK
button. The message will display
when the tenant uses the selected keypads for
the number of times set in
Count
in the
Create
new message
window, Figure 2-99, Page 2-
50.
Figure 3-172 Figure 3-173
The LCD Option setup (amount of time each message is displayed, the number of times a message will
display for a tenant, and at what keypads the message will display), and the creation of custom messages was
described in the “Options” section of Chapter 2.
This section only deals with assigning messages to specific tenants.
The setups for any message may be modified each time the message is assigned to a tenant, changing the
setup must be done in the setup menu, not here.
LCD Keypad Option
DigiGate System Options
Assigning Messages at Move In
Assigning Messages in Find/Edit