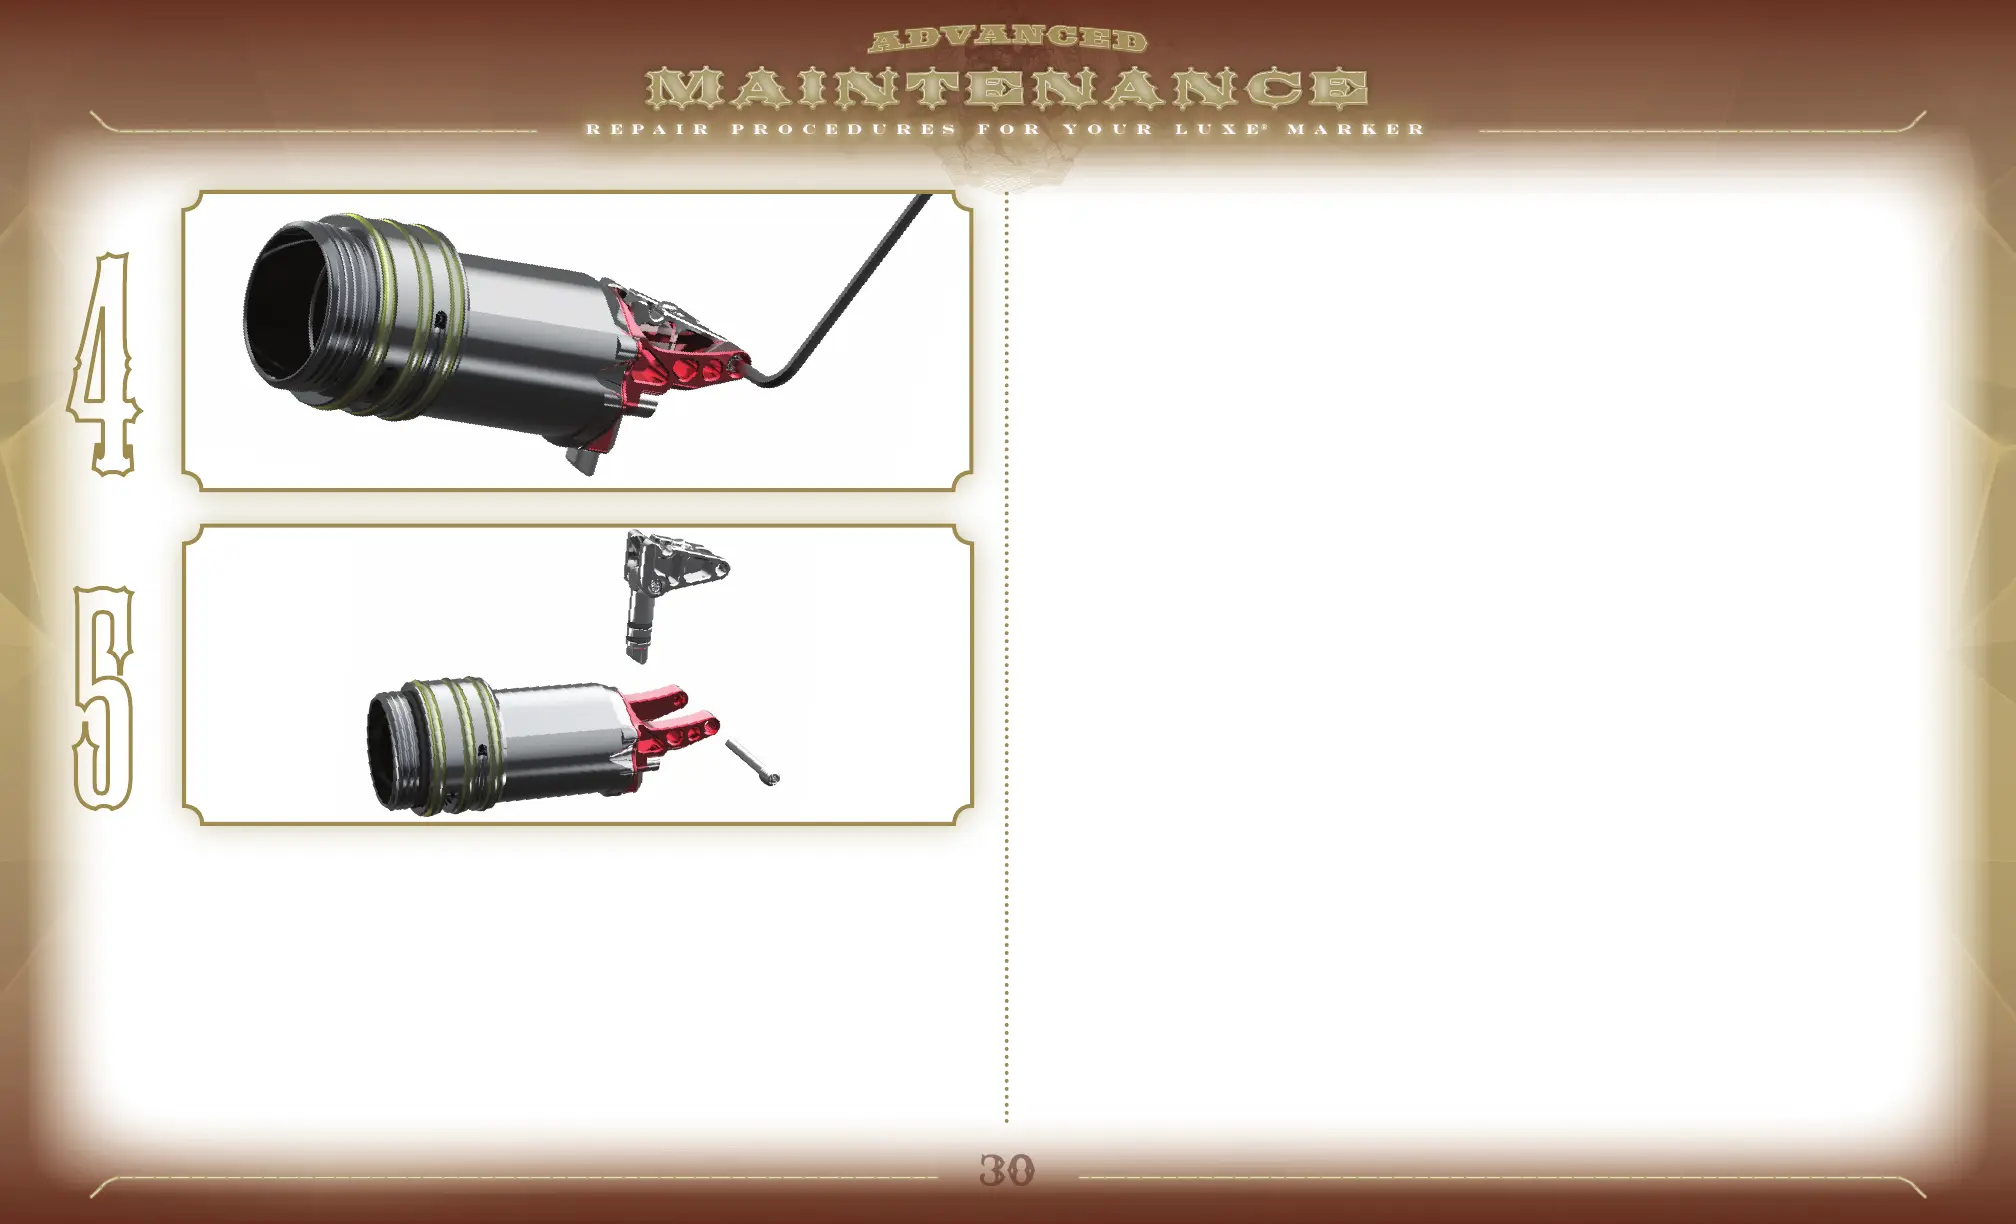
Using a 1/16-inch allen wrench, remove the Quick Strip pivot pin [FIG. 4] With the pin removed, the latch can
be lifted upward, exposing the degassing valve core and its black o-rings [FIG. 5] If the quick-strip latch was
opened while the Luxe
®
was still connected to a gas supply and has developed a leak, these are the o-rings
likely to have been damaged. To replace, simply remove them with an o-ring pick and slide new o-rings into
place, lubricating them lightly with GR33SE™.
The degassing valve core pin also serves as the locking pin which secures the Power Core in the Luxe
®
body.
Inspect the lower end of the degassing valve core pin for signs of wear or bending, its edges should be square
and undamaged.
Reassembly of the Power Core is performed in reverse of disassembly. Lower the cleaned and GR33SE™
lubricated degassing valve core into place, and align the rear of the quick-strip latch. Apply a small amount of
Blue Loctite
®
242 or equivalent threadlocker (if unavailable, clear nail polish may substitute) on the threads of
the latch cover screw and pivot pin. Slide the quick-strip latch pivot pin into place and screw it in, taking care
not to over-tighten. Use an o-ring pick to stretch the latch return o-ring up into its groove in the Quick Strip
latch. Set the latch cover in place and secure it with its screw. Next, re-assemble the Power Core.
FIG.
FIG.