Digital Monitoring Products, Inc. | Troubleshooting Guide 21
HOW AN AREA SYSTEM WORKS
Allows you to define all of the areas of the system� Each Area of the system may be assigned a name consisting of up to
sixteen alpha-numeric characters� Each Area may also be operated independently of the other areas of the system, have
its own Armed Output and may follow its own set of Schedules� If you tell the system to arm and nothing happens make
sure you have programmed areas in the panel programming�
Note: At arming, the keypad displays ARM DISARM� Press the select key beneath ARM�
1
When you arm the system, the keypad displays ALL? NO YES or ENTER CODE:-, depending on how the
Closing Code option is set�
2
Enter your User Code, if necessary� Select YES to arm all areas� If a Closing Code is required, select YES
arms all of the areas that are assigned to the User Code or Profile�
3
Select NO and the keypad displays each area’s name (top line of LCD display) and the area number,
followed by YES and NO options�
See your Programming Guide for details about the number of Areas available on your system�
Dierent arming types require dierent methods of arming and panels may also be programmed to require or to not require
a Closing Code� Depending on how the Closing Code option is programmed (YES or NO) determines the system’s arming
process� See the Arming Procedure chart for more detail:
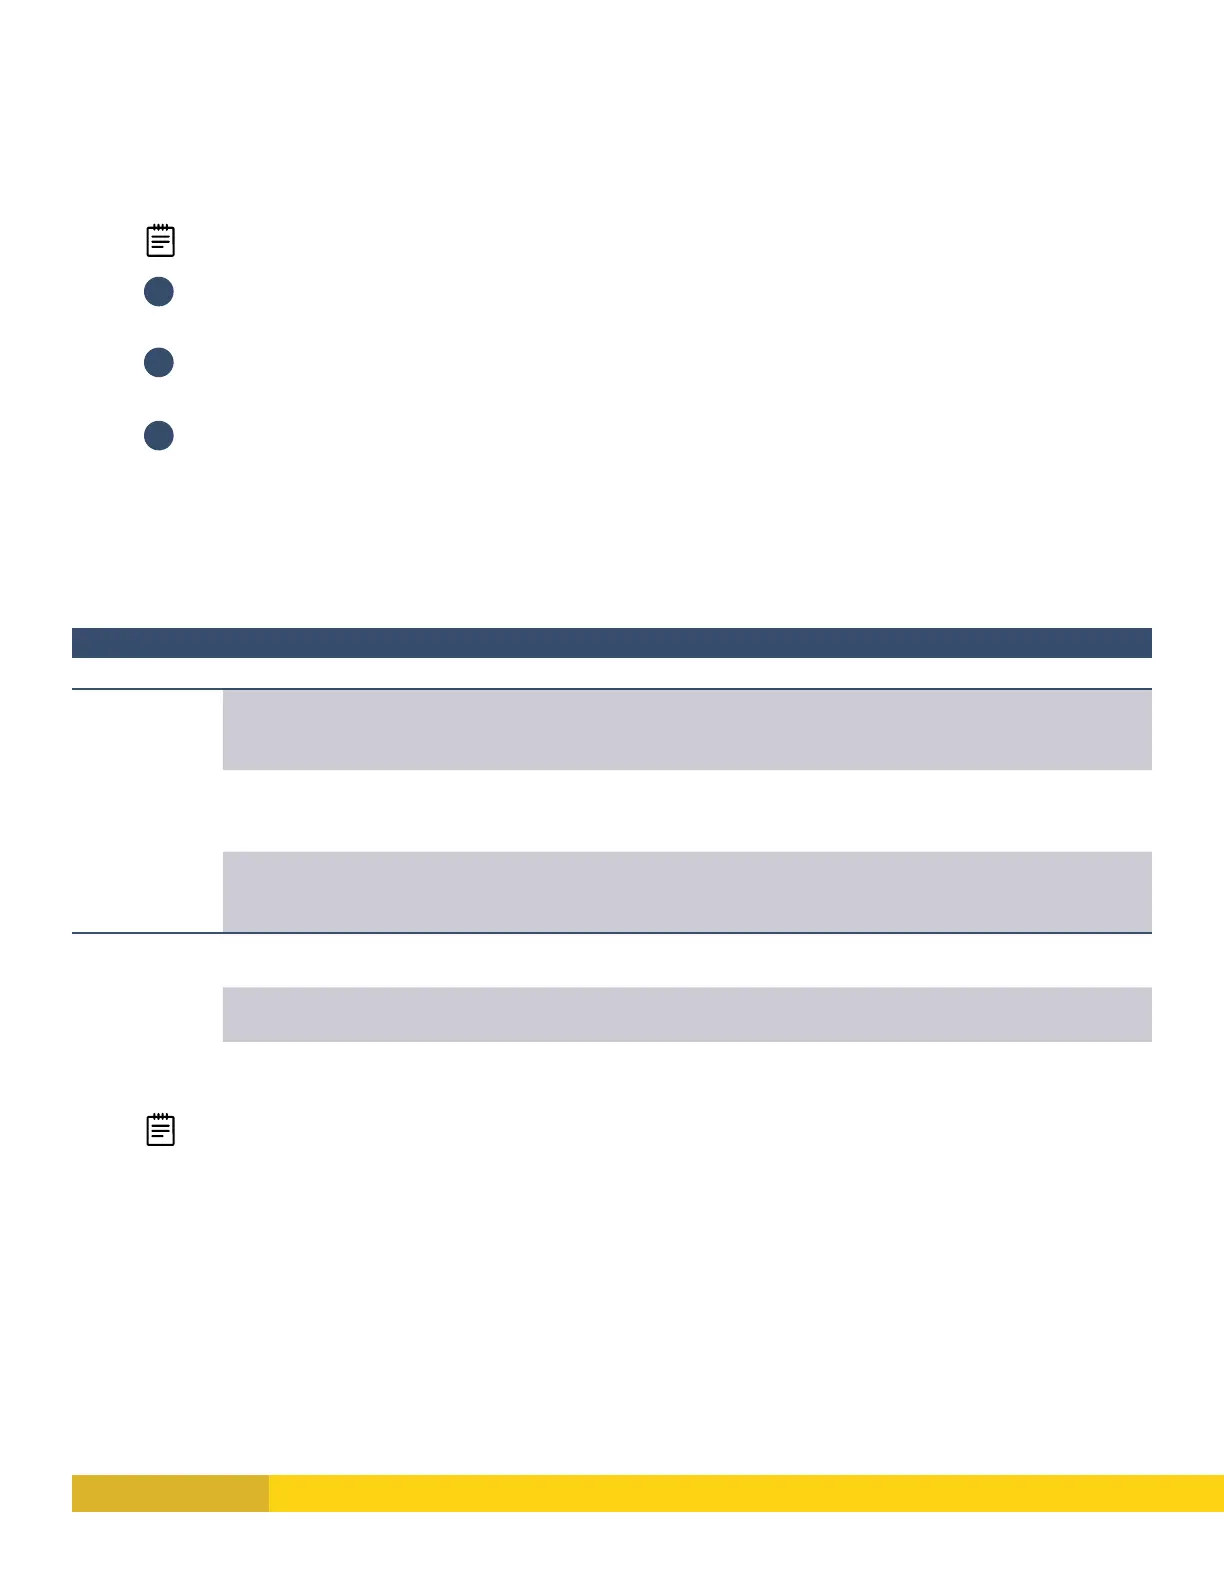
HOW TO ARM AND DISARM A PANEL
ARMING TYPE HOW TO ARM HOW TO DISARM
CLOSING CODE
ON
All/Perimeter
Enter code�
Select All or Perimeter�
Enter code�
Home/Sleep/Away
Enter code�
Select HOME, SLEEP, or AWAY�
Enter code�
Area
Press CMD until ARM/DISARM displays�
Enter code when prompted�
Press CMD until ARM/DISARM displays�
CLOSING CODE
OFF
All/Perimeter
Press CMD until ALL/PERIMETER
displays�
Enter code�
Home/Sleep/Away
Press CMD until HOME/SLEEP/AWAY
displays�
Enter code�
Area Press CMD until ARM/DISARM displays� Press CMD until ARM/DISARM displays�
Note: The Closing Code option is programmed in SYSTEM OPTIONS on XT Series panels�