G424F(FE) Service Manual Chapter 3. Engine Mechanical System 94
9. Connecting rod cap bolts, without fully tightening,
with a 14-mm socket wrench and handle.
Important
• Rotate the crankshaft some turns, so that the
connecting rods are properly seated.
10. Tighten the connecting rod cap bolts, with a 14-
mm socket wrench and torque wrench.
Tighten
• Connecting rod cap bolts:...............30 – 40 N·m
(22.0 – 29.5 lb·ft.)
+ 40° to 45°.
11. A new gasket in the oil pump.
12. Oil pump to cylinder block and attaching bolts,
with a 5-mm Allen wrench and torque wrench.
Tighten
• Bolts: 4 – 10 N·m (3 – 7 lb·ft.).
13. Balancer and baffle plate and attaching bolts,
with a Torx E12 wrench and torque wrench.
Tighten
• Bolts: 20 – 24 N·m (15 – 17.6 lb·ft.).
Obs.: One of the bolts only can be installed and
tightened after installing the oil strainer.
14. Oil strainer and attaching bolts in the oil pump,
with a 10-mm socket wrench and torque wrench;
tighten.
Tighten
• Bolt: 4 – 10 N·m (3 – 7 lb·ft.).
15. Adhesive sealant in the cylinder block and install
the crankcase and attaching bolts; tighten with a
Torx E12 wrench and torque wrench.
Tighten
• Bolts: 6 – 10 N·m (4.5 – 7 lb·ft.).
16. Oil filter.
Obs.: Only tighten with your hands.
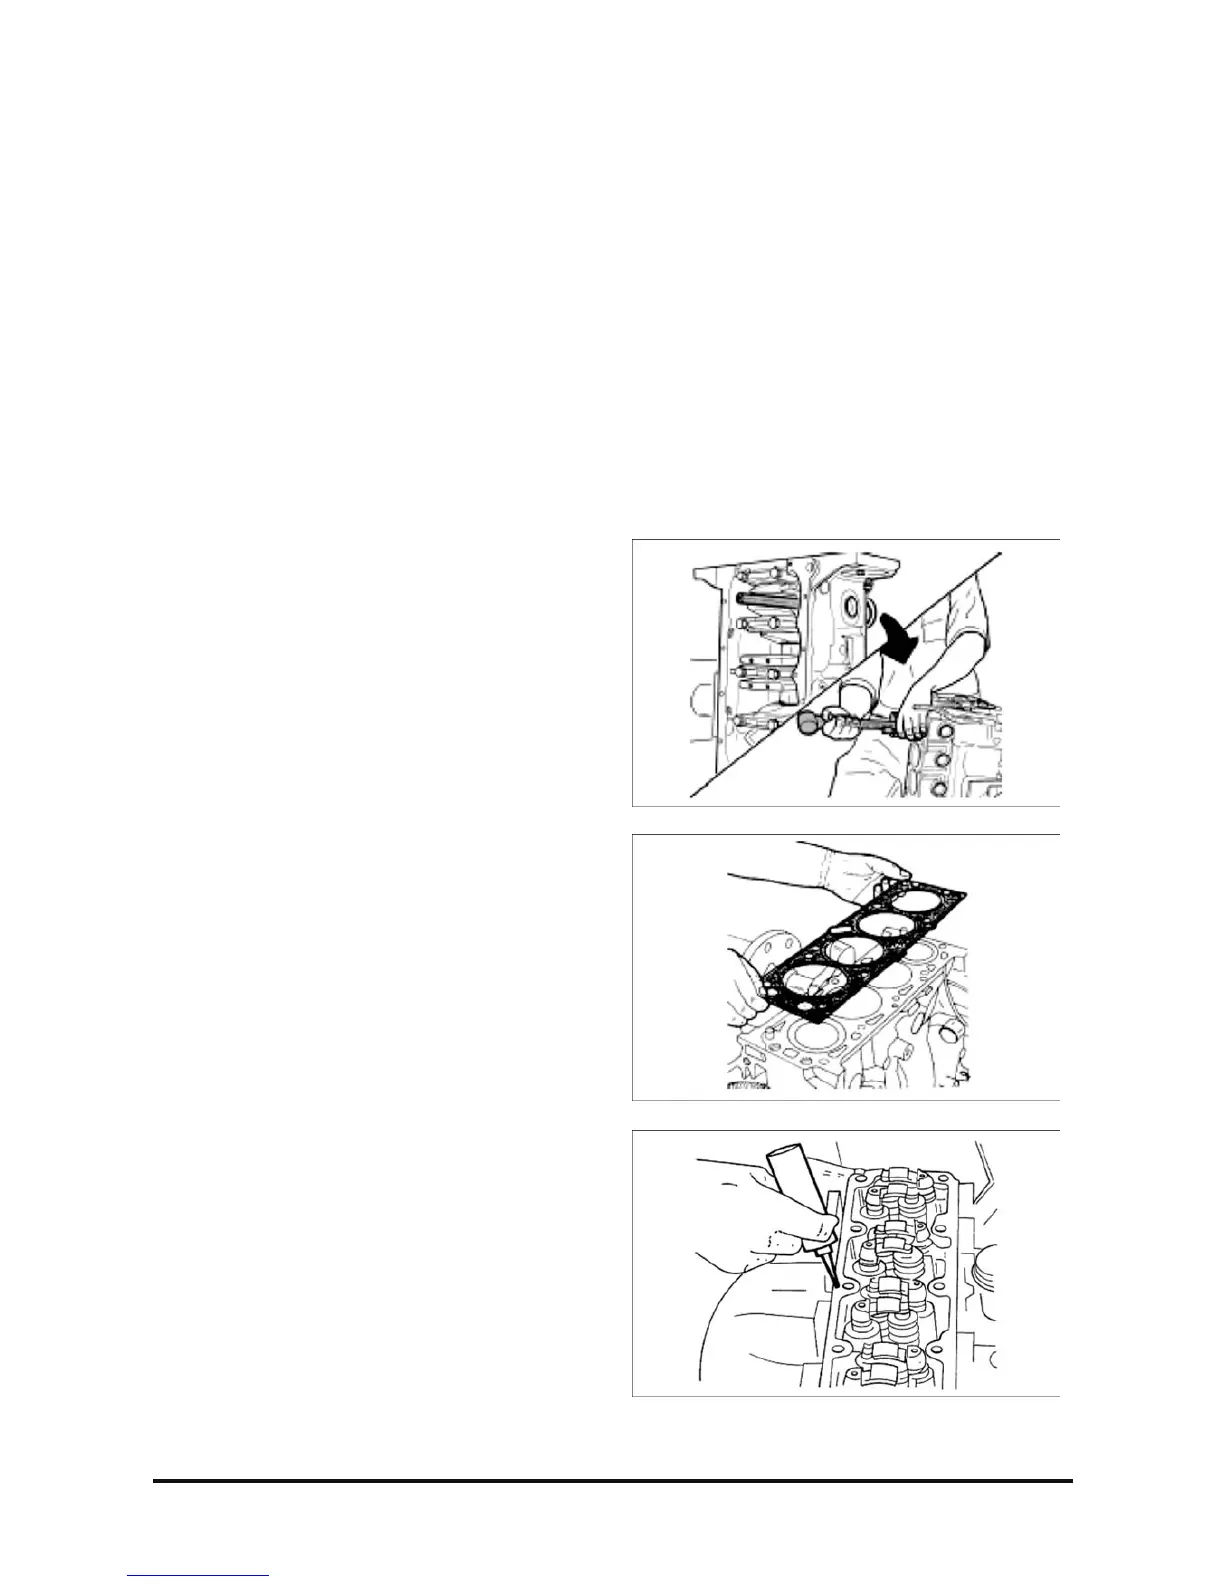
17. Turn tool M-780668 180°, so that the engine
stay with the pistons turned upward.
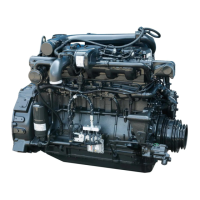
18. A new cylinder head gasket, with the TOP mark
turned upward and toward the engine front side.
Obs.: Whenever is necessary to remove the
cylinder head, a new gasket should be used.
19. Cylinder head in the engine.
20. Valve lifters, linkages and rocker arms,
lubricated with molybdenum bisulfate compound.
Important
• Apply sealing compound in the surface where
the camshaft case will be seated.
21. Camshaft case.