G424F(FE) Service Manual Chapter 3. Engine Mechanical System 97
47. A new seal ring in the crankcase phase and
reference sensor.
48. Crankshaft phase and reference sensor in the
cylinder block and attaching bolt; use a Torx E10
wrench and torque wrench to tighten.
Tighten
• Bolt: 4 – 8 N·m (3 – 5.8 lb·ft.).
49. Spark plugs, with a proper wrench
.
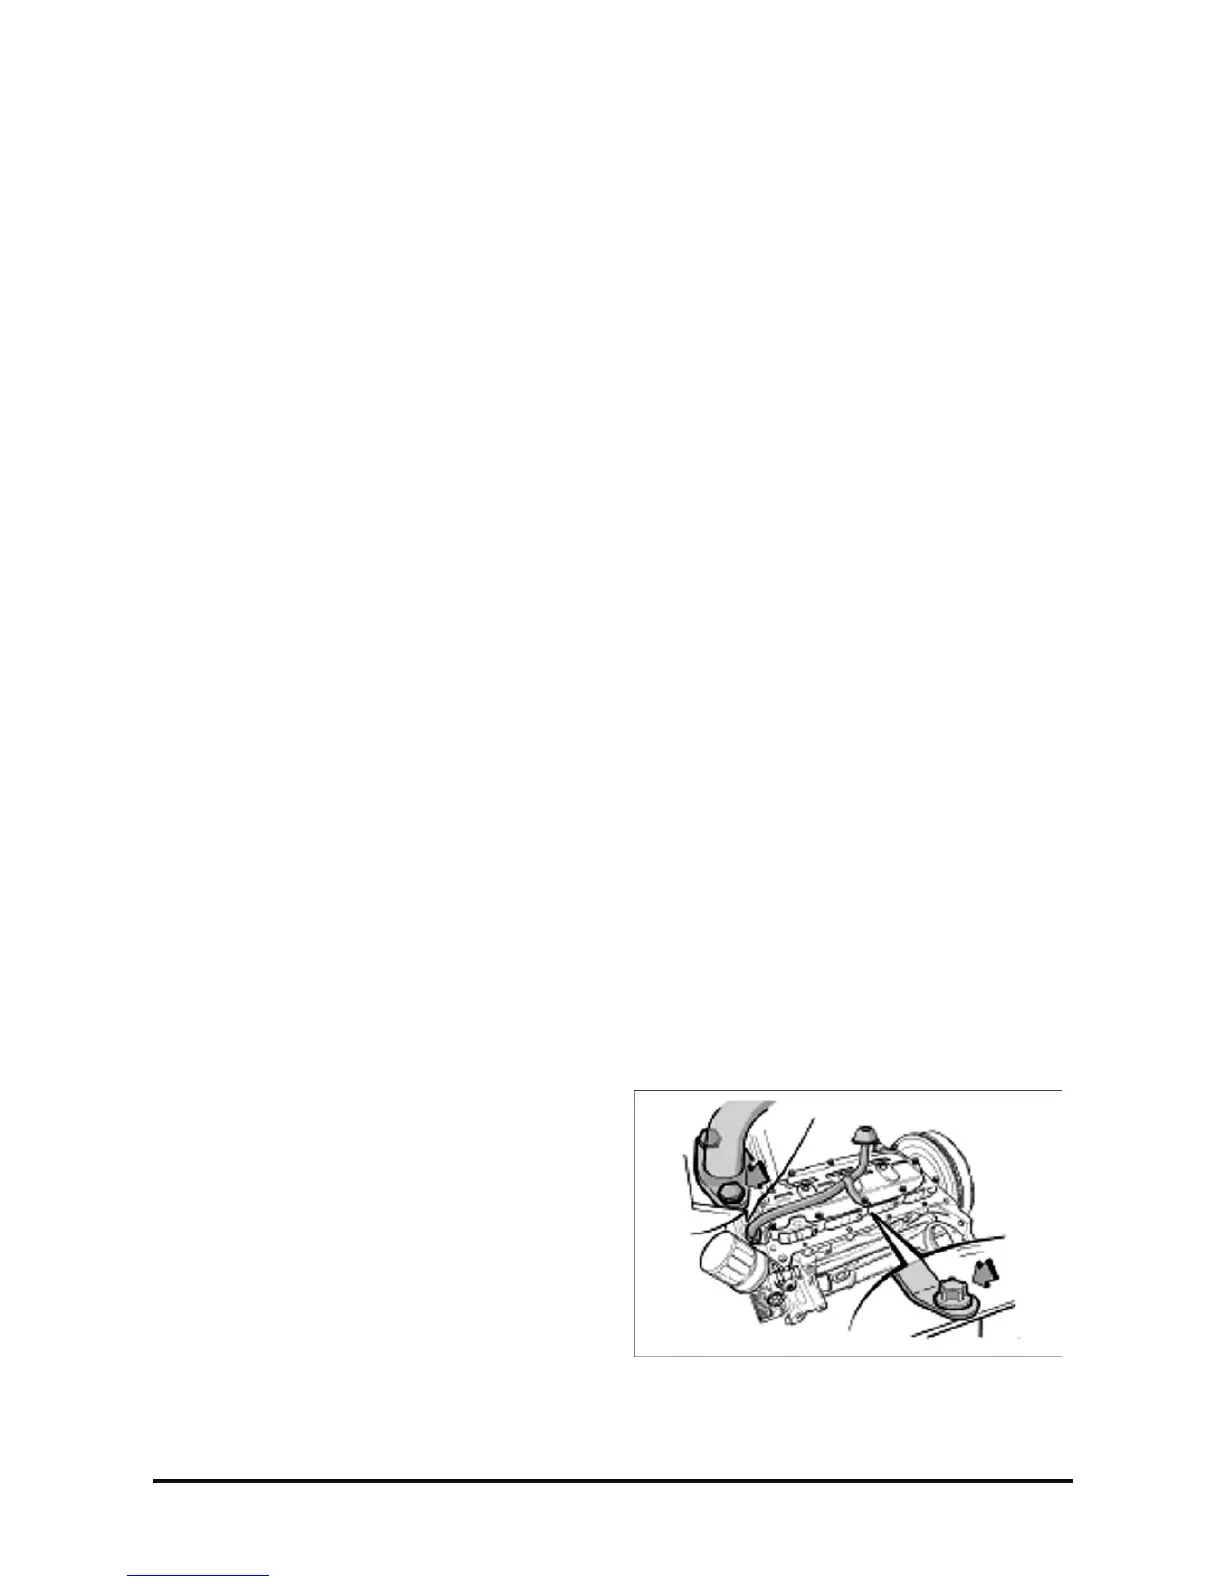
50. Power steering pump and attaching bolts, with a
13-mm socket wrench and torque wrench.
Tighten
• Bolts: 20 – 30 N·m (15 – 22 lb·ft.).
51. Generator and attaching bolts, with a 14-mm
socket wrench and torque wrench; tighten.
Tighten
• Bolts: 20 – 30 N·m (15 – 22 lb·ft.).
52. Belt automatic tensioner with attaching bolt, with
a 16-mm socket wrench and torque wrench;
tighten.
Tighten
• Bolt: 18 – 22 N·m (13 – 16 lb·ft.).
53. Clutch; see “Clutch – Installation”, section 7C.
54. Engine assembly; see “Engine Assembly –
Installation”, in this section.
Pistons and/or Connecting Rods
Removal
Remove or disconnect
1. Engine and transmission assembly, as per
instructions under “Engine and Transmission
Assembly – Removal”, in this section.
2. Clutch; see “Clutch – Removal”, on Section 7C.
3. Power steering pump attaching bolts, with a
13-mm box-end wrench; remove the pump.
4. Generator attaching bolt, with a 14-mm box-end
wrench; remove the generator.
5. Cylinder head; see “Cylinder Head – Removal”, in
this section.
6. Turn the engine 180° to have access to the
engine crankcase.
7. Engine crankcase attaching bolts, with a Torx E12
wrench, extension and handle; remove the
crankcase from the engine.
8. Oil strainer attaching bolt, with a 10-mm socket
wrench and handle. Remove the oil strainer bolts
and Torx E12 wrench. Loosen the attaching bolt
from the oil strainer stem.
9. Baffle plate and balancer attaching bolts, with a
Torx E12 wrench and handle; remove the baffle
plate and balancer.
10. Install two flywheel attaching bolts to the
crankshaft to rotate the latter and ease the
access to the connecting rod attaching bolts.
11. With a punch identify the connecting rod bearing
and connecting rod, according to the
corresponding cylinder.
12. Turn the crankshaft until the first and fourth
connecting rod remains with the attaching bolts
upward.
13. First and fourth connecting rod bearing attaching
bolts, with a 14-mm wrench, extension and
handle; remove the connecting rod caps.
14. Install tool T-9806681 in the connecting rod and
remove the piston.
15. Turn the crankshaft until the second and third
connecting rods have the attaching bolt turned
upward.