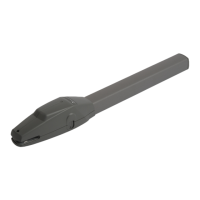
Wait 20 seconds or press the OPTION BUTTON again to exit programming mode.
8.2 Options 2
Keep the OPTION BUTTON pressed for 5 seconds to enter the OPTION 1 MENU, then press it again to navigate
through the available options.
Blinking LEDs indicate the item and the corresponding setting.
Pressing the “+” button activates the function (the red LED turns on) while pressing the “-” button disables
the function (the LED turns off).
Wait 20 seconds or press the OPTION BUTTON again to exit programming mode.
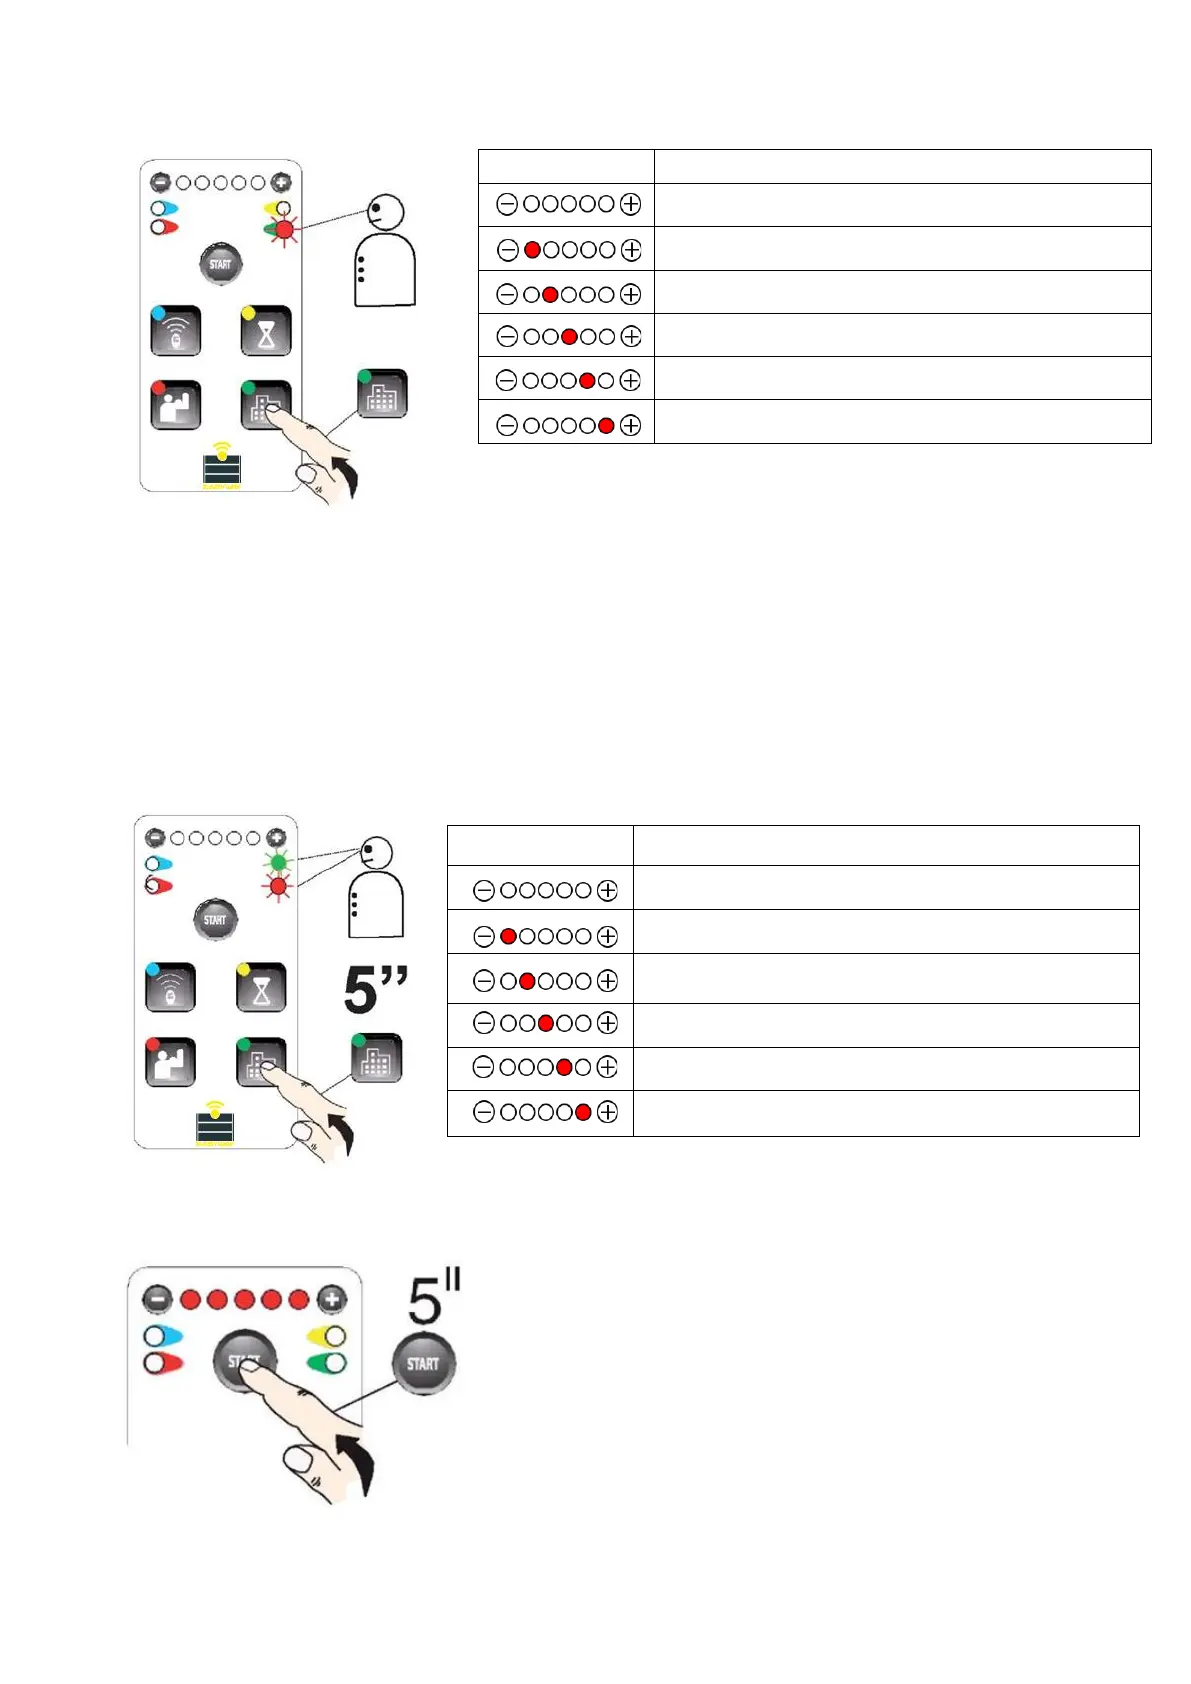
9. MANUAL PROGRAMMING
Manual configuration can be performed with a button
connected to terminals 6 - 10 (Step by Step) or a pre-
programmed remote control, see page 7, section 3.1. Set the
motors (both gate halves) at a 45° angle.
Hold the START button for 5 seconds. The 5 LEDs will turn on
and start blinking.
Housing estate options: step command - only opening
Operating mode change: OPEN - STOP - CLOSE - STOP
The STOP input becomes the PHOTO1 input.
Activating the PHOTO input results in closing.
Increase speed during slowdown.
The 12 - 13 output relay becomes the ADDITIONAL
LIGHT
Delay of the safety intervention during movement.
Operation in “TOTMAN” mode