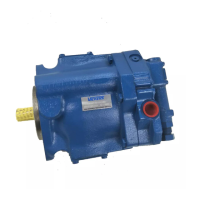
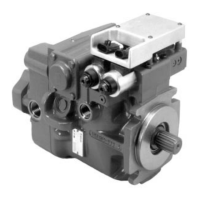
EATON PVM Piston Pump Service Manual E-PUIO-II001-E4 December 201742
Assembly must be conducted in a clean environment.
Dispose of leakage oil and oily cloths in an environmentally
responsible manner. Before assembly process can begin, all
parts have to be initially demagnetized and carefully clean
all parts and blow out holes with compressed air. Tighten all
screws plugs to the specied torque (see Appendix). Excep-
tions are specied in the text. Lubricate O-rings and shaft
sealing rings lightly with acid free lubricant for easier installa-
tion and to hold the O-ring in place in its groove or cavity.
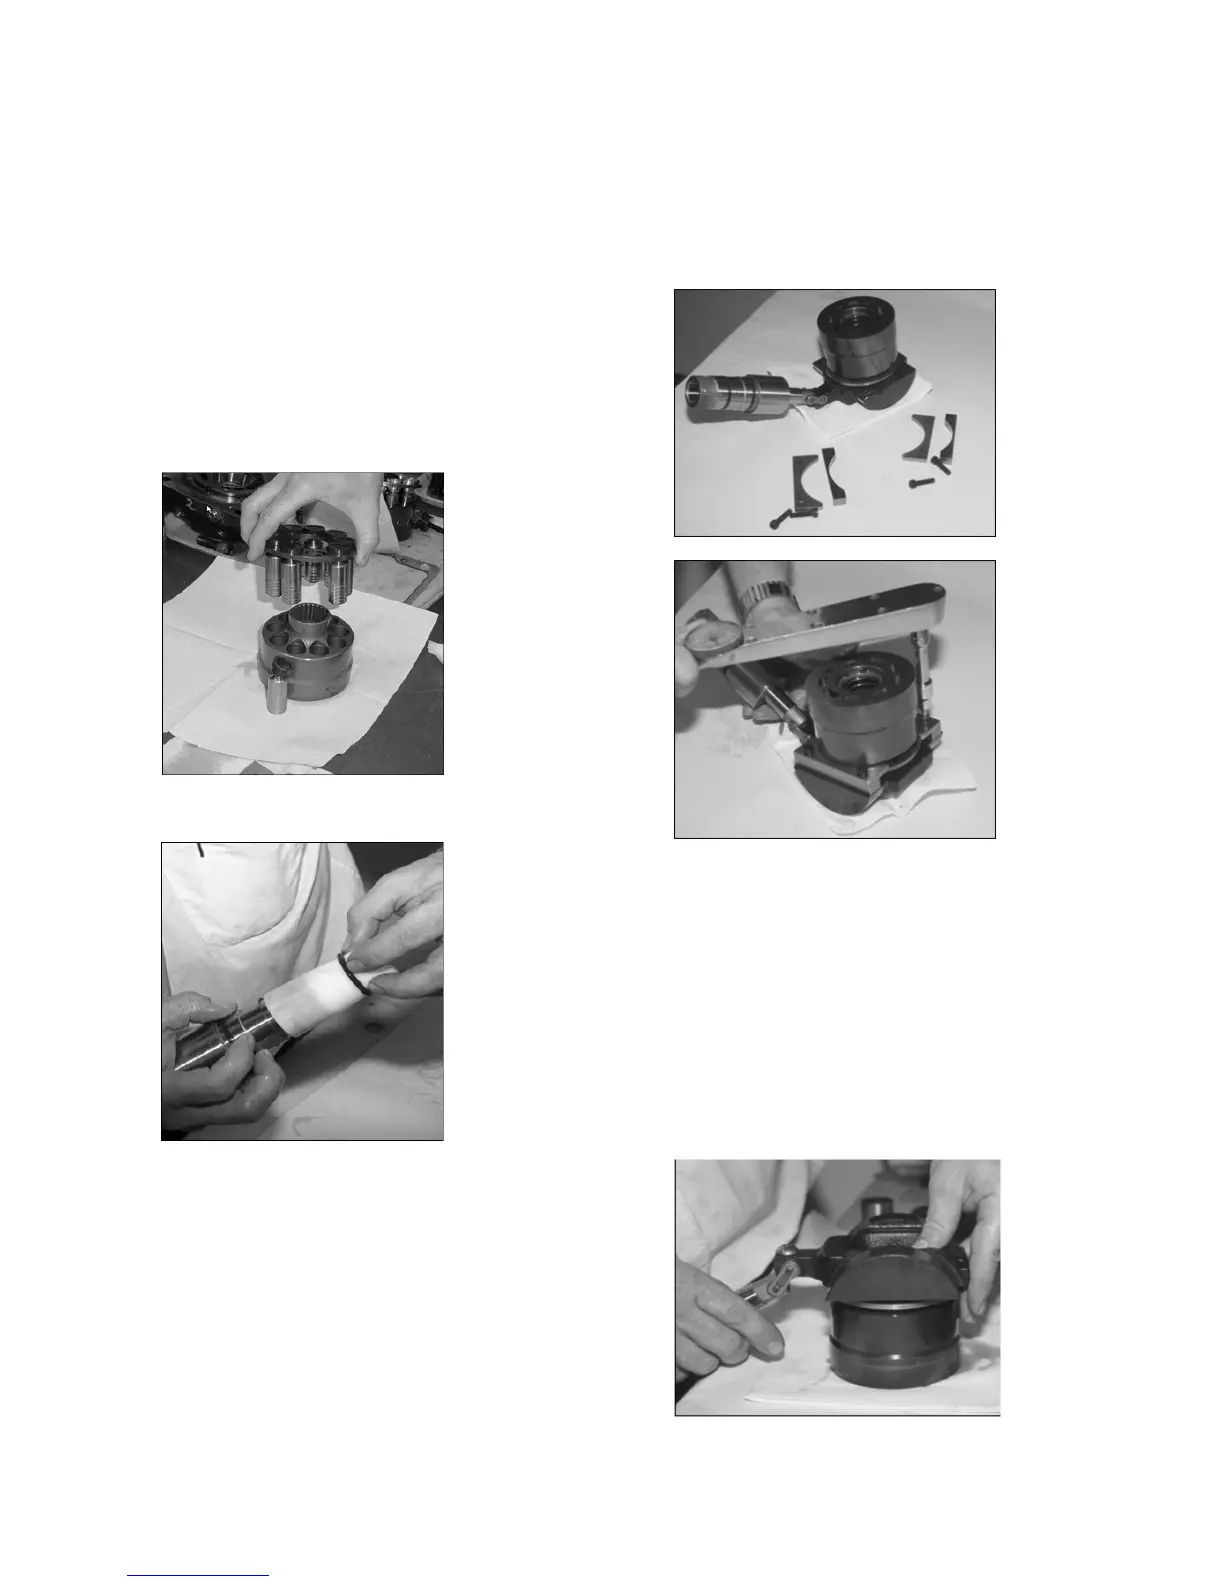
1. Assembly of the Rotating Group
2. Control Sleeve and Control Piston
Note: Extreme care should be taken when installing the major and minor
diameter O-rings and backup-rings. The minor OD seals are installed in
reverse order to the major OD seals.
3. The Control Sleeve and Piston Sub-assembly to the
Swash Plate
For xed hold down assemblies (57cc to 141cc):
• Place the swash plate with the control piston/sleeve
attached face down on the rotating group shoe faces.
Invert the swash plate and rotating group, install the
spacers, spacer limiter plates (bronze side towards the
spacers) and retaining screws.
Note: Torque the retaining screws to the specied torque
For Spherical Hold down Assemblies (18cc and 45cc):
• Install the pin into the seat with the pin partially coming out
of the at part of the seat. Set the at side of the seat
against the swash plate and press the pin through the seat
into the swash plate.
Note: The pin should be pressed ush or slightly below ush the surface of
the seat. A roll pin punch or a pin setter can be used to properly position the
pin into the spherical seat.
Assembly