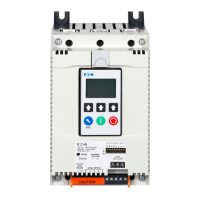
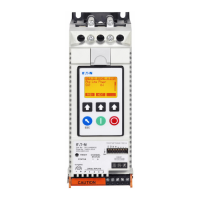
6 S611 Soft Starter MN03902011E—May 2012 www.eaton.com
Installation
Mounting
The S611 does not require any special tools for mounting operations.
To aid with panel layout, refer to the dimension drawings below and on Page 7 of this manual.
Drill holes per mounting hole location as shown. Mounting hardware may use either tapped
holes in the panel or lock washers and nuts to secure the soft starter.
For ease of installation, several slotted holes are provided on the muting plate for the S611.
Slotted and/or round holes may be used as long as two holes top and two holes bottom
(four total) are used, minimum.
To mount the unit, use all the hardware specified in the table below.
Required Mounting Hardware
Note: See Page 3 for weight support requirements
Dimensions
Approximate Dimensions in inches (mm)
A and B Frame
Frame Size Bolt Size Length Grade
Minimum
Quantity
A 3/8 -16 As required 5 4
B 3/8 -16 As required 5 4
C 3/8 -16 As required 5 4
D 3/8 -16 As required 5 4
E 3/8 -16 As required 5 4
F 3/8 -16 As required 5 4
2.76
(70.0)
2.76
(70.0)
7.43
(188.6)
4.21
(107.0)
19.47
(494.5)
18.30
(464.7)
4.33
(110.0)
11.58
(294.2)
3.15
(80.0)
3.15
(80.0)
Ø 0.39 (10.0)
8 Places
3.54
(90.0)
www.comoso.com
 Loading...