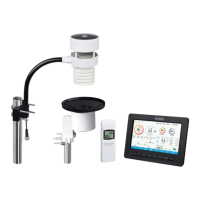
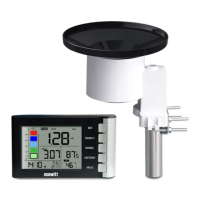
1. Surface tension conditioner layer
( patent pending)
8. Mounting bracelet and U-bolt set
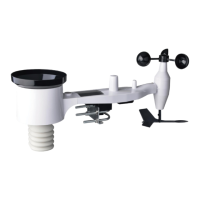
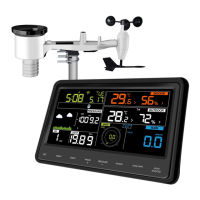
3. Temperature & humidity sensor
9. Power cord for built-in heater
4. Light & UV sensor, LED
indicator
10. USB port (factory use only )
11. Calibration button (factory use
only )
6. NORTH alignment indicator
Table 2: Sensor package assembly component list
4.2.1 Install batteries in sensor package
Open the battery compartment with a screwdriver and insert 2 AA Lithium
batteries in the battery compartment, and press “Reset” button, the LED
indicator on the back of the sensor package (item 4) will turn on for 3
seconds and then flash once every 4.8 seconds indicating sensor data
transmission. If you did not pay attention, you may have missed the initial
indication. You can always press the reset button to start over. Make sure
you see the flash once every 4.8 seconds.
If sensor has been put outside for some time, and solar panel has charged up
the internal accumulator fully or partially, if you install the 2 AA backup
Lithium battery, the system might not start up properly. So you can always
make a system reset by press the “Reset” button.