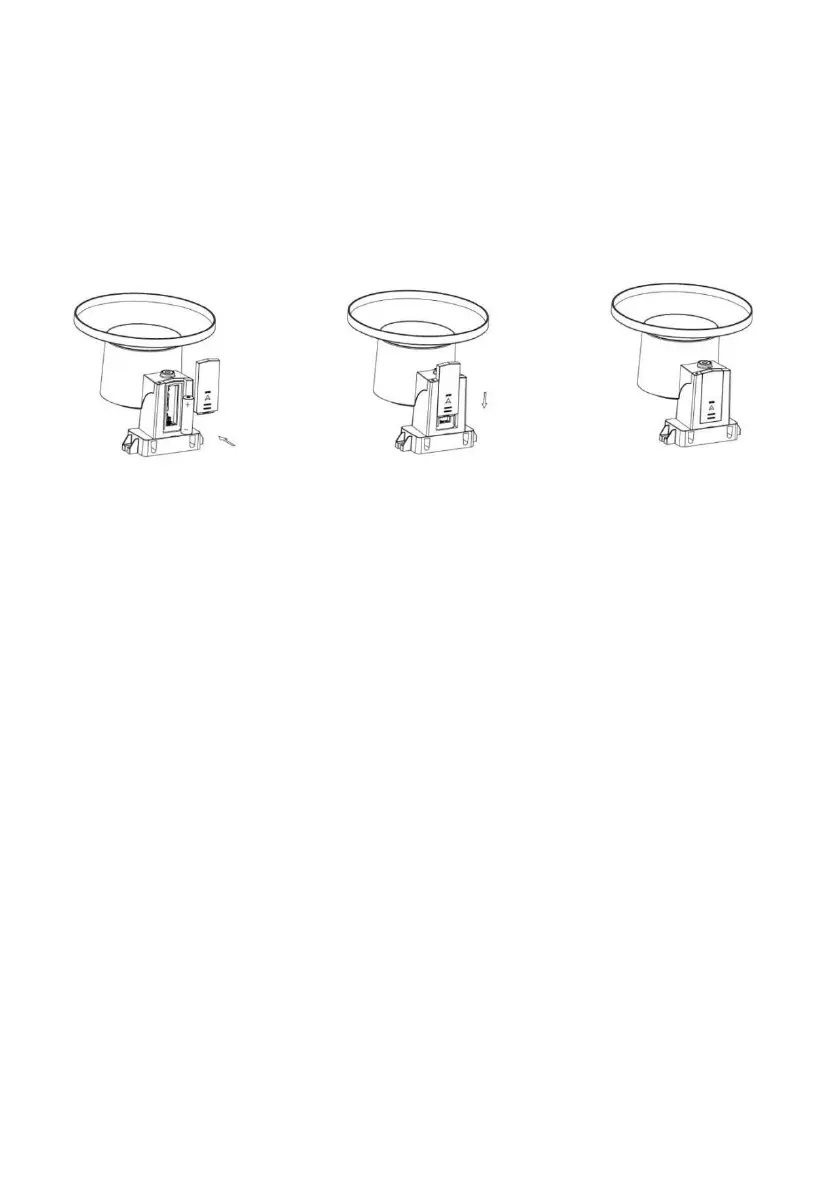
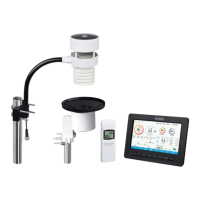
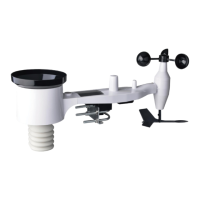
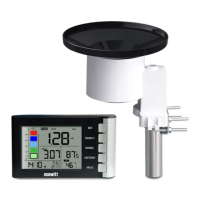
4.3.3 Install Batteries in rain gauge sensor
Remove the battery door on the back of the sensor by sliding it in the
direction of the arrow. Insert one AA battery as described and put
compartment door back and slide it in the opposite direction to lock. Make
sure battery door is firmly press and closed properly, which is
extremely important in preventing any water entering inside.
The LED indicator on the top of the battery door (item 2) will turn on for 4
seconds and then flash once every 49 seconds indicating sensor data
transmission. If you did not pay attention, you may have missed the initial
indication. You can always remove the batteries and start over, but if you
see the flash once every 49 seconds, everything should be OK.
Note: If no LED light up or is lighted permanently, make sure the battery
is inserted the correct way or a proper reset is happened. Do not
install the battery backwards. You can permanently damage the
outdoor sensor.
We recommend lithium batteries for cold weather climates, but alkaline
batteries are sufficient for most climates.
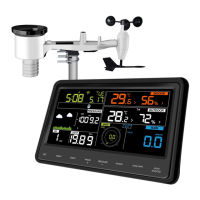
4.3.4 Mounting
4.3.4.1 Before you mount
Before proceeding with the outdoor mounting detailed in this section, you
may want to skip to setup instructions in section 4.5 and onwards first, while
you keep the assembled rain gauge sensor nearby (although preferably not
closer than 5 ft. from the gateway). This will make any troubleshooting and