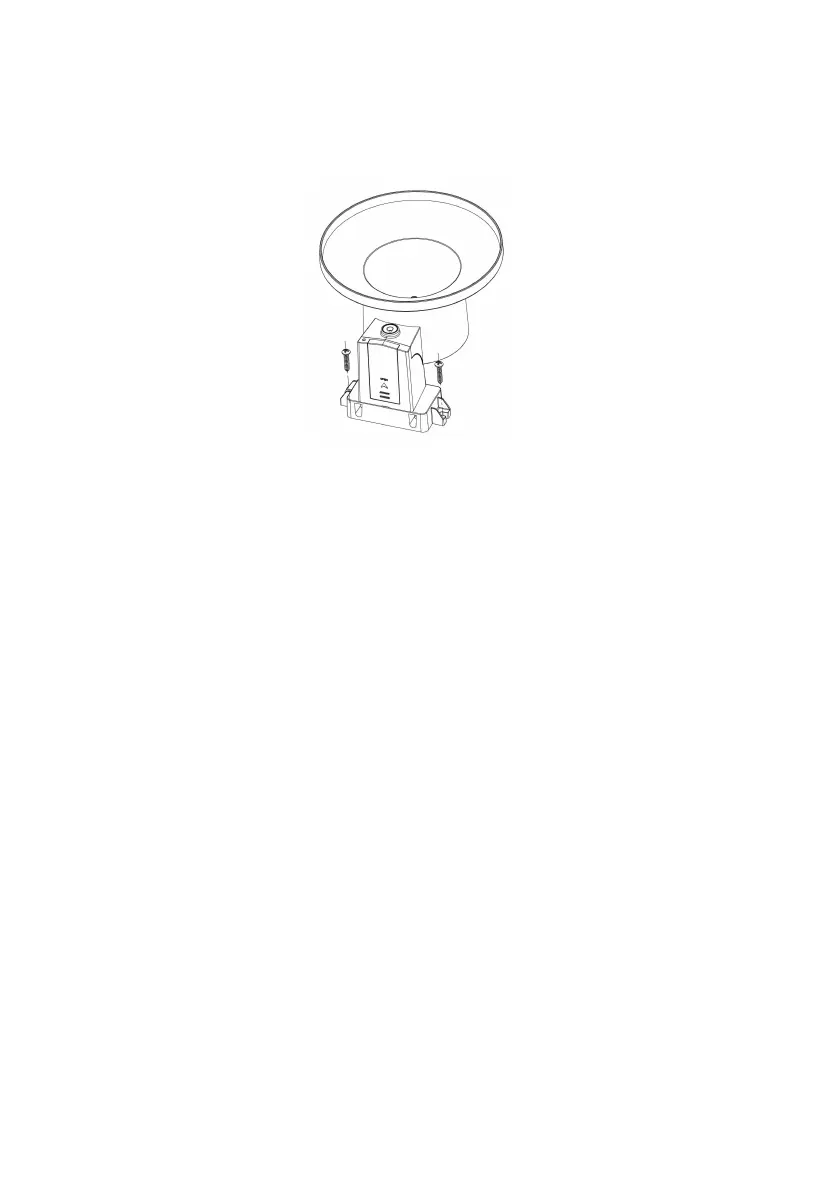
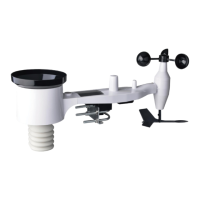
4.3.4.3 Mounting with screws
The mounting assembly also includes two screws for installation on a flat
surface.
Figure 17: Rain gauge sensor mounting with screws installation diagram
Note: Use the bubble level beside the rain sensor as a guide to verify that
the sensor is leveled. Use shims as necessary to achieve level
installation.
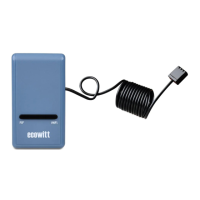
4.4 Indoor Sensor Set Up
Note: To avoid permanent damage, please take note of the battery polarity
before inserting the batteries. Looking at Figure 18 from left to right
the left-most (or bottom) battery is to be installed with its + terminal
pointing down, and the other battery with its + terminal pointing up.
1. Remove the battery door on the back of the sensor by sliding down the
battery door.
2. Insert two AA batteries
3. Select the temperature unit of measure (°F / °C) by dip switch