18
Chapter2AdjustingScreens
HDMI (HD signal) input
Settings Function
Enlarged Displaysanimageinfullscreen.Insomecases,ablankhorizontalorverticalborder
appearstoequalizetheverticalrateandthehorizontalrate.
DotbyDot Displaysimageswiththespeciedresolution.
Example: 720p
Enlarged DotbyDot
Procedure
1. Choose “Screen” from the Adjustment menu, and press
.
2. Choose “Screen Size” from “Screen”, and press
.
3. Select “Enlarged”, or “Dot by Dot” with
or .
4. Press
to exit.
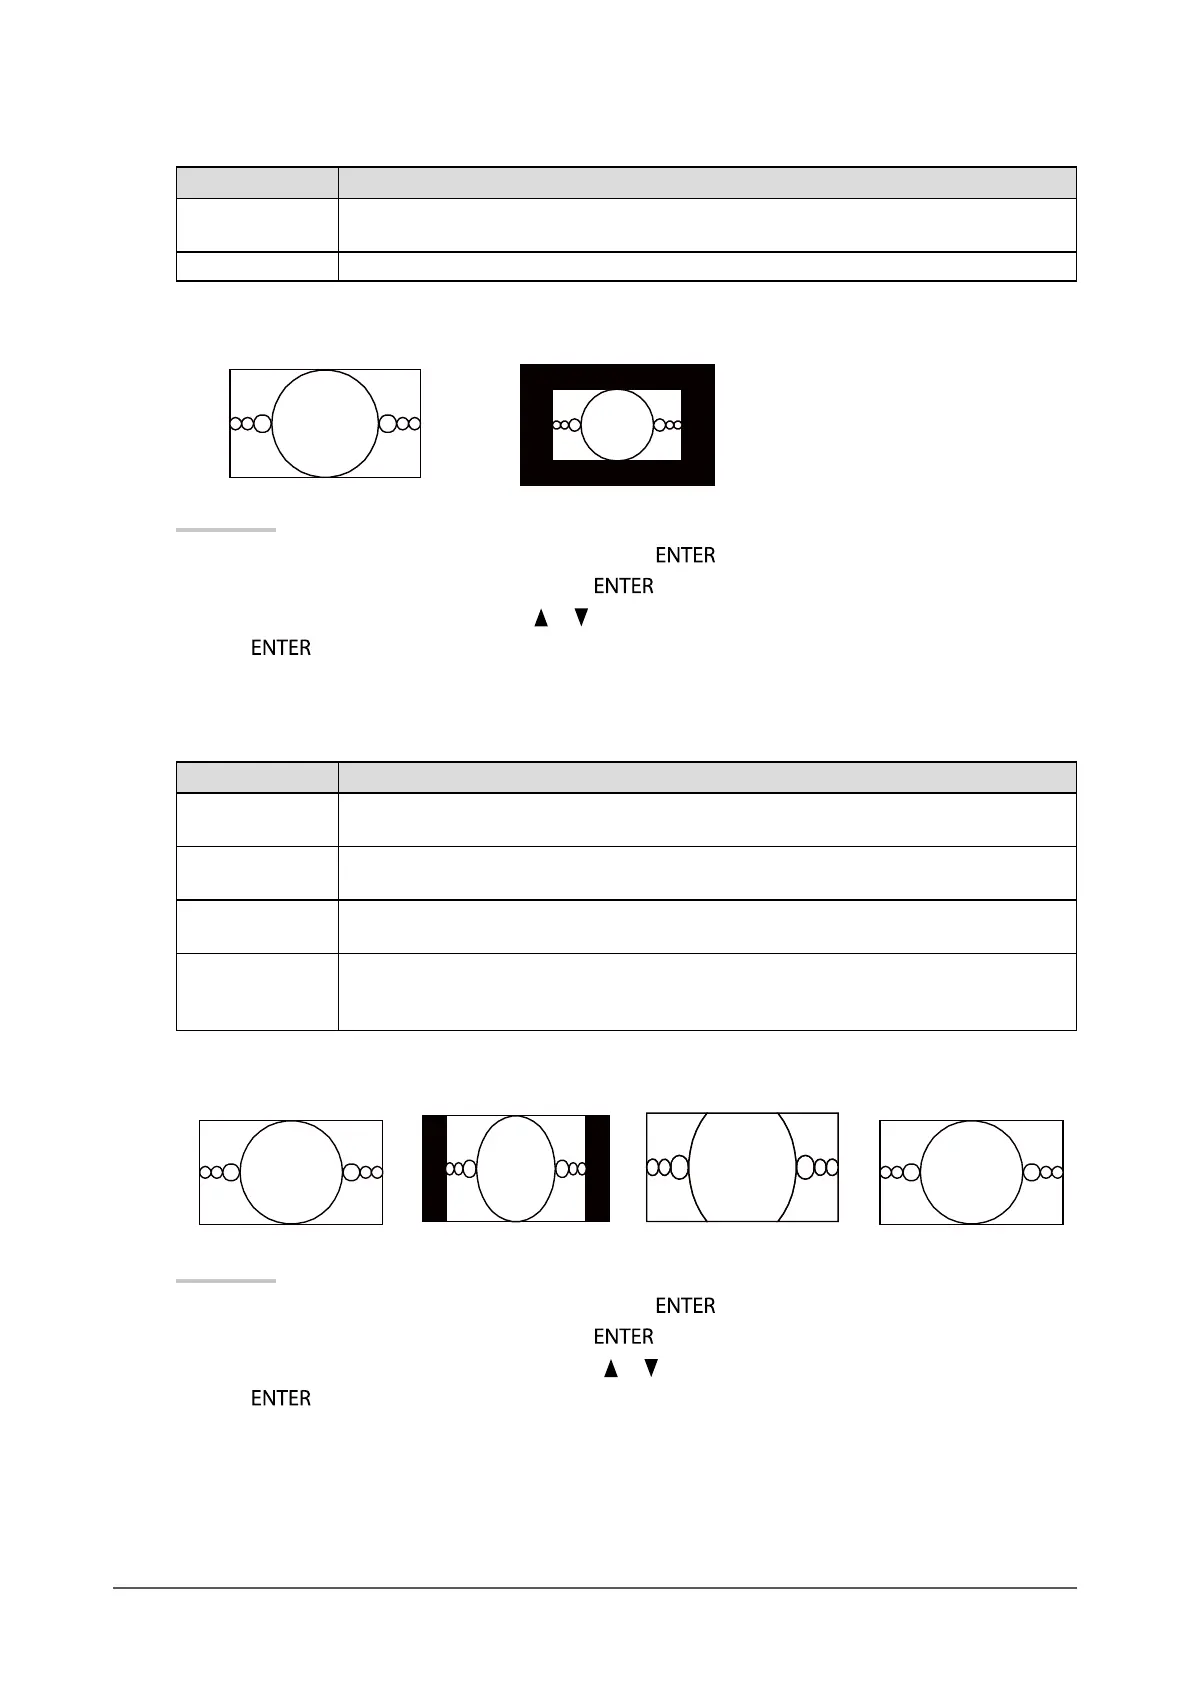
HDMI (SD signal) input
Settings Function
Auto Themonitorautomaticallychangesthescreensizeaccordingtotheaspectratiosentfrom
theautoinputsignal.
4:3 Displaysimagesina4:3formatscreen.Blackbarsappearonbothsidesofthescreen.
16:9imagesarehorizontallycompressed.
LetterBox Displays16:9letterboxedimagesinfullscreen.
Imagesotherthantheletterboxedonesarepartlycutontopandbottom.
16:9 Displaystheentire16:9imageinfullscreen.Blackbarsappearonthetopandbottomof
thescreen.
4:3imagesarehorizontallyexpanded.
Example: 480i/480p (16:9)
Auto 4:3
LetterBox
16:9
Procedure
1. Choose “Screen” from the Adjustment menu, and press
.
2. Choose “Screen Size” from “Screen”, and press
.
3. Select “Auto”, “4:3”, “Letter Box”, or “16:9” with
or .
4. Press
to exit.