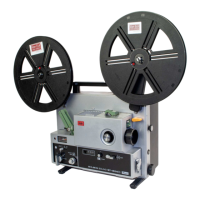
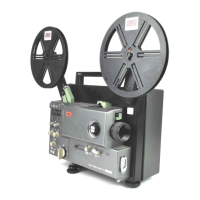
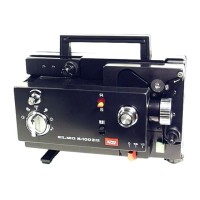
B. PROJECTION LAMP & LENS
Case Step Point Remark
Lamp does not light Lamp
(P3-3)
Take out Lamp and check the defective of
Lamp itself.
If so, install new Lamp.
P-6
Lamp socket assy
(P3-2)
Take out Lamp, check the output terminals of
Lamp socket assy whether the voltage (approx.
A.C. 22-23V) would be applied.
If so, raise the output terminals of Lamp socket
assy to be in contact with Lamp.
P-6
Switch assy
(P6-i)
Check Micro switch SW9, SWIO whether would
work properly, also of which attaching screw
would be loosened.
P-12
Check the position of Lamp switch lever 1.
If not, replace or adjust.
Transformer
(P7-18)
Check both terminals of H.L. on Transformer
terminal whether the voltage would be applied.
P-8
Dark image Lamp
(P3-3)
Check whether Lamp would be off the rim of
Lamp holder (2) assy.
P-6
To obtain the sufficient brightness, first loosen
attaching screws and move Lamp fixing plate
and Lamp holder (2) assy back and forth until
most bright screen can be achieved.
Safety shutter
(P7-ll)
If Safety shutter could not keep off from the
optical axis of the screen during Motor switch
knob positioned F or R, adjust the position of
Safety shutter.
P-10
Uneven screen
brightness
Lamp
(P3-3)
To obtain leveled brightness, first loosen
attaching screws and move back and forth until
most bright and leveled screen brightness can
be achieved.
P-6
Uneven screen
focusing
Projection lens
(P3-8)
To align the optical axis, first pass the focusing
test film and either tighten or loosen attaching
screw to obtain evenness in focusing.
P-7
- 20 -
 Loading...