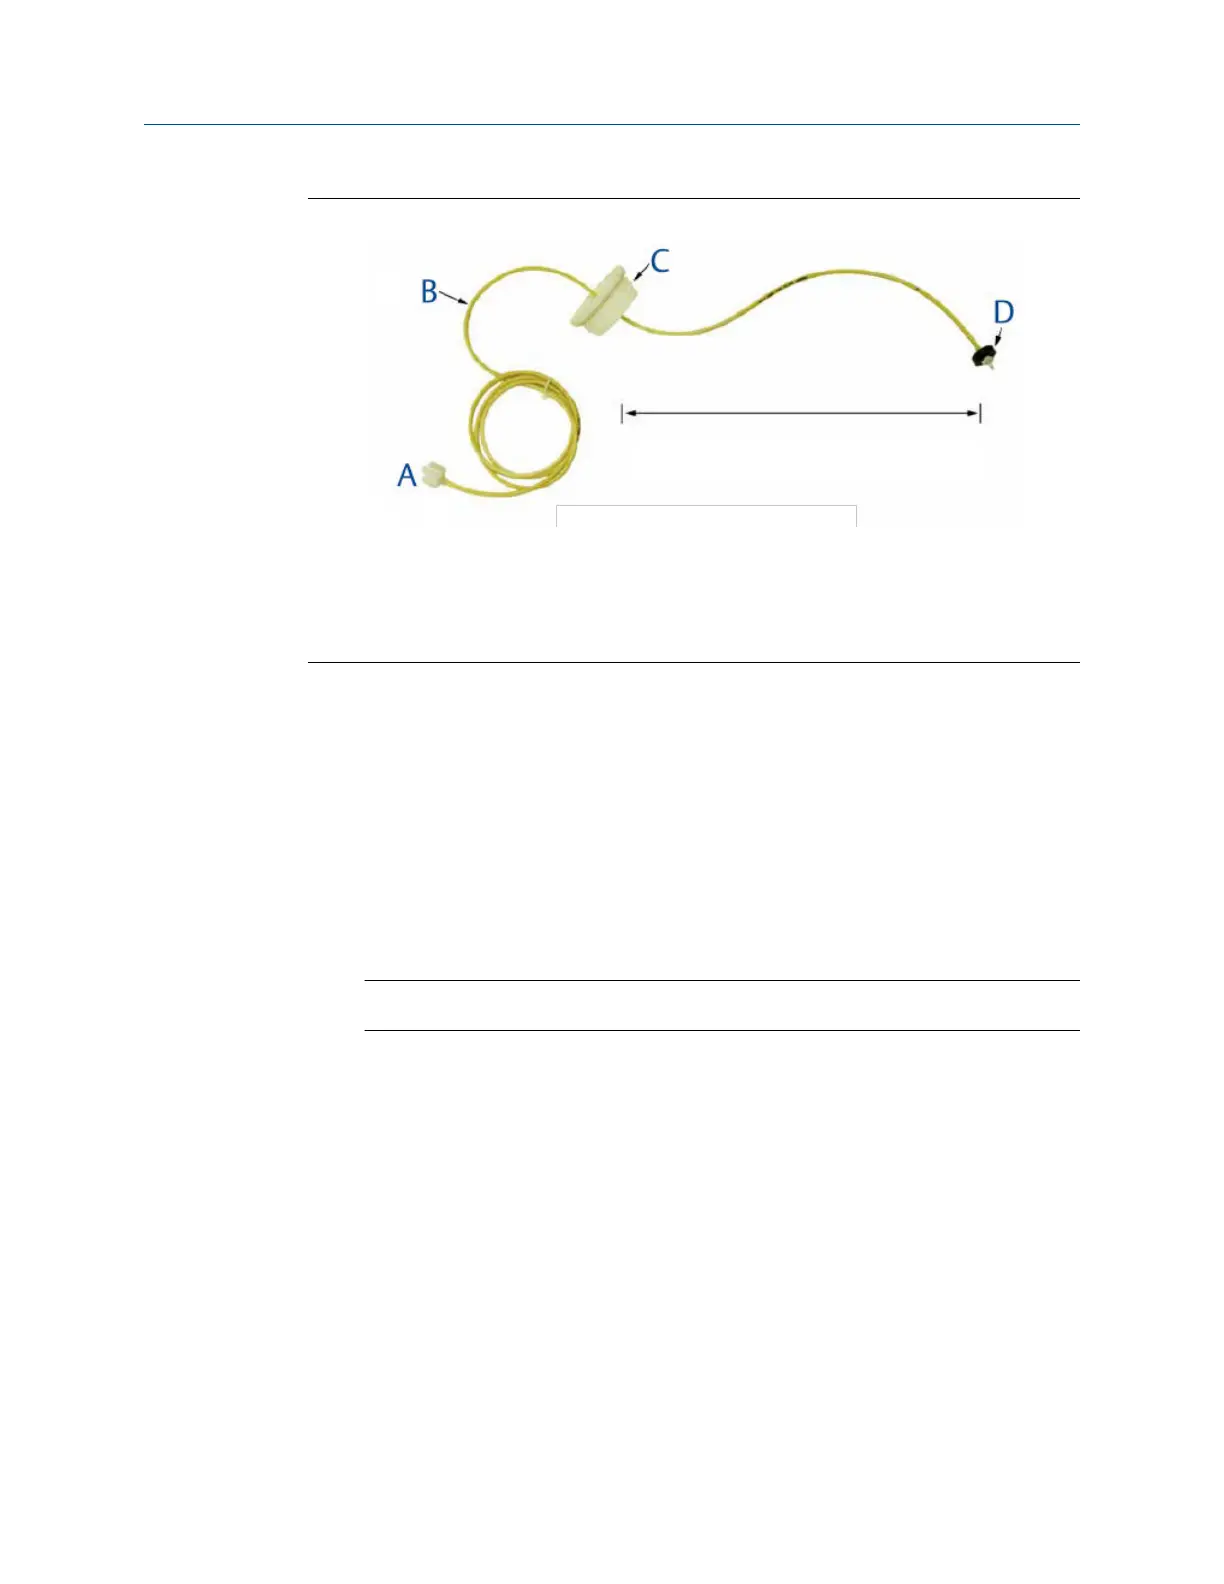
Figure 3-3: Reagent Tubing Assembly
Tubing should extend about 14-in. (360 mm) below cap.
A. Reagent inlet fitting
B. Reagent tubing
C. Cap
D. Weight
Procedure
1. Connect the sample line to the sample conditioning system. Use ¼-in. OD hard
plastic or stainless steel tubing. If dechlorinated water is being measured, provide a
way for occasionally substituting a chlorinated water sample for the dechlorinated
sample.
Chlorinated water is needed to calibrate the sensor and to check its response.
2. If a grab sample is not already available, install one in the process piping. Choose a
point as close as possible to the sample line supplying the TCL.
Be sure that opening the sample valve does not appreciably alter the flow of sample
to the instrument.
3. Connect the drain to a length of ¾-in. ID flexible plastic tubing.
Important
The sample must drain to open atmosphere.
4. Find the reagent tubing and fitting in the plastic bag taped to the inside of the
enclosure door. Screw the reagent fitting onto the bulkhead fitting at the bottom
left of the enclosure. Pass the reagent tubing through the hole in the carboy cap. Be
sure the plastic weight will be inside the carboy when the cap is in place. Attach the
reagent tubing to the barbed connector.
See Figure 3-3.
5. Place the blue plastic carboy beneath the enclosure. Screw the cap and tubing
assembly on the carboy.
To prepare reagent, see Prepare the reagent.
Installation Reference Manual
January2023 00809-0200-3415
14 Emerson.com/Rosemount
 Loading...