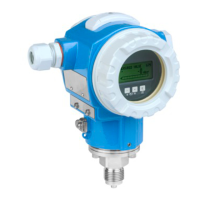
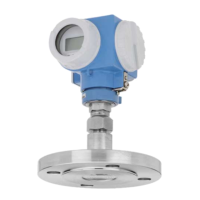
Identification Cerabar M, Deltabar M, Deltapilot M
8 Endress+Hauser
3 Identification
3.1 Product identification
The following options are available for identification of the measuring device:
• Nameplate specifications
• Order code with breakdown of the device features on the delivery note
• Enter serial numbers from nameplates in W@M Device Viewer
(www.endress.com/deviceviewer): All information about the measuring device is
displayed.
For an overview of the technical documentation provided, enter the serial number from the
nameplates in the W@M Device Viewer (www.endress.com/deviceviewer).
3.2 Device designation
3.2.1 Nameplate
• The MWP (maximum working pressure) is specified on the nameplate. This value refers
to a reference temperature of 20°C (68°F) or 100°F (38 °C) for ANSI flanges.
• The pressure values permitted at higher temperatures can be found in the following
standards:
– EN 1092-1: 2001 Tab. 18
1)
– ASME B 16.5a – 1998 Tab. 2-2.2 F316
– ASME B 16.5a – 1998 Tab. 2.3.8 N10276
– JIS B 2220
• The test pressure corresponds to the over pressure limit (OPL) of the device = MWP x 1.5
2)
.
• The Pressure Equipment Directive (EC Directive 97/23/EC) uses the abbreviation "PS". The
abbreviation "PS" corresponds to the MWP (maximum working pressure) of the measuring
device.
1) With regard to their stability-temperature property, the materials 1.4435 and 1.4404 are grouped together
under 13EO in EN 1092-1 Tab. 18. The chemical composition of the two materials can be identical.
2) The equation does not apply for PMP51 and PMP55 with a 40 bar (600 psi) or a 100 bar (1500 psi) measuring
cell.

 Loading...
