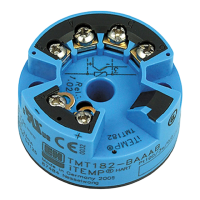
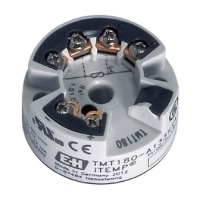
4Wiring Temperature head transmitter
38 Endress+Hauser
4 Wiring
4.1 Overview
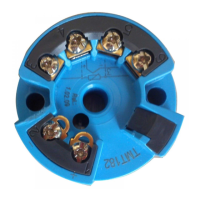
Wiring overview Terminal layout
Fig. 4-1: Head transmitter wiring
4.2 Measurement unit connection
Measurement unit
connection
3
Attention!
Switch off power supply before opening the housing cover. Do not install or connect the
unit to mains power. If this is not followed parts of the electronic circuit will be damaged.
4.2.1 Sensors
Connect the sensor cables to the respective head transmitter terminals (Terminals
3 to 6) by following the wiring diagram (s. fig. 4-1).
4.2.2 Output signal and power supply
Open the PG cable gland on the head transmitter or field housing. Feed the cable
through the opening in the PG cable gland and then connect the cable cores to
terminals 1 and 2 according to the wiring diagram (s. fig. 4-1).
2
Hint!
The screws on the terminals must be screwed in tightly.
4.2.3 HART
®
connection
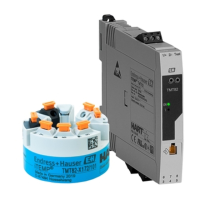
Connection is made directly using the 4...20 mA signal cables or the communication
sockets fitted to a power supply or barrier (s. fig. 4-2 and s. fig. 4-3).
In order to connect the transmitter in an Ex application, please read the separate Ex
documentation.
2
Hint!
The measurement circuit must have a load of at least 250 Ω. If using the E+H power
supplies RNS 221 and RN 221N this resistance is already installed in the unit and is
therefore not required externally (s. fig. 4-2, and s. fig. 4-3)!
R09-TMT182ZZ-04-06-xx-en-001.eps
 Loading...