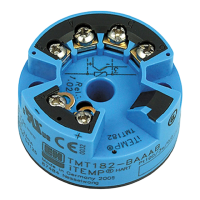
Temperature head transmitter 4Wiring
Endress+Hauser 39
Connection of a HART
®
hand operating module DXR 275
Fig. 4-2.: Electrical connection of the HART
®
operating module
a = HART
®
module, a* = HART
®
module connected to the communication sockets of a power
supply, b = Loop power supply (e.g. RNS 221 power supply or RN 221N active barrier), c = HART
®
transmitter, d = PLC with passive input
Connection of Commubox FXA 191
2
Hint!
Set the Commubox DIP switch to ’HART
®
’!
Fig. 4-3: Electrical connection of the Commubox FXA 191
a = Commubox FXA 191 (in combination with a PC - E+H operating software ’Commuwin II’),
a* = Commubox FXA 191 connected to the communication sockets of a power supply unit,
b = Loop power supply (e.g. RNS 221 power supply or RN 221N active barrier), c = HART
®
transmitter, d = PLC with a passive input
4.3 Potential leveling
2
Hint!
Please take note of the following when remotely installing the head transmitter in a field
housing. The screen on the output (output signal 4...20 mA) must be at the same
potential as the screen at the sensor connection.
For an effective screening the cable screen must be solidly connected to the field
housing. This can be achieved by connecting the cable screen to the special EMC
cable gland.
R09-TMT182ZZ-04-06-xx-xx-001.eps
R09-TMT182ZZ-04-06-xx-xx002.eps
 Loading...