Replacing EPS-J6 PLUS Modules (KEYBOARD ONLY)
IBlack I
IBlack I
IBlack I
1
1 2 3
A
-
Etn.ment
....
-
Load
4
5
6
~
~
ling
•••
-
-
-
v
Command
7 8
II
-
-
..
MIDI
.....
Edit
0
No
Y/iIS
..
III
-
-
Cancel
EnIer
Continue
I
Volume =
Mode==Page
Data
Entry======
=;;;E~~ue~ncer=
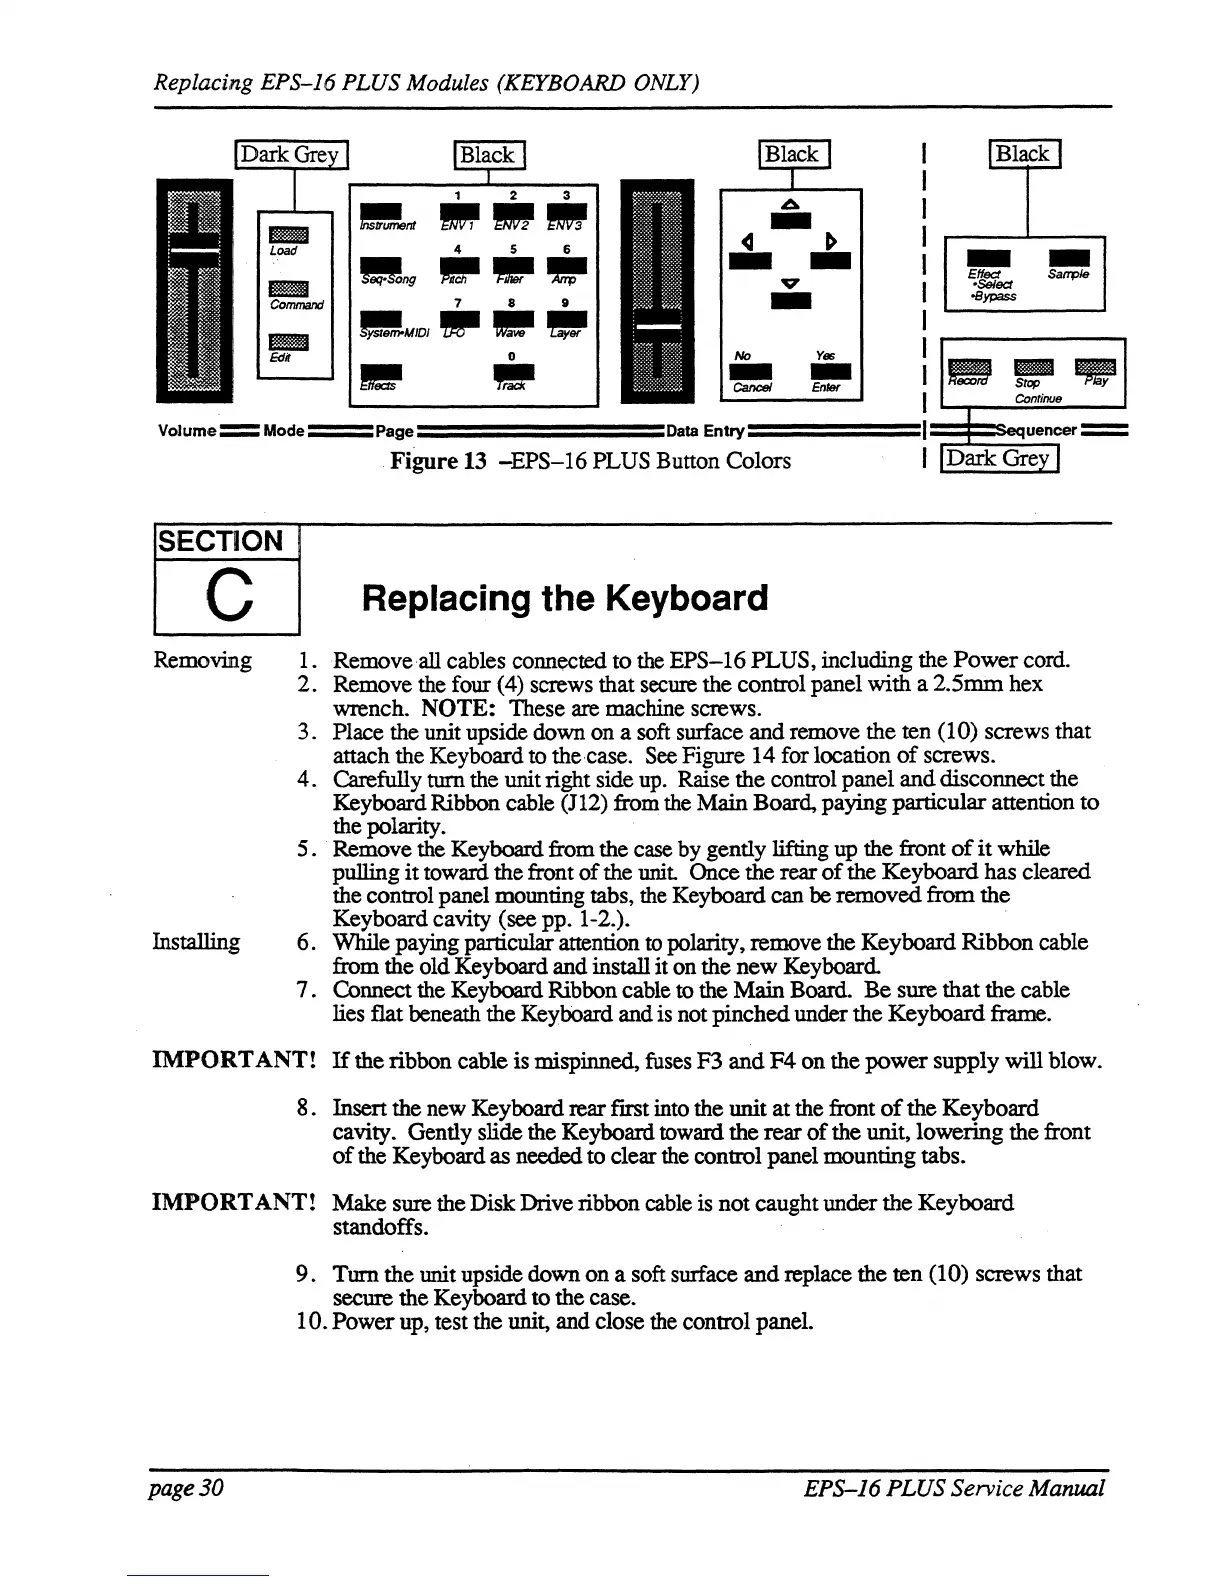
. Figure
13
-EPS-16
PLUS Button Colors
Dark
Grey]
Removing
Installing
Replacing the Keyboard
1.
Remove
all cables connected
to
the
EPS-16
PLUS,
including the
Power
cord.
2.
Remove the four (4) screws that secure
the
control panel
with
a
2.5mm
hex
wrench.
NOTE: These are machine screws.
3. Place the unit upside down on a soft surface
and
remove the ten (10) screws that
attach the Keyboard to the·case.
See
Figure
14
for location
of
screws.
4. Carefully turn the unit right side up. Raise the control panel
and
disconnect the
Keyboard Ribbon cable
(12)
from the Main Board, paying particular attention
to
the polarity.
5.
Remove the Keyboard from the case by gently lifting up the front
of
it
while
pulling
it
toward the front
of
the unit Once
the
rear
of
the
Keyboard
has cleared
the control panel mounting tabs, the Keyboard
can be
removed
from
the
Keyboard cavity (see
pp.
1-2.). .
6.
While paying particular attention to polarity, remove the Keyboard
Ribbon
cable
from the
old
Keyboard and install
it
on the
new
Keyboard.
7.
Connect the Keyboard Ribbon cable to the
Main
Board.
Be
sure
that
the
cable
lies flat beneath the Keyboard and is not
pinched
under
the
Keyboard
frame.
IMPORT
ANT!
If
the ribbon cable is mispinned, fuses
F3
and
F4
on the
power
supply
will blow.
8.
Insert the new Keyboard rear first into the unit
at
the front
of
the
Keyboard
cavity. Gently slide the Keyboard toward the
rear
of
the unit, lowering the front
of
the Keyboard
as
needed to clear the control panel mounting tabs.
IMPORT
ANT! Make sure the
Disk
Drive ribbon cable is
not
caught under
the
Keyboard
standoffs.
page
30
9.
Turn the unit upside down
on
a soft surface
and
replace the
ten
(10) screws that
secure
the
Keyboard
to
the case.
10.
Power
up,
test the unit, and close the control panel.
EPS-J6
PLUS Service Manual