Section 9: Standard & Optional Machine
Features
131
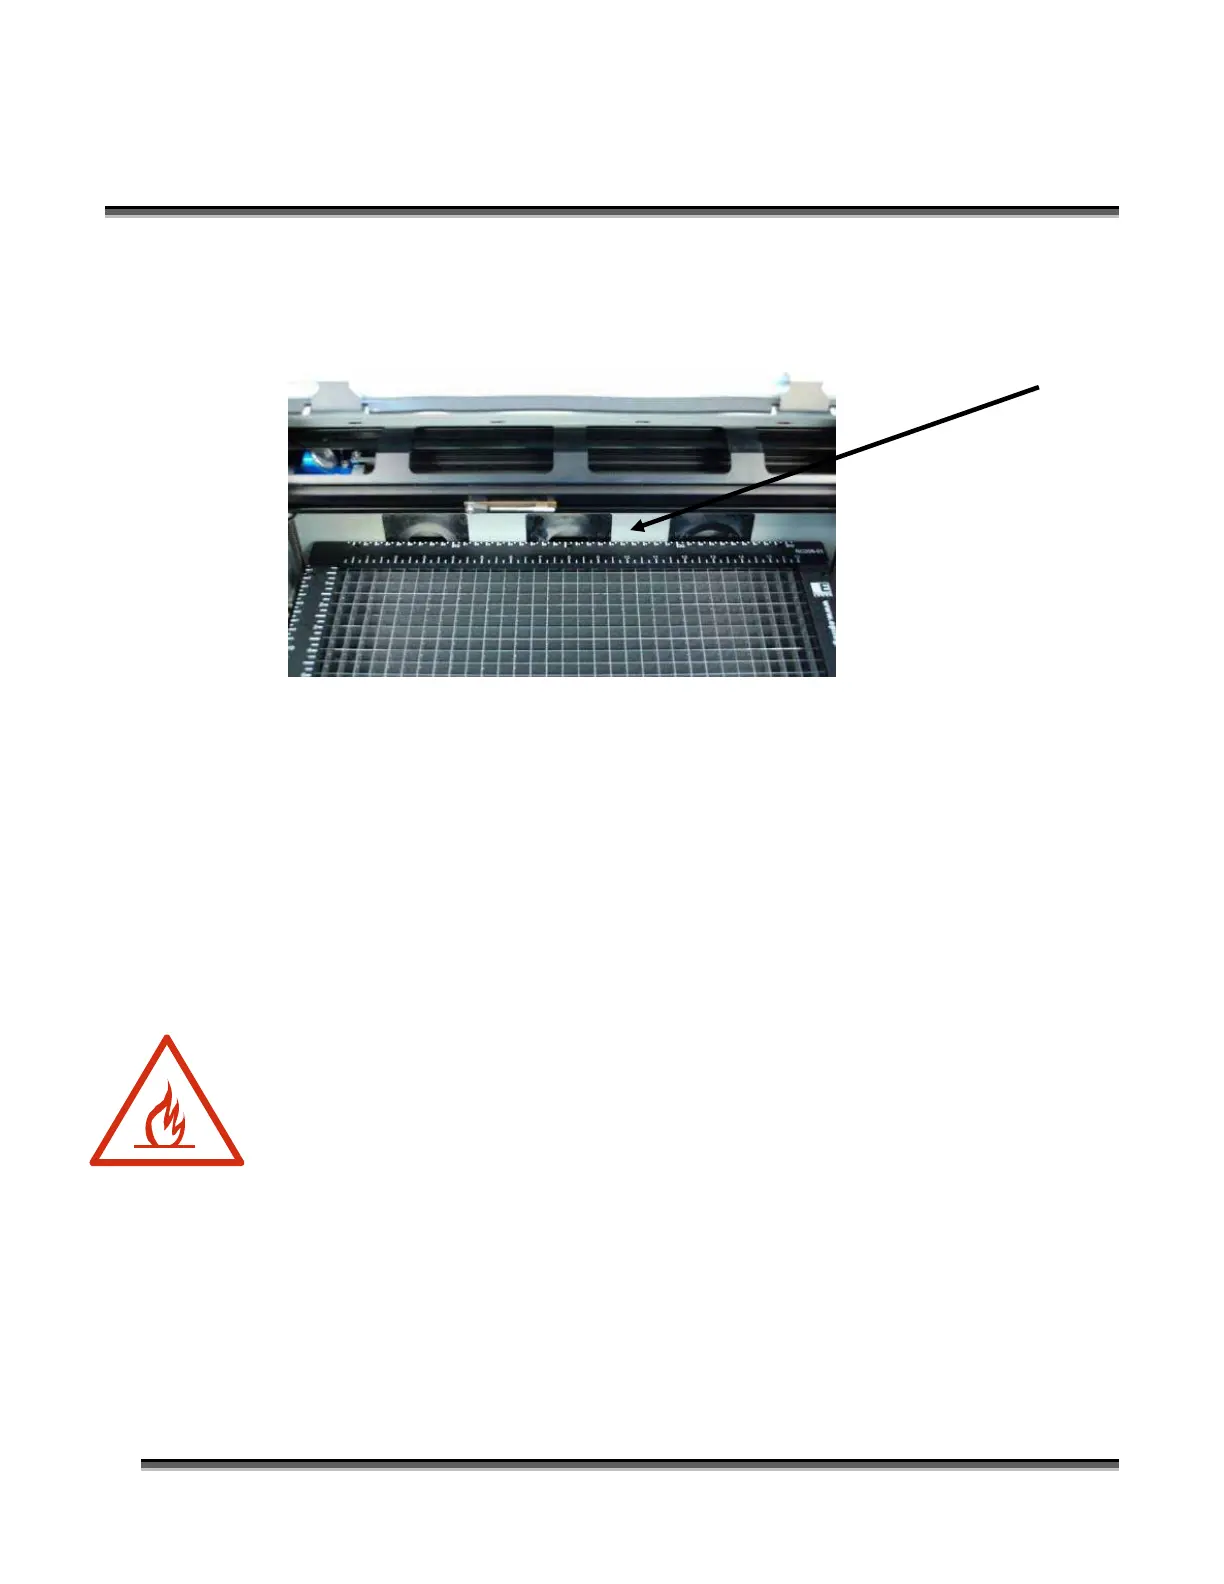
To install the vector grid, place it inside the cabinet and move it so that the back of
the grid is almost touching the back of the machine. There will only be about a 1/8
inch (3 mm) gap between the vector grid and the back wall of the machine.
When the vector grid is properly located, you should feel the locating pins click into
place. Gently press down on all four corners of the grid to insure it is level. Your
vector gird is now installed.
If the vector grid is not level, move it further back towards the back wall and then
move it around again until the locating pins click into position. Moving it as far back
as it will go usually solves any placement issues.
Cleaning the Vector Cutting Grid
Important! Whenever you are vector cutting with the grid there is the potential for
small pieces to fall through the vector grid and collect in the table tray. These small
pieces of debris present a very dangerous fire hazard. To clean your tray, remove the
vector grid from the machine. Unscrew the two green thumb screws to remove the
front panel so you can empty the Vector Grid of debris that has fallen through the
grid. Follow by using a handled small brush to loosen pieces stuck to bottom of tray.
Completely remove the debris in the bottom of the tray. The vector tray should be
cleaned out after every use!

 Loading...