Section 13: Material Engraving Techniques
185
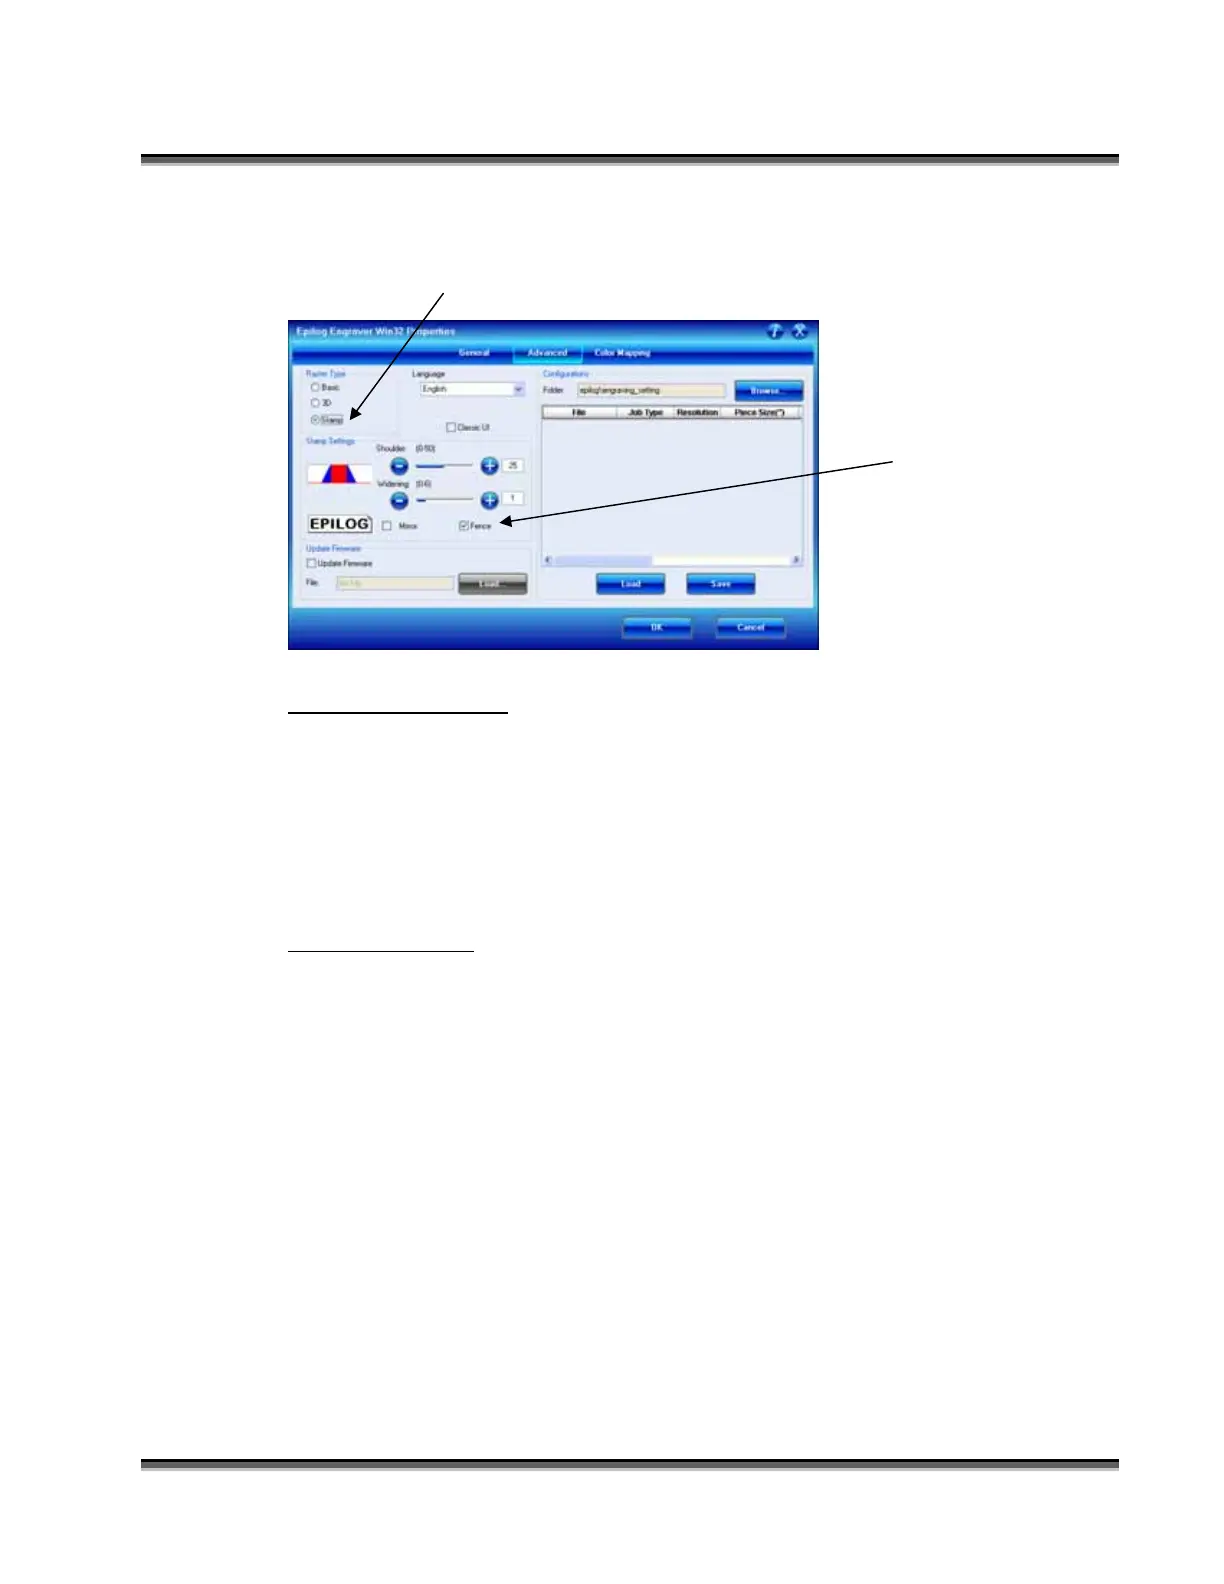
You will tell the engraver which method you are using when you go to the Dashboard
to print. After clicking on Stamp mode, you will want to use the Fence box to
determine which method you are using.
Text and Graphics
Set up your artwork in Corel so that your computer image looks like the image that
you want to stamp. Areas to be stamped should be black, with the area to be removed
white. Any kind of text and/or graphics can be used. Scanned images, clipart, etc are
all acceptable graphics for use in stamps. Raster Speed & Power settings determine
the depth of engraving. “MIRROR” your design in your graphics software package
such as CorelDraw before printing.
Vector Cut Line
Any object within the fence with a line weight of .001 (0.025 mm) to .007 inches
(0.175 mm) will be vector cut when in Combined Mode. This is a handy feature that
allows the laser to cut out the stamp instead of using scissors to cut out the stamp
after the stamp has been engraved. Vector Speed & Power settings determine the
depth of the vector cut. Setting the Frequency below 100 provides a perforation. The
perforation keeps the Stamp attached to the rubber sheet and makes cleaning easy
while allowing the user to easily remove the stamp from the sheet when it is ready for
mounting.
A check in the Fence box
tells the engraver you are
going to use a fence to define
the area to be engraved away.
No check indicates that you
are using the page size to
define the background area to
be engraved away.

 Loading...