Section 5: Installing the Epilog Dashboard
Print Driver
26
www.epiloglaser.com
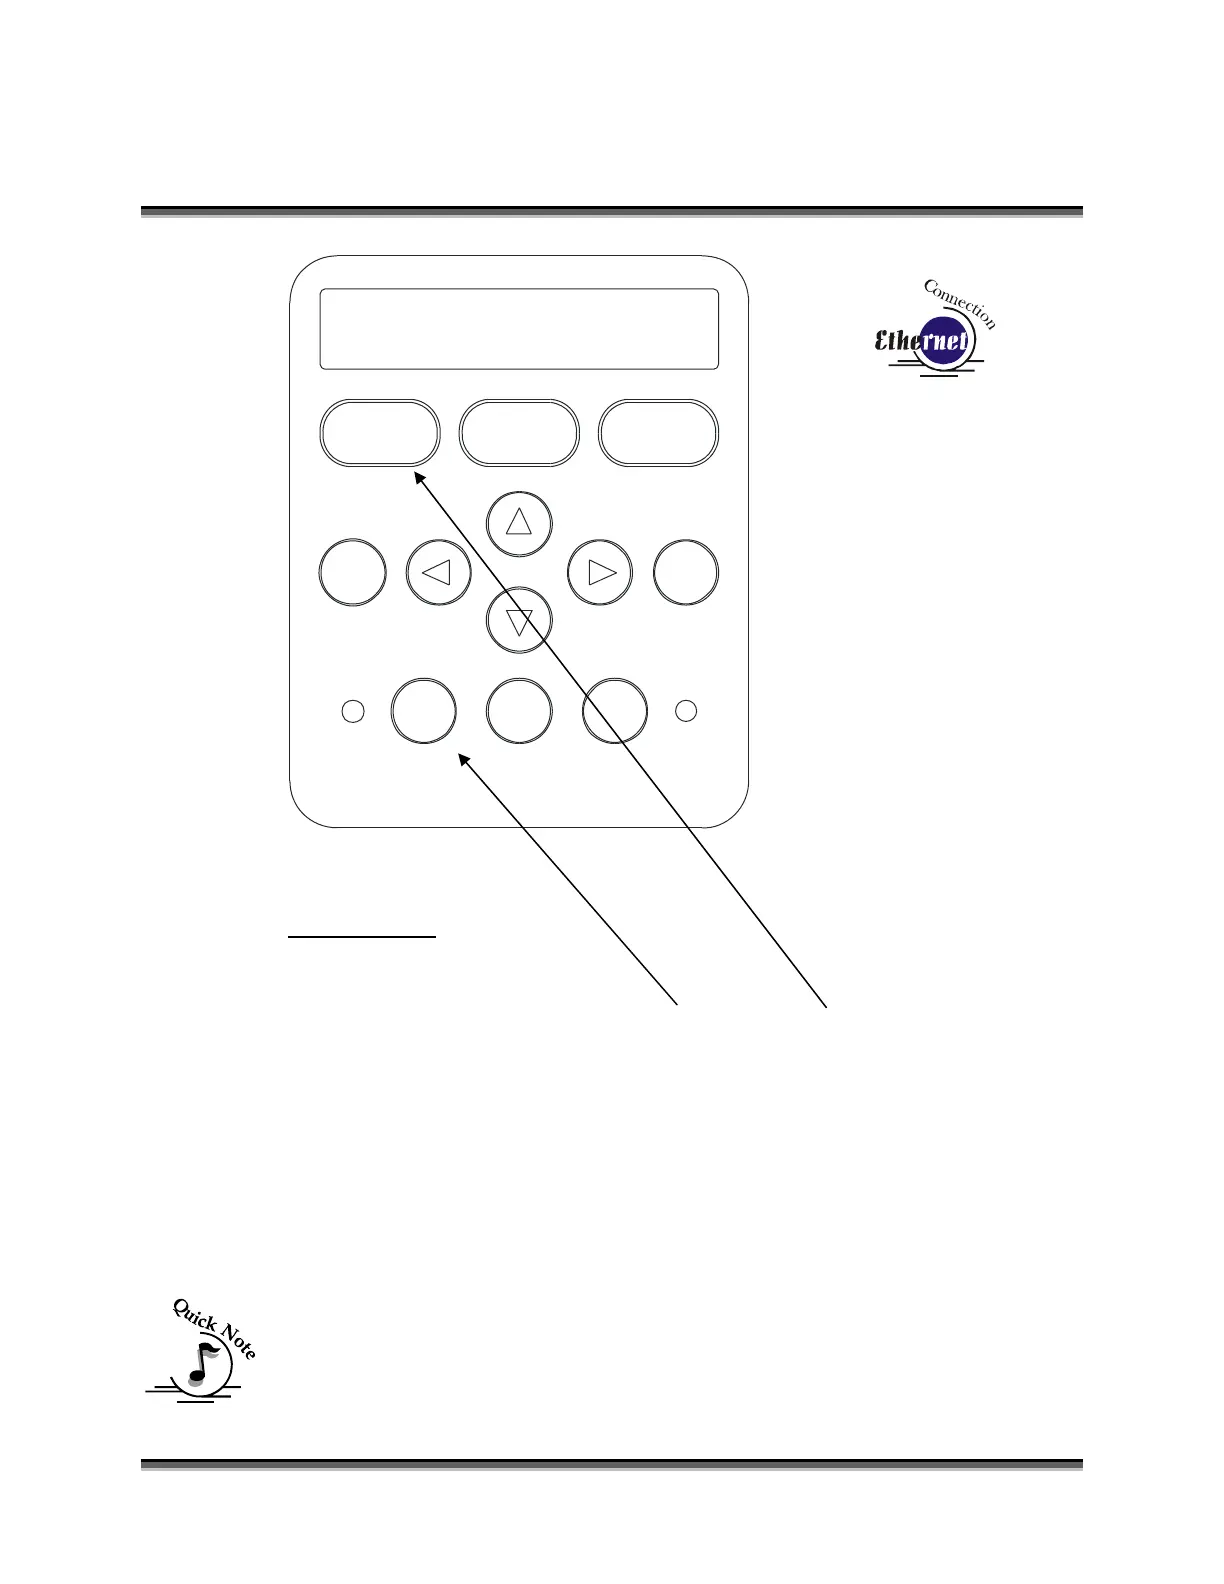
Speed
STOP RESETGO
Pointer X/Y Off
Config
Data
Power Focus Job
0
12
3
6
7
3
4
5
89
IP ADDRESS
1. To set the IP Address, press the POINTER and GO buttons simultaneously.
You will see “FUNCTIONS MENU” displayed on the control panel LCD
screen.
2. Next, press the GO button. - “SERIAL #” will appear on the screen. This
is a factory set number and corresponds to the serial number of the laser
system. You should not change this serial number.
3. Press the GO button again. – “IP ADDRESS” will appear on the screen.
4. Press the GO button again. - The factory set IP address will appear on the
screen. It will look something like this: “192.168.003.004”, with a flashing
box over the 1 in 192.
Note – This procedure uses 192.168.003.004 as the sample IP Address.
Machines leaving the Epilog factory have this IP Address preset so you do not
have to change anything unless you want to use a different address.

 Loading...