EPSON LX-300+II/300+II RTP/1170II Revision D
Disassembly and Assembly Disassembly and Assembly 73
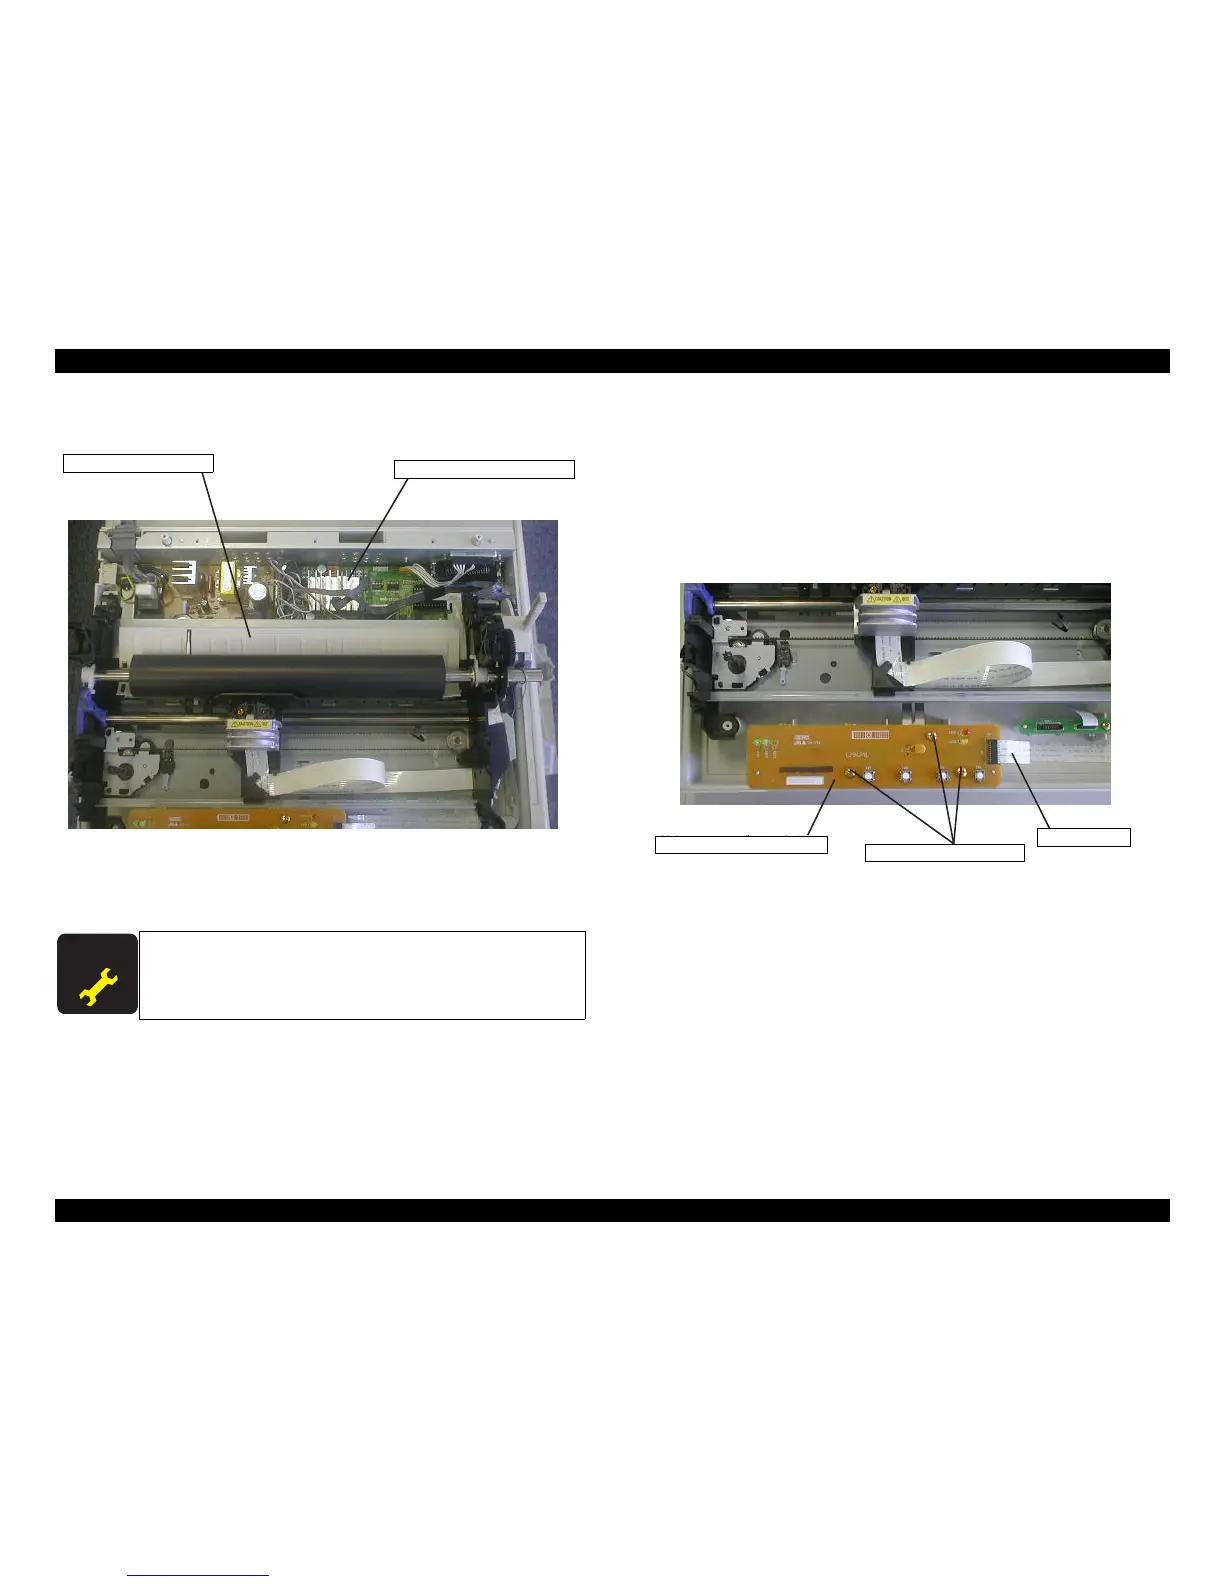
5. Lift the printer mechanism a little bit and remove the harnesses from the main board
assembly.
Figure4-5. Harness Removal
6. Remove the printer mechanism.
4.2.4 Panel Board Assembly Removal
1. Remove the upper housing. (See 4.2.2 “Upper Housing Unit Removal”.)
2. Disconnect the panel FFC from the connector of the panel board assembly.
3. Remove 3 screws (C.B.P., Tite, 3x10 F/ZN; Torque 0.78-0.98 N.M.) securing the
panel board assembly to the lower housing.
4. Remove the panel board assembly from the lower housing.
Figure4-6. Panel Board Assembly Removal
When the printer mechanism is removed, perform the Bi-D
adjustment.
When the printer mechanism is replaced, perform the Bi-D
adjustment, top margin adjustment, and bottom margin adjustment.