EPSON LX-300+II/300+II RTP/1170II Revision D
Disassembly and Assembly Disassembly and Assembly 76
4.2.7 Printer Mechanism Disassembly
This section explains the disassembling procedure of the printer mechanism.
The disassembling procedure is shown in the flowchart below.
Figure4-11. Printer Mechanism Disassembling Procedure
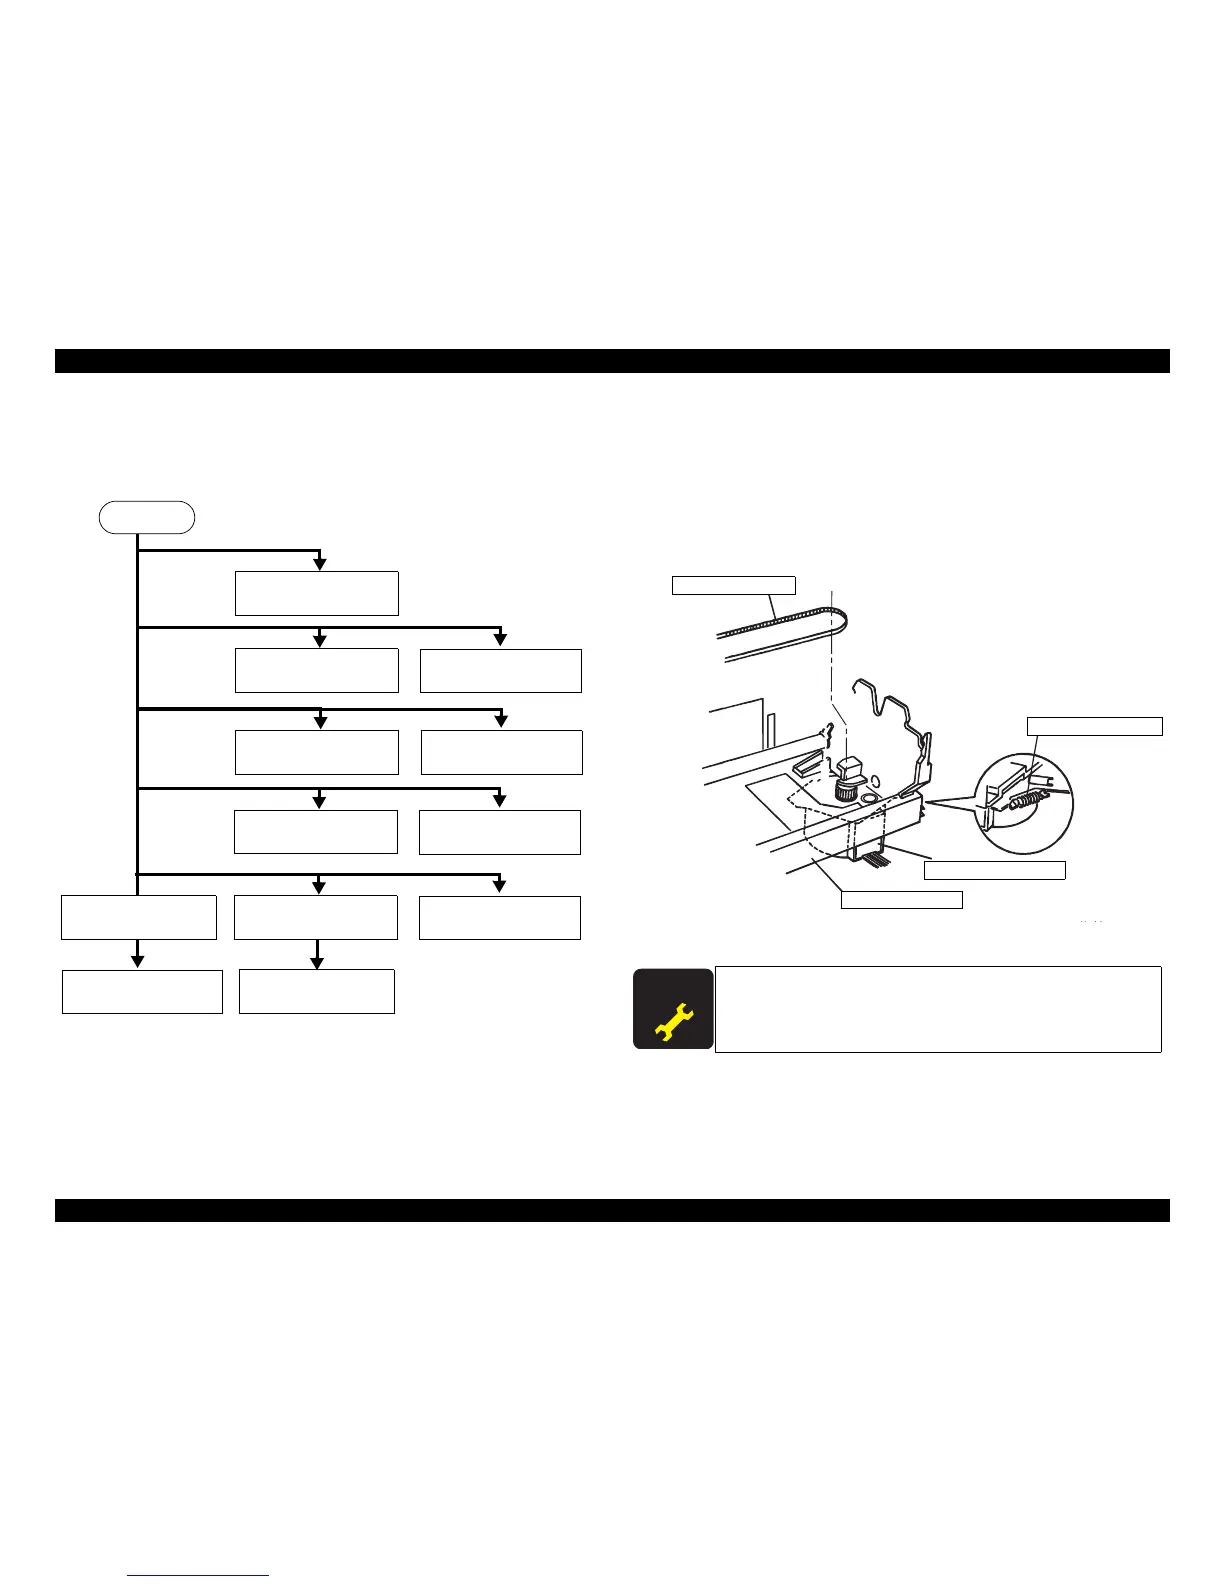
4.2.7.1 CR Motor Mechanism Removal
1. Remove the printer mechanism. (See 4.2.3 “Printer Mechanism Removal”.)
2. Remove the tension spring, 8.10 and motor bracket and release the tension of the
timing belt.
3. Remove the timing belt from the pulley of the CR motor assembly.
4. Rotate the CR motor assembly with the motor bracket clockwise to remove it.
Figure4-12. CR Motor Assembly Removal
When the CR motor mechanism is removed or replaced, perform the
platen gap adjustment and Bi-D adjustment.
 Loading...


