Related Information
& “Loading Paper in the Rear Paper Feed” on page 32
& “List of Paper Types” on page 32
& “Inserting and Removing a Memory Card” on page 36
& “Menu Options for Printing from the Control Panel” on page 42
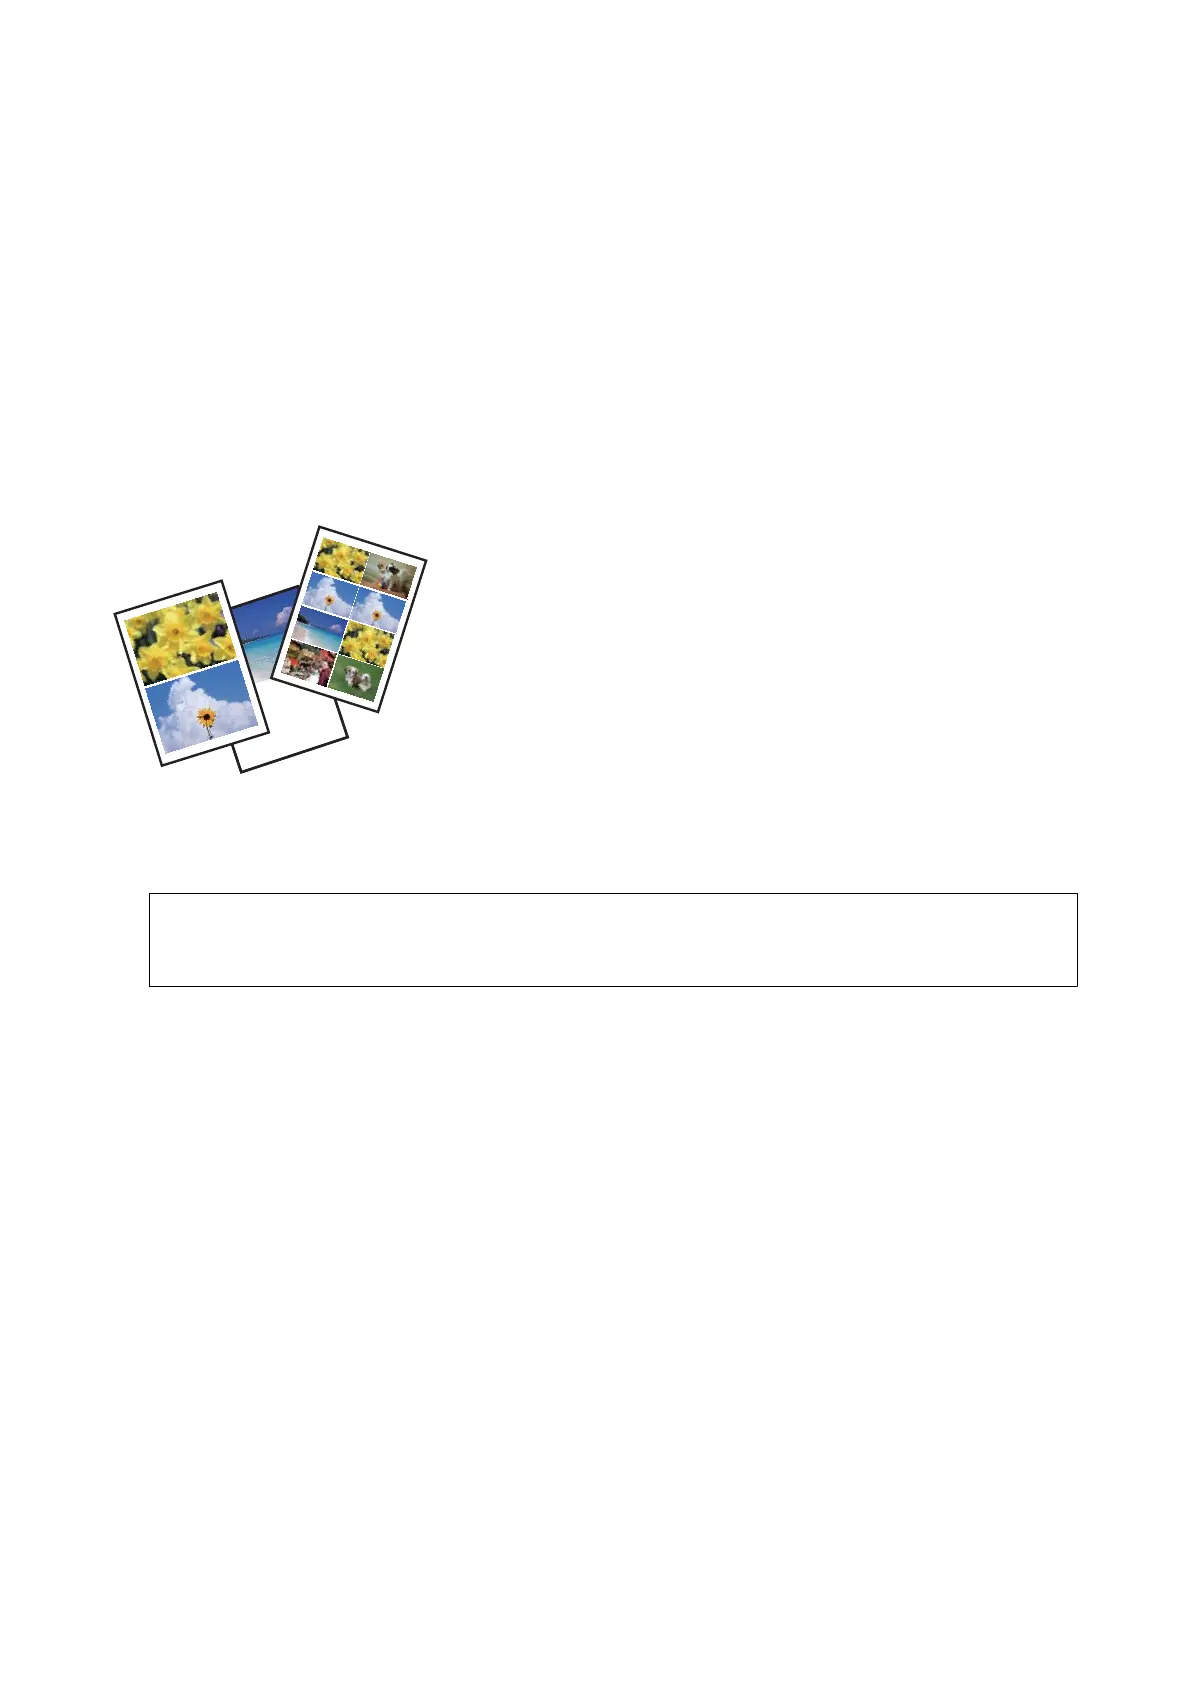
Printing in Various Layouts
You can print the photos on your memory card in various layouts such as 2-up, 4-up, and upper half. 10×15 cm
(4×6 in.) or 13×18 cm (5×7 in.) size photo paper is available for this feature.
1. Load paper in the printer.
2.
Insert a memory card into the printer.
c
Important:
Do not remove the memory card until you have nished printing.
Note:
❏ Remove the memory card when printing from an external storage device such as a hard disk or USB ash memory.
❏ If you have 1000 or more photos on your memory card, photos are automatically divided into groups containing a
maximum of 999 photos and the Select Group screen is displayed. Select a group containing the photos you want to
print.
3.
Enter Print Photos from the home screen using the
l
or
r
button, and then press the OK button.
4. Select Photo Layout Sheet using the
u
or
d
button, and then press the OK button.
5. Select the print layout.
6. Follow the on-screen instructions to select the paper size and type. For some layouts, you do not need to select
the paper size.
7. When you select 2-up, 4-up, or 8-up layout, select Automatic Layout or Place Photos Manually.
8. Do one of the following.
❏ When placing the photos automatically, select a photo using the
l
or
r
button, and then set the number of
copies using the – or + button. When printing more than one photo, repeat this procedure.
User's Guide
Printing
39
 Loading...