124 Fine-Tuning the Projector
2. Press the
Enter button to select Customized, then press Esc to
return to the Image menu.
3. Select
Color Adjustment and press Enter. You see hue and
saturation controls on the screen for six colors:
RGBCMY (red,
green, blue, cyan, magenta, and yellow).
4. Select the color axis you want to adjust and press
Enter. You see
color controls for hue and saturation.
Hue changes the balance of color, and saturation changes the
strength of the color.
5. Use the pointer button to adjust the hue and saturation. You
see the adjustments reflected on the screen. When you are satisfied
with the color, press
Esc.
6. Repeat steps 4 and 5 for each color axis you want to adjust.
You may need to readjust the color as the lamp in your projector
changes over time.
Adjusting Signal Settings
Although the projector normally detects and optimizes the input
signal automatically, you can use the Signal menu to make manual
adjustments. In addition to changing the position of the projected
image, you can correct tracking and sync for computer images, or
change the aspect ratio to widescreen format for video images.
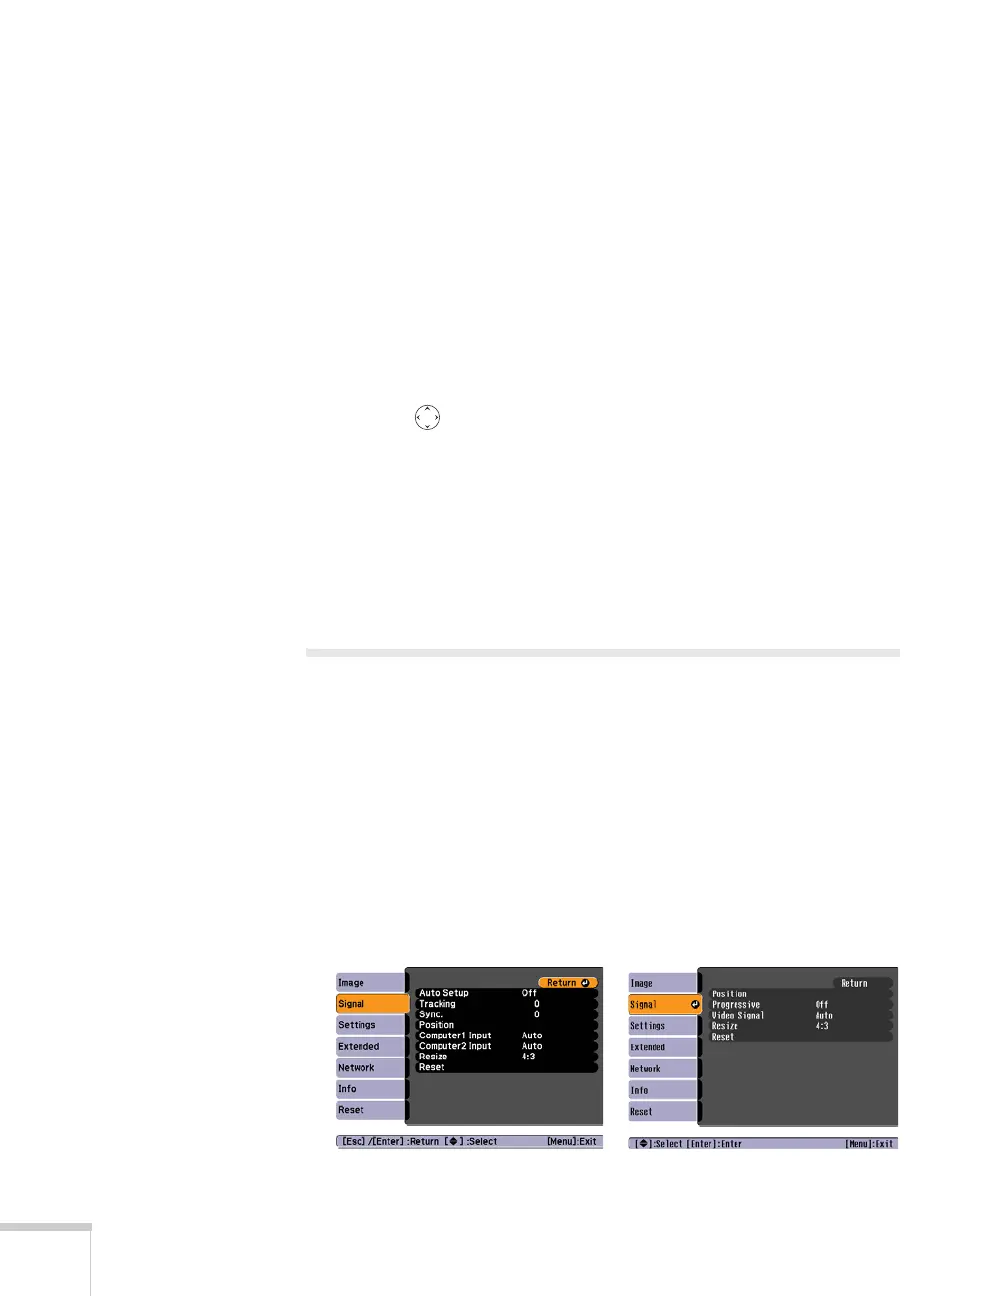
1. Press the
Menu button and select the Signal menu.
You see a screen similar to one of those below. (The settings will
be different depending on the source you are projecting from.)
Computer/RGB Video
Composite Video/S-Video