Scanning Documents or Photos 19
SCAN1.FM (A4 size) Rev.CR4CJ350 User’s Guide
6. The File Save Settings window appears. For instructions on selecting options, see
"Selecting File Save Settings" on page 21.
7. When you are finished selecting File Save Settings, click OK. Your image is scanned,
saved in the specified format and location, and displayed as a thumbnail in the EPSON
File Manager window. See "Finishing the Scan" on page 39 for details.
Starting a Scan With Another Scanning Program
You can use any TWAIN-compliant scanning program, such as Adobe Photoshop
Elements or ArcSoft PhotoImpression, to scan with your scanner. You open the program,
select EPSON Scan as your scanning program, and scan. When you are finished, the
scanned image opens in your scanning program so you can modify, print, and save it.
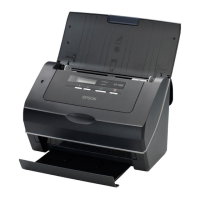
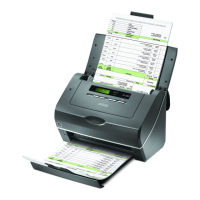
1. Place your document or photo on the scanner. See "Placing Documents or Photos" on
page 12 for instructions.
2. Start your scanning program.
Double-click the program icon from your desktop, if it is available, or do one of the
following:
Windows:
Select Start > All Programs or Programs >program folder > program icon.
Mac OS X:
Open the Applications folder, select the program folder, and click the program icon.
3. Do one of the following:
Photoshop Elements and other programs:
Open the File menu and select Import or Acquire.