Scanning Documents or Photos 34
SCAN1.FM (A4 size) Rev.CR4CJ350 User’s Guide
❏ To resize the marquee, position your cursor over the edge or corner of the marquee.
The pointer becomes a straight or angled double-arrow. Click and drag the edge or
corner to the desired size.
Note:
To restrict movement of the marquee to vertical or horizontal only, hold down the Shift key as
you move the marquee. To restrict sizing of the marquee to the current proportions, hold down
the Shift key as you resize the marquee.
4. To draw multiple marquees (up to 50; Normal preview only), you can just draw them as
described in steps 1 through 3, or click the copy marquee icon to create additional
marquees of the same size. You can move and resize all the marquees as described in
step 3. To delete a marquee, click inside it and click the delete marquee icon.
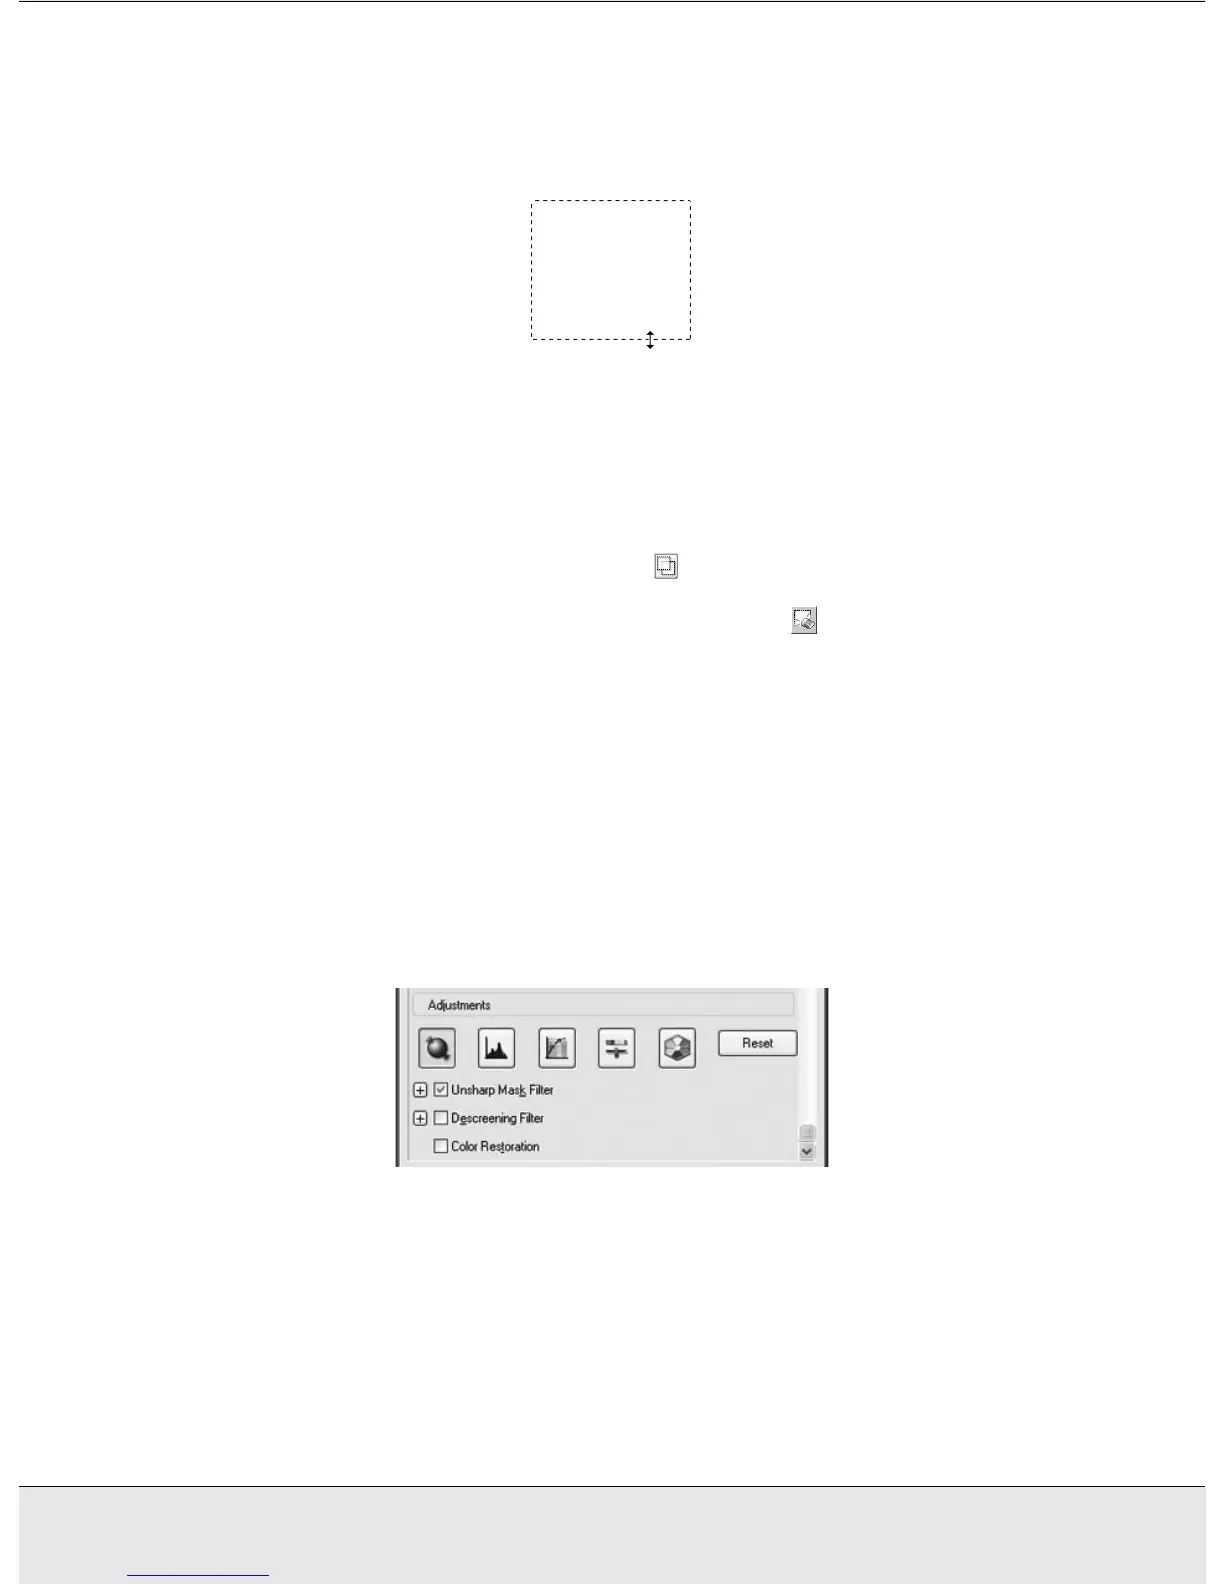
Adjusting the Color and Other Image Settings
Once you have previewed your images and adjusted the scan area, you can modify the
image quality, if necessary. EPSON Scan offers a variety of settings for improving color,
sharpness, contrast, and other aspects affecting image quality.
Before you make adjustments, be sure to click the image or marquee for the area you want
to adjust. In Professional Mode, you also need to scroll down to the Adjustments area of
the main EPSON Scan window:
The table below describes the settings available in Home and/or Professional Mode. For
details on adjusting these settings, click Help in the EPSON Scan window.
When you are finished making adjustments, you can size your scanned images (see
"Selecting the Scan Size" on page 36) or go ahead and scan (see "Finishing the Scan" on
page 39).