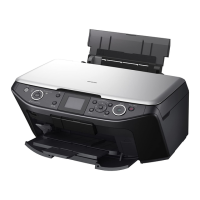
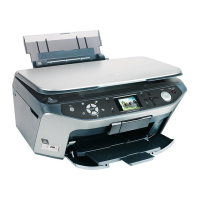
EPSON Stylus Photo RX585/RX595/RX610 Revision B
Disassembly and Assembly Removal of Exterior Parts 67
INSTALLATION PROCEDURE FOR THE MAIN BOARD ASSY
1.
Check the Middle Housing for the following conditions.
(Fig. 4-17)
The Card Slot Cover can be opened and closed properly.
The IRDA sheet has been installed properly.
2. Install the Main Board Assy on the Middle Housing. (See p.66)
3. Separate the cables and FFCs into three groups, A, B and C. (Fig. 4-18)
(Continued to next page)
Figure 4-17. Checking the Middle Housing
Figure 4-18. Separating the cables and FFCs
Figure 4-19. Connectors on the Main Board
Tighten the screws in the order specified to secure the Main Board
and Main Board Assy. (Fig. 4-16)
Group CN No. Color Connected to Remarks
A
CN14 White CR Motor 2-pin
CN13 Black PF Motor 2-pin
CN6 White PE Sensor 3-pin
CN7 Black APG Sensor 3-pin
B
CN8 (FFC) PF Encoder 5-pin
CN4 White CD-R Sensor (Guide & Tray) 4-pin
CN3 White Power Supply Board 3-pin
C
CN10
(FFC) Printhead
13-pin
CN11 13-pin
CN12 9-pin
CN15
(FFC)
CSIC Board 13-pin
CN16 PW Sensor 6-pin
S
CN17 White CR Motor (Scanner Unit) 2-pin (With ferrite core)
CN19 (FFC) CIS Unit 14-pin (With ferrite core)
CN20 White Scanner Encoder 4-pin
– CN22 (FFC) Panel Board 8-pin
– CN23 (FFC) LCD Module 11-pin
See the figure at right (Fig. 4-19) for the connector layout of the
Main Board.
For the connector assignment of the Scanner Unit,
see “4.2.2 Scanner Unit” (p.65).
OPENCLOSED
Card Slot Cover
Torsion spring
IRDA sheet
Group B
Group A
Group C
(FFCs)
CN4
CN3
CN14
CN6
CN8
CN13
CN23
CN22
CN10
CN11
CN12
CN15
CN16
CN20 CN17 CN19
CN7

 Loading...


