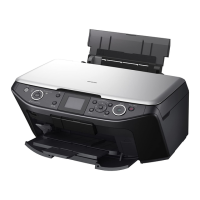
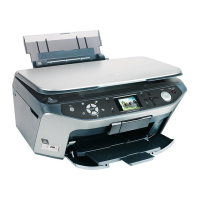
EPSON Stylus Photo RX585/RX595/RX610 Revision B
Disassembly and Assembly Removal of Exterior Parts 72
4. After checking the following conditions, tighten the screws in the order specified.
(See Figure 4-26)
The right and left openings at the front bottom of the Middle Housing are properly
engaged with the protrusions of the Bottom Housing.
(Fig. 4-30)
The power supply harnesses (black and yellow) are fastened properly. (Fig.
4-30)
(Held down with the Middle Housing and free from floating or dislocation)
5. Install the Front Frame Ground Plate on the Middle Housing. (Fig. 4-31)
6. (See p.70 for the subsequent steps.)
Figure 4-30. Checking the installation of the Middle Housing
Figure 4-31. Installing the Front Frame Ground Plate
In Stylus Photo RX585/595/610, there is a difference between the
Hinge Assy to be installed on the right side and that to be installed
on the left side. Be sure to install the Hinge ASSY B (long) on the
left side. (Fig. 4-25)
~Front right~~Front left~
Power supply cable
Protrusion
Rib
Rib A
Protrusion
Slide toward
the front to fix it
In contact with
the Front Frame
Front Frame Ground Plate

 Loading...


