8
■ Option Specifications ........................................................................................................ 34
Power Supply Unit (PS-180) ..................................................................................................................34
Setup .............................................................................................35
■ Flow of Setup....................................................................................................................... 35
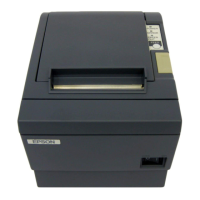
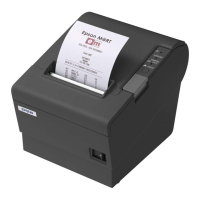
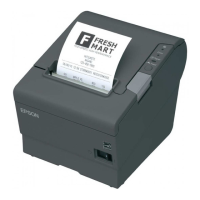
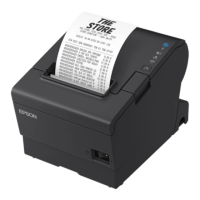
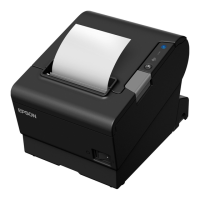
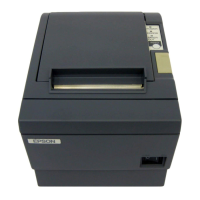
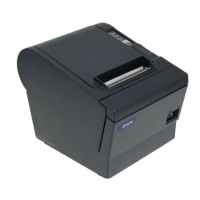
■ Installing the Printer............................................................................................................ 36
Important Notes on Horizontal Installation ........................................................................................36
Important Notes on Wall Hanging......................................................................................................36
■ Changing the Paper Width................................................................................................ 37
■ Setting the DIP Switches..................................................................................................... 39
Setting Procedure.................................................................................................................................39
For Serial Interface................................................................................................................................40
For Parallel Interface ............................................................................................................................42
For Built-in USB Interface ......................................................................................................................43
For Ethernet/Wireless LAN/USB Interface ...........................................................................................44
Selecting the Print Density (DIP Switches 2-3/2-4).............................................................................45
Selecting the BUSY Status ....................................................................................................................46
■ Connecting the Power Supply Unit (PS-180).................................................................... 47
Connecting the Power Supply Unit ....................................................................................................47
■ Setting the Memory Switches
(Customized Value)48
Functions ...............................................................................................................................................49
■ Adjusting the Paper Roll Near-End Sensor ....................................................................... 53
■ Connecting the Printer to the Host Computer ................................................................. 54
For Serial Interface................................................................................................................................54
For Parallel Interface ............................................................................................................................56
For USB Interface...................................................................................................................................57
For Ethernet Interface ..........................................................................................................................60
For Wireless LAN Interface ...................................................................................................................62
■ Connecting the Cash Drawer ........................................................................................... 63
Connecting the Drawer Kick-out Cable............................................................................................63
■ Setting the Internal Buzzer
(for Model with an Internal Buzzer)65
■ Connecting the Optional External Buzzer........................................................................ 66
Unpacking.............................................................................................................................................66
Installation Position ...............................................................................................................................67
Installation Procedures.........................................................................................................................68
Adjusting the Buzzer Volume ...............................................................................................................69
Setting the Optional External Buzzer ..................................................................................................69
■ Attaching the Connector Cover ....................................................................................... 70
■ Arranging the Cables ........................................................................................................ 72

 Loading...