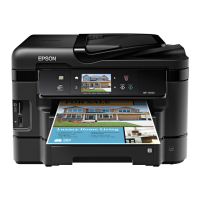
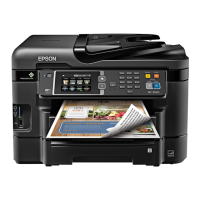
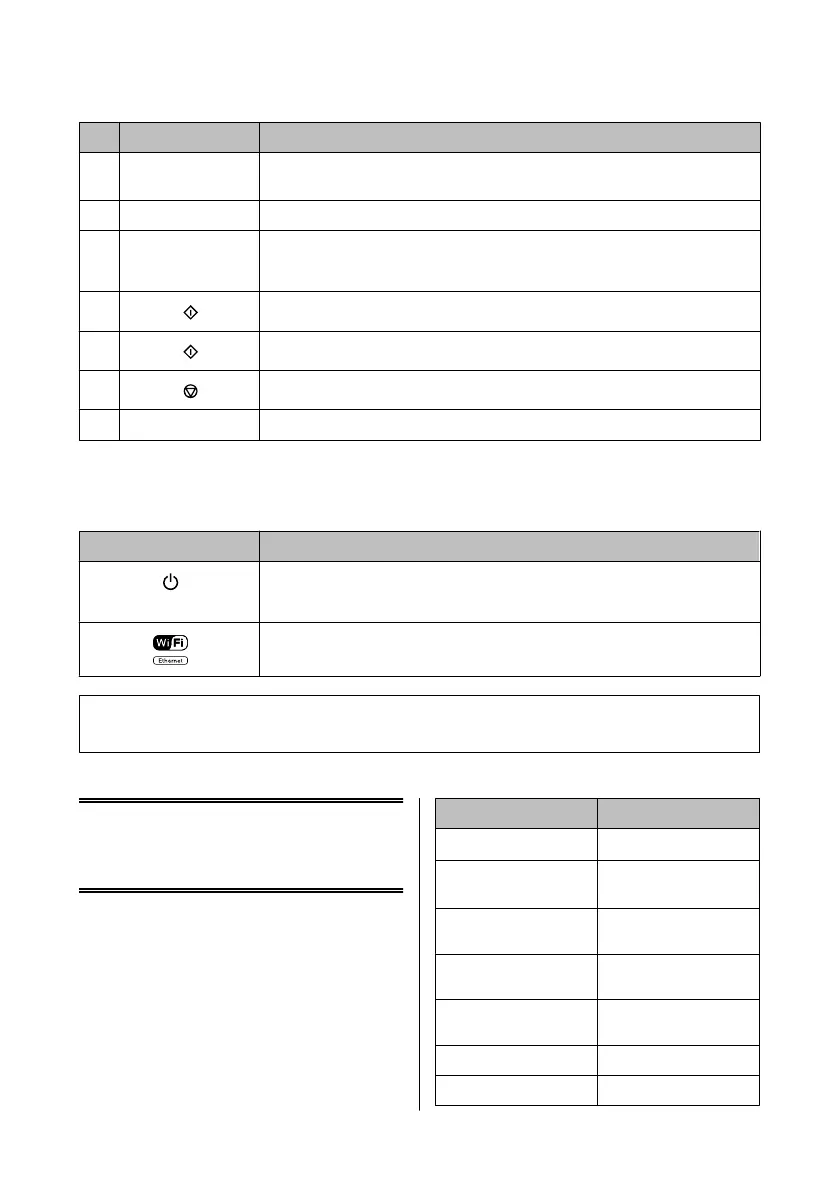
Buttons Function
g
l, u, r, d, OK Press l, u, r, d to select menus. Press OK to confirm the setting you have selected and go to
next screen. When typing a fax number, l acts as a backspace key, and r inserts a space.
h +, - Sets the number of copies.
i 0 - 9, *, # Specifies the date/time or the number of copies, as well as fax numbers. Enters alphanumeric
characters and switches between uppercase, lowercase, and numbers each time it is pressed.
It may be easier to use the software keypad to enter text instead of using these buttons.
j
Starts printing/copying/scanning/faxing in black and white.
k
Starts printing/copying/scanning/faxing in color.
l
Stops the current operation or initializes the current settings.
m
u, d
Scrolls the screen.
Lights
Lights Function
On when the product is on.
Flashes when the product is receiving data, printing/copying/scanning/faxing, replacing an
ink cartridge, charging ink, or cleaning the print head.
Stays on while the printer is connected to a network. Flashes while network settings are being
adjusted (green: Wi-Fi/orange: Ethernet).
Note:
For more information on the icons displayed on the LCD screen, see the Help on the control panel.
Paper and Media
Handling
Selecting Paper
The product automatically adjusts itself for the type of
paper you select in your print settings. That is why the
paper type setting is so important. It tells your product
what kind of paper you are using and adjusts the ink
coverage accordingly. The table below lists the settings
you should choose for your paper.
For this paper LCD paper type
Plain paper*
1
Plain Paper
Epson Bright White Ink Jet
Paper*
1
Plain Paper
Epson Ultra Glossy Photo
Paper
Ultra Glossy
Epson Premium Glossy
Photo Paper
Prem. Glossy
Epson Premium Semigloss
Photo Paper
Prem. Glossy
Epson Glossy Photo Paper Glossy
Epson Photo Paper Photo Paper
Basic Guide
Paper and Media Handling
5
 Loading...