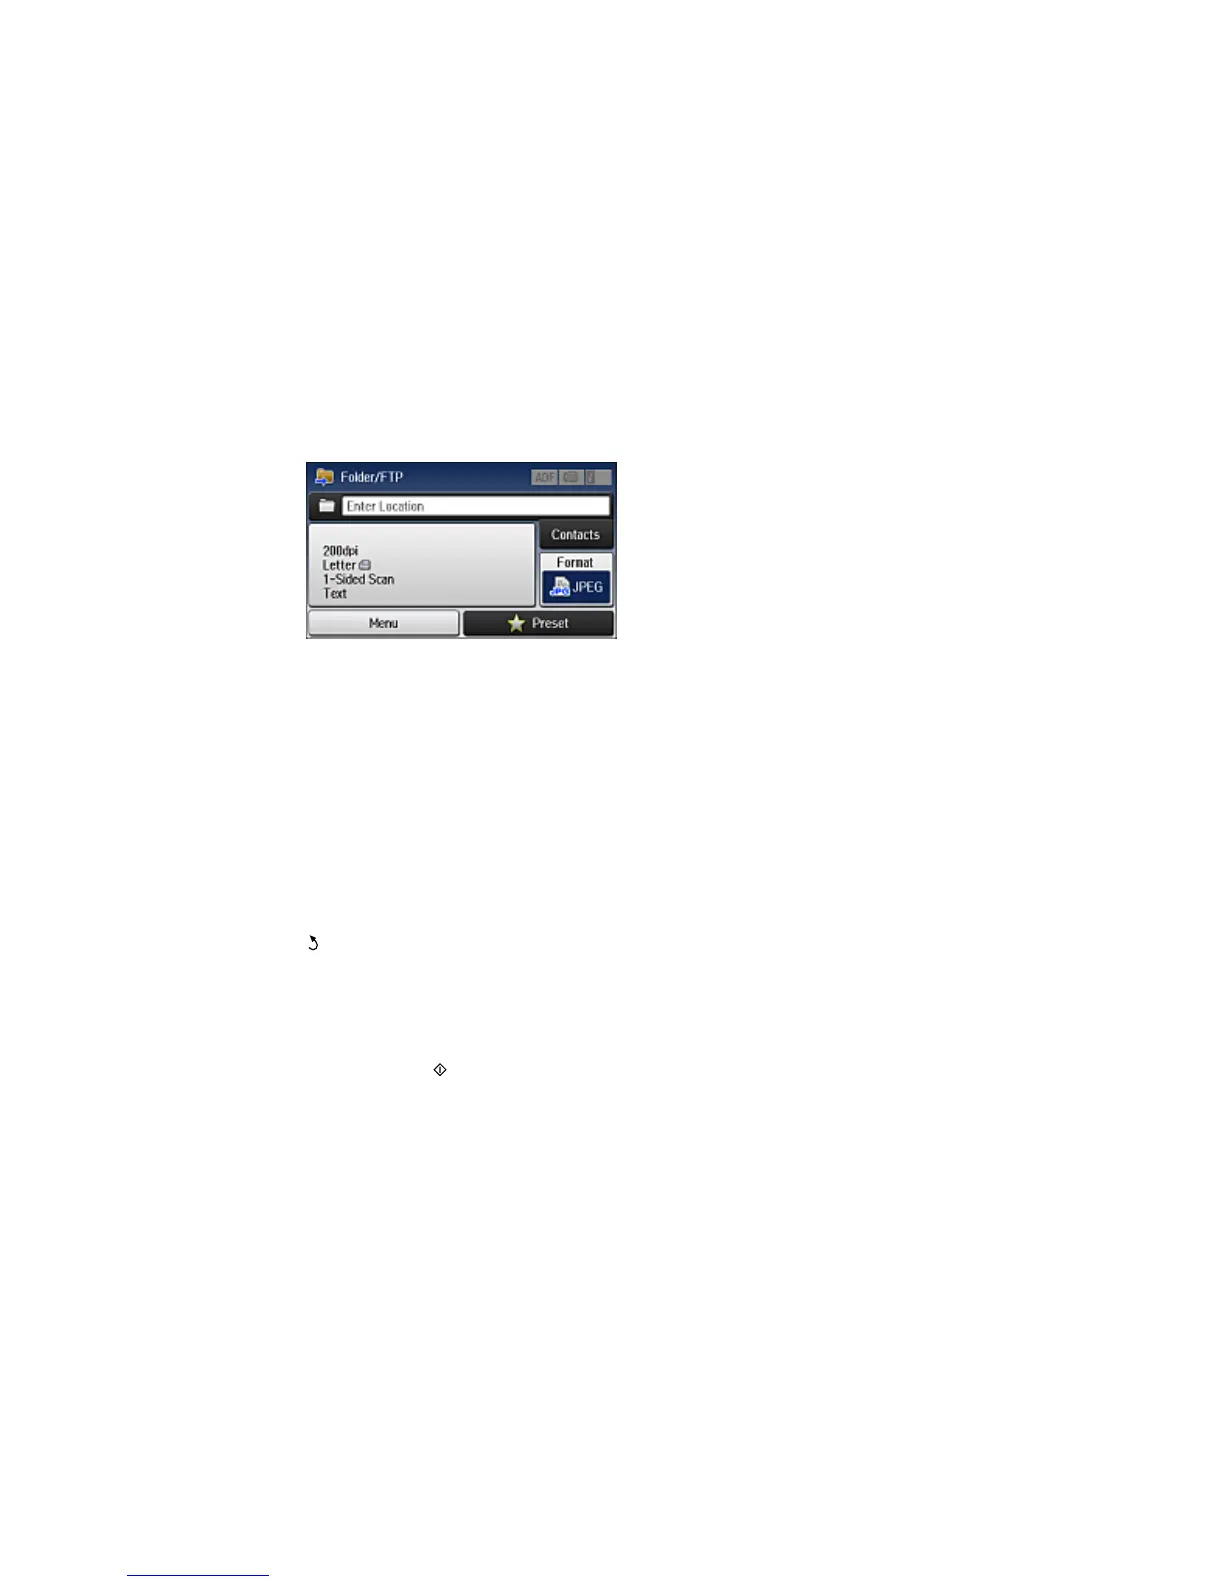
4. Select Network Folder/FTP.
You see a screen like this:
5. Do one of the following to select a folder or FTP location:
• Select Contacts and choose a saved location in your contact list.
• Select Enter Location, then select the Communication Mode, Location, and other settings.
Note: Enter the folder path name for the Location setting in one of the following formats,
depending on the Communication Mode setting you selected:
• SMB: \\host name\folder
• FTP: ftp://host name/folder name
6. Select Format to choose the file format for your scan.
7. Select Menu > File Settings. Change the Filename Prefix setting if necessary, then press the
back button to return to the Folder/FTP screen.
8. Select Preset to save your scan settings.
Note: Presets can be locked by an administrator. If you cannot access or change this setting,
contact your administrator for assistance.
9. Press one of the buttons.
Your product scans your original and saves it in the selected location.
Parent topic: Starting a Scan Using the Product Control Panel
190