65
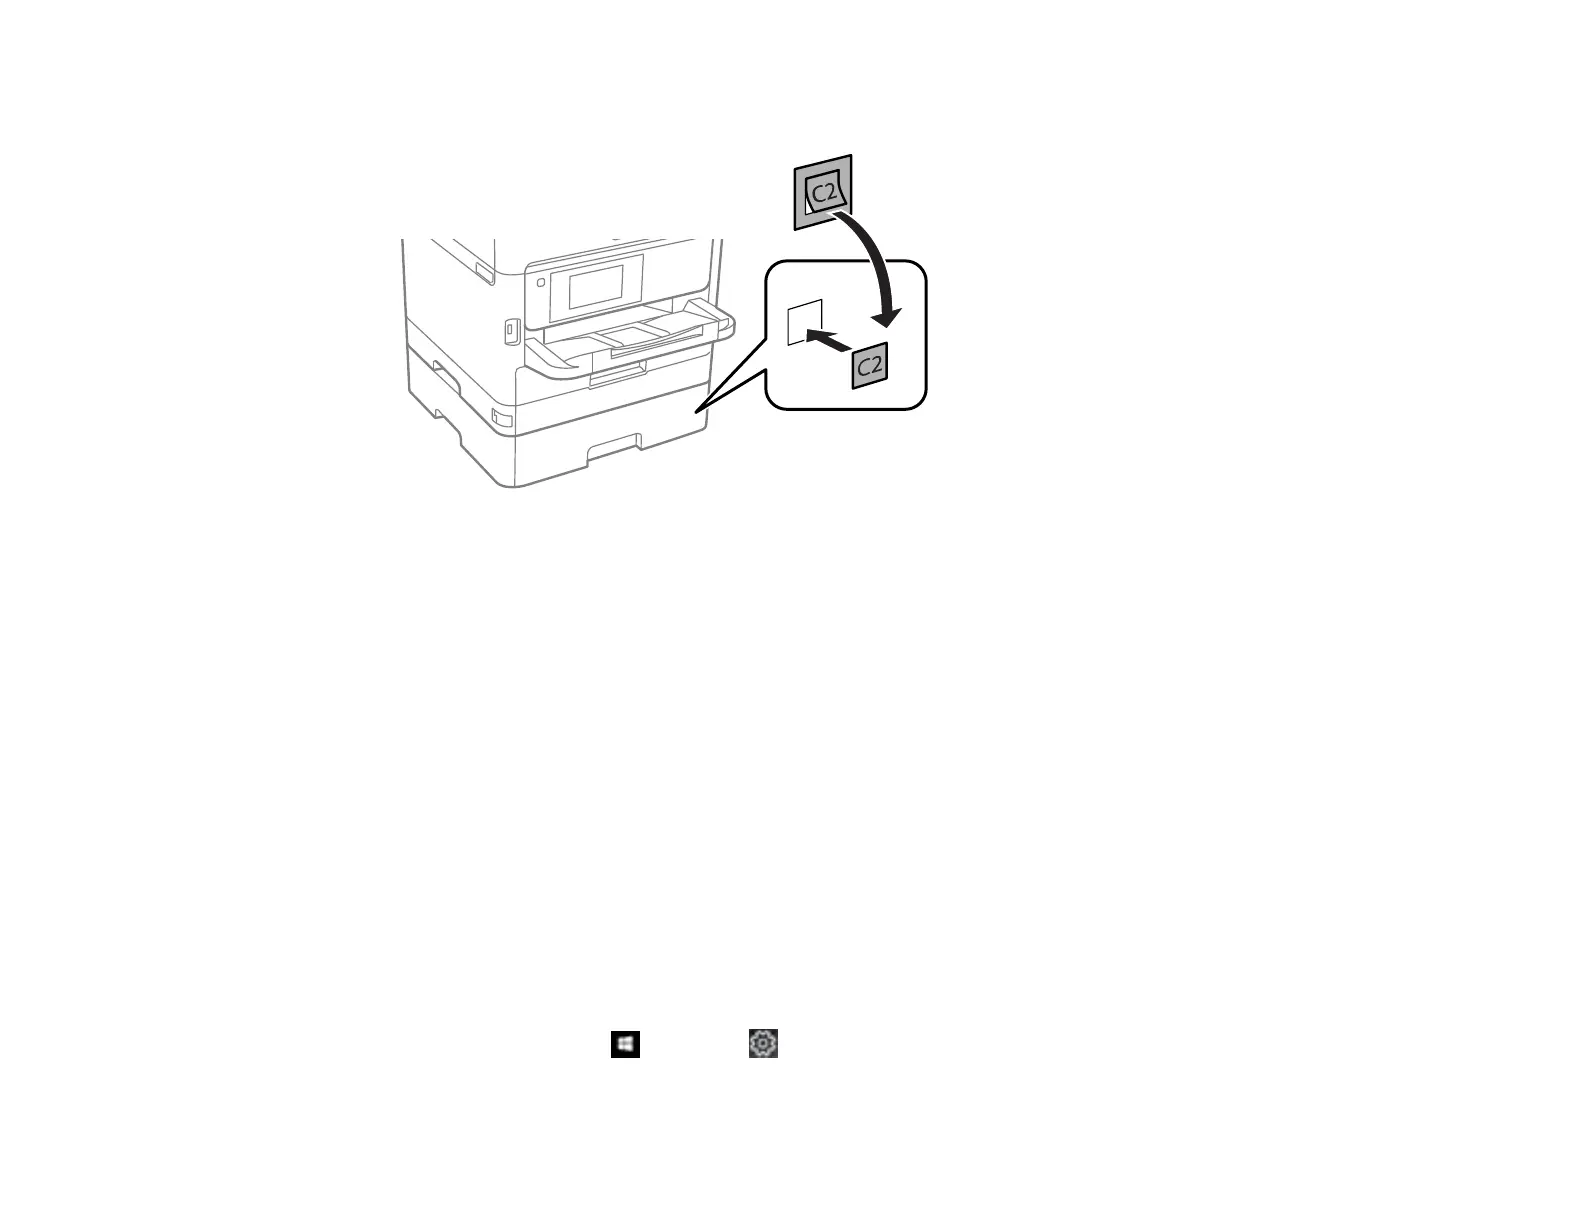
4. Place the cassette number sticker on the cassette unit.
5. Connect the power cord and other connection cables, then plug in the product.
6. Turn on the product.
7. Pull out and reinsert the paper cassette in the optional paper cassette unit, and confirm that the
cassette unit number appears on the screen.
8. Enable the optional paper cassette unit in the product software.
Enabling the Optional Paper Cassette - Windows
Enabling the Optional Paper Cassette - Mac
Parent topic: Loading Paper
Enabling the Optional Paper Cassette - Windows
You need to enable the optional paper cassette unit before you can use it with the printer software.
Note: If you are using the Epson Universal Print Driver or PostScript (PS3) printer software, see the link
below to enable the optional cassette unit.
1. Do one of the following:
• Windows 10: Click and select (Settings) > Devices > Printers & scanners. Select your
product name and select Manage > Printer properties.

 Loading...


