15
Starting operation
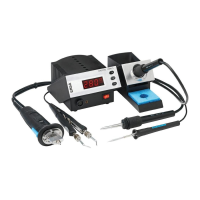
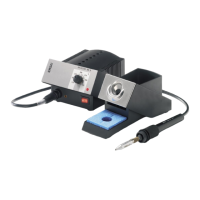
4.2 Порядок действий
Выполните подготовительные действия с
должным вниманием:
• Внимательно и полностью прочтите
инструкцию.
• Проверьте соответствие рабочего
напряжения указанному на управляющем
блоке.
• Установите выключатель питания в
положение “0” (выключено).
• Подсоедините сетевой шнур к разъему
питания на задней стенке корпуса.
• Увлажните губку водой и поместите ее в
контейнер.
• Подсоедините паяльник (или иной
инструмент) к управляющему модулю.
• Gerät einschalten (Netzschalter auf I stellen).
• Вставьте шнур питания в сеть переменного
тока 220В.
• Включите станцию.
По окончании этапа самотестирования
на дисплее появится текущее значение
температуры. Можно приступать к работе.
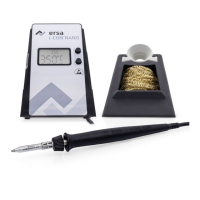
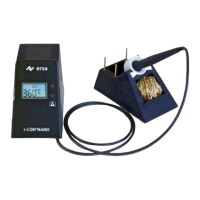
4.2 Switching On for the First Time
Please read through these Operating Instruc
-
tions completely before commissioning.
Procedure for commissioning:
• Check whether the mains voltage matches the
value specified on the nameplate.
• Set mains switch to 0.
• Insert mains lead in the mains connection
socket at the back of the device.
• Moisten sponge well and place in the sponge
container.
• Connect soldering tool to the supply unit and
place in holder.
• Insert mains plug in the socket.
• Switch on device (set mains switch to I).
• The soldering station is now ready for
operation.
After the display test has been run through (all
display elements briefly light up simultaneously),
the actual temperature of the soldering tip is
displayed. You can now work with the soldering
station.
4. Ввод в эксплуатацию