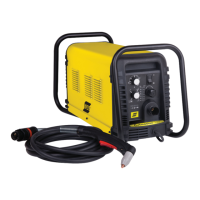
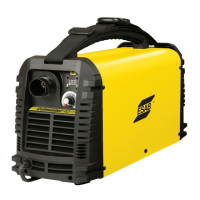
CUTMASTER A120
0-5430 INSTALLATION
3T-3
+12V
-
1
2
3
4
5
6
7
8
9
10
11
12
13
14
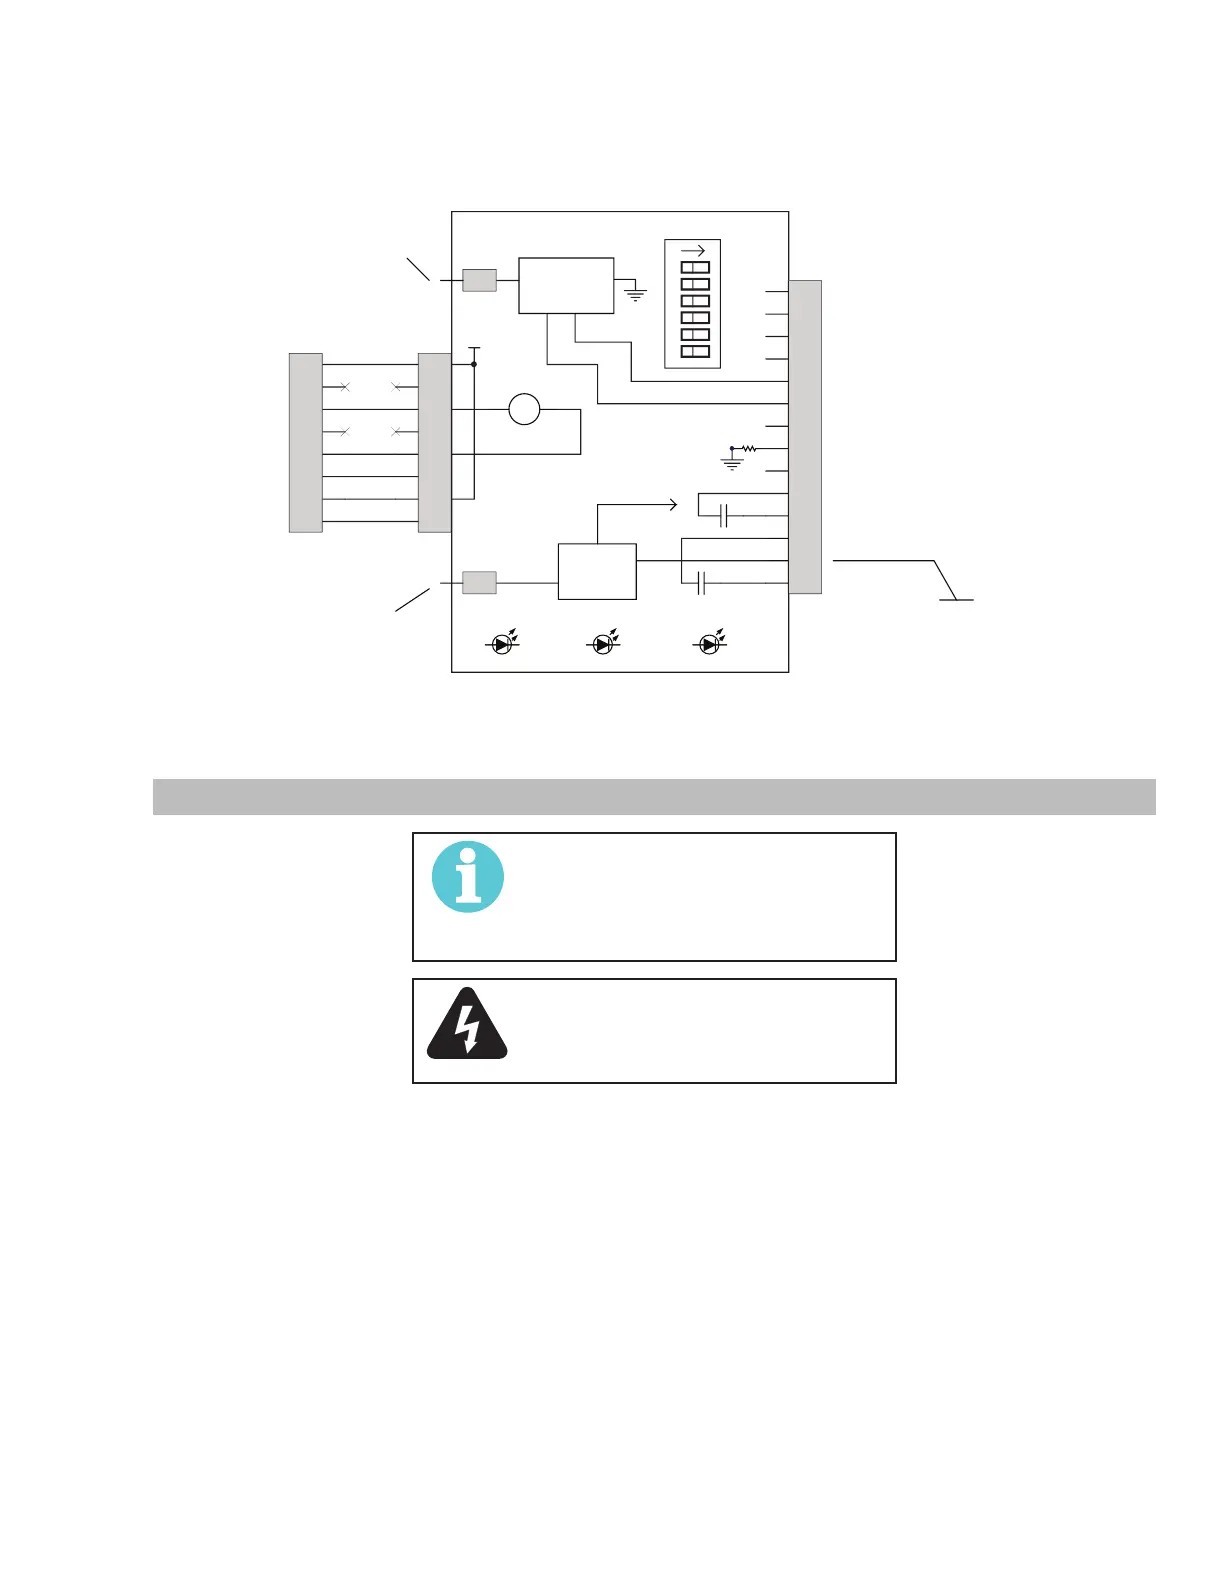
J1
1
2
3
4
5
6
7
8
*
J2
OK TO MOVE
ISO GND
SW1
DIVIDED ARC VOLTAGE (-)
DIVIDED ARC VOLTAGE (+
COMMON
PLATE CONTACT COM
PLATE CONTACT OUT
OK TO MOVE
OK TO MOVE
OHMIC
START / STOP (com)
START / STOP
OK TO MOVE
1
-V0_1
1
TIP
To -V OUT 1
on PCB1
OHMIC
SENSE
CIRCUITS
VOLTAGE
DIVIDER
CIRCUITS
+
To TIP1
on PCB1
1
2
3
4
5
6
7
8
P10
PCB4
AUTOMATION
INTERFACE PCB
(w / OHMIC)
START / STOP
DIV1-1 ON = 16.7:1 for SC11
DIV1-2 ON = 20:1 for ESAB
DIV1-3 ON = 30:1
DIV1-4 ON = 40:1 for Inova
DIV1-5 ON = 50:1 for IHT:
SC3000 & 3100; Hypertherm
®
DIV1-6 ON = 80:1 for TD iHC
DIVIDE RATIO SET BY DIP SW DIV1
CONTACT
OK to MOVE
M-ARC
START
123456
DIV1
CONTACT
Art # A-09819_AC
ISO GND
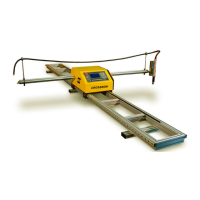
3. Connect CNC to the power supply.
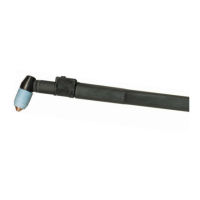
3T.04 Setting Up Automation or Machine Torch
NOTE!
An adapter is required to be installed in
the power supply if converting a hand
torch system to operate a machine or
automation torch.
WARNING
Disconnect primary power at the source
before disassembling the torch or torch
leads.
The Automation and Machine torch include a positioning tube with rack and pinch block assembly.
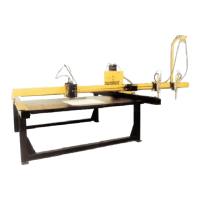
1. Mount the torch assembly on the cutting table.
2. To obtain a clean vertical cut, use a square to align the torch perpendicular to the surface of the workpiece.